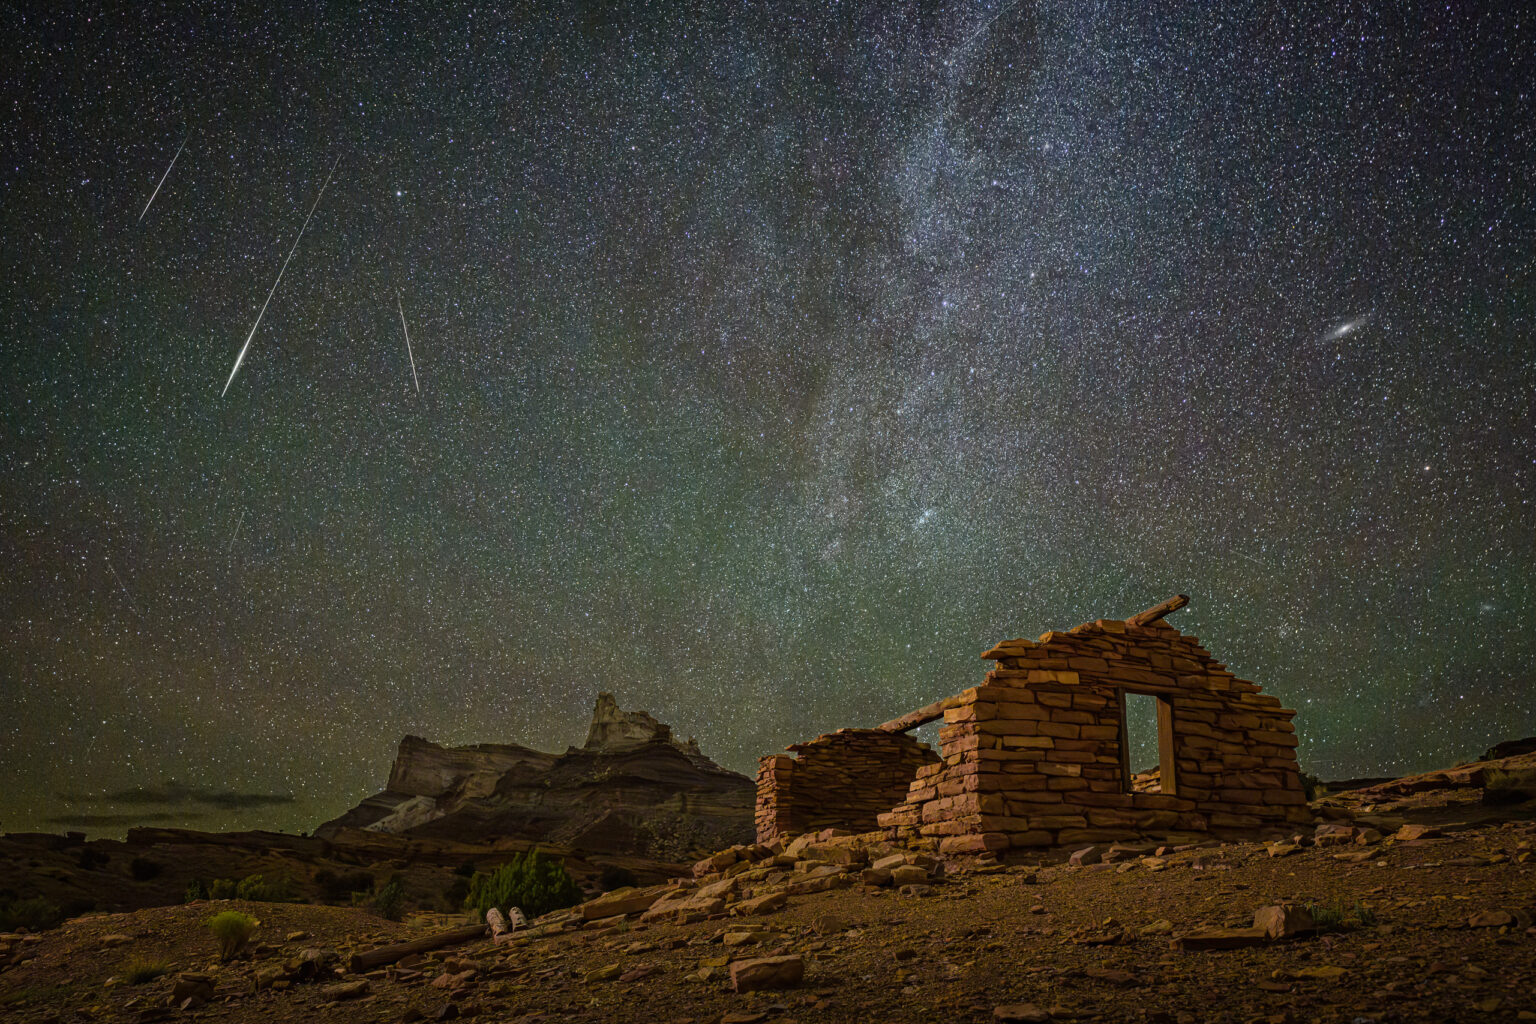
Focus to infinity – The key to nighttime star photography
Photographing the stars at night can yield stunning images, but operating the camera in the dark can be challenging. One key to a great shot of the stars is ensuring they are in focus.
Focusing a camera in the dark can be difficult for you and the camera. Camera focus systems rely on contrast between bright and dark areas in the image to achieve focus. Under a dark, moonless sky, there isn’t enough light for your camera’s autofocus system. Using your eyes and a DSLR viewfinder won’t be any better.
Sharp stars mean that your lens is focused to infinity, where objects at an infinite distance are at their sharpest. This may be as simple as turning the focus to the hard stop at the infinity symbol ∞ on a manual-focus lens. (More on this later.)
Autofocus lenses can be tricky. Modern auto-focus lenses all focus past infinity, so there is no hard stop on the focus ring, and once you go past infinity focus, your photos will not be sharp. There are several reasons for this. The camera’s fast autofocus motor needs room to move in and out without a hard stop. Changes in temperature and focal length in zoom lenses also result in slightly different focus spots at infinity.
Here are some techniques to focus to infinity for your next photography adventure under the stars.
Decide on your focal length
If you photograph the stars with a zoom lens, set your preferred focal length before focusing.
Ideally, your zoom lens would be “parfocal,” meaning that focus doesn’t change as you zoom in and out. However, most zoom lenses are “varifocal,” where the focus changes as zoom magnification changes.
For example, if you use a 16–35 mm lens, the focus at infinity for 16 mm might be slightly different from that at 35 mm.
Manual focus lens
A manual focus lens will have a hard stop at infinity focus. In many cases, it may be as simple as turning your focus ring to infinity.
However, manual-focus lenses are not always perfect, so it pays to check the sharpness of your stars in actual photographs and make fine adjustments to the focus ring if necessary.
Compose using daylight
One of the best ways to set your focus to infinity also requires the most preparation time.
If you arrive at your scene when there is still daylight, even twilight, you will have time to focus your lens on a distant object like a mountain, tree, building, or horizon. Move your focus point to the center of the lens and focus on the most distant object you can.
If you try to focus during twilight, most scene areas will be too dark to autofocus. However, the part of the sky where the sun has set remains quite bright, with plenty of contrast to achieve focus between the sky and the land. Find the brightest part of the sky and place your focus point right on the horizon line to autofocus.

Once you have achieved focus, turn your camera to manual focus mode. The physical levers or switches for manual focus are the easiest, but you may have to change the focus mode in your menu system. Securing the focus ring on your lens with gaffer tape can help prevent bumping it later at night.
Arriving early enough to see the scene allows you to look for compositions of the sky that include foreground objects like trees, rocks, or mountains. It is pretty challenging to make these composition decisions in a pitch-black environment.
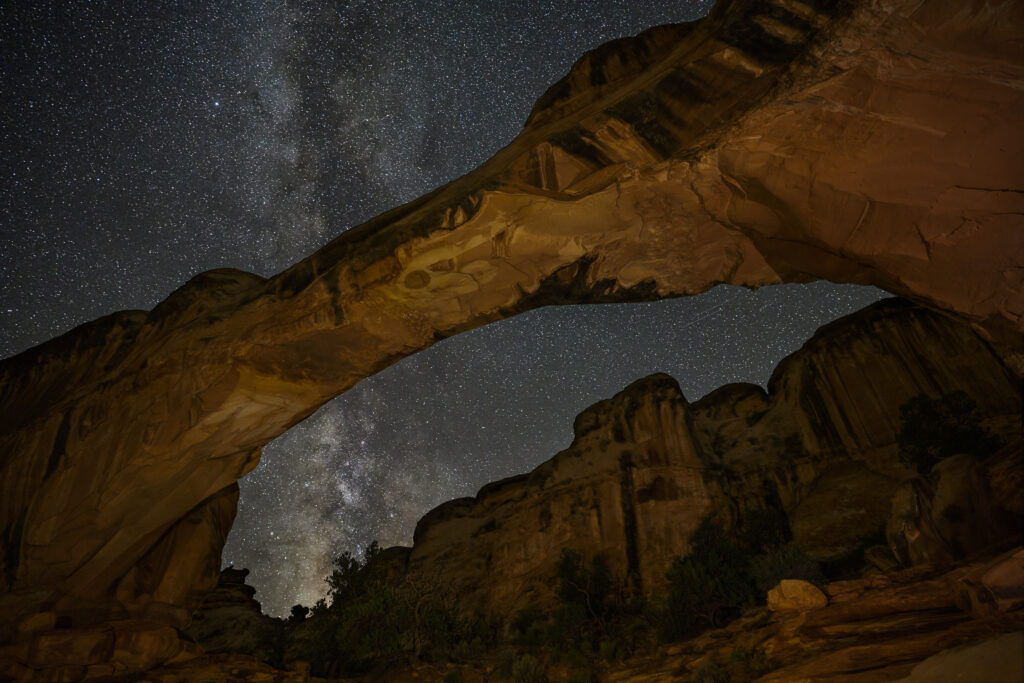
Focus on the moon
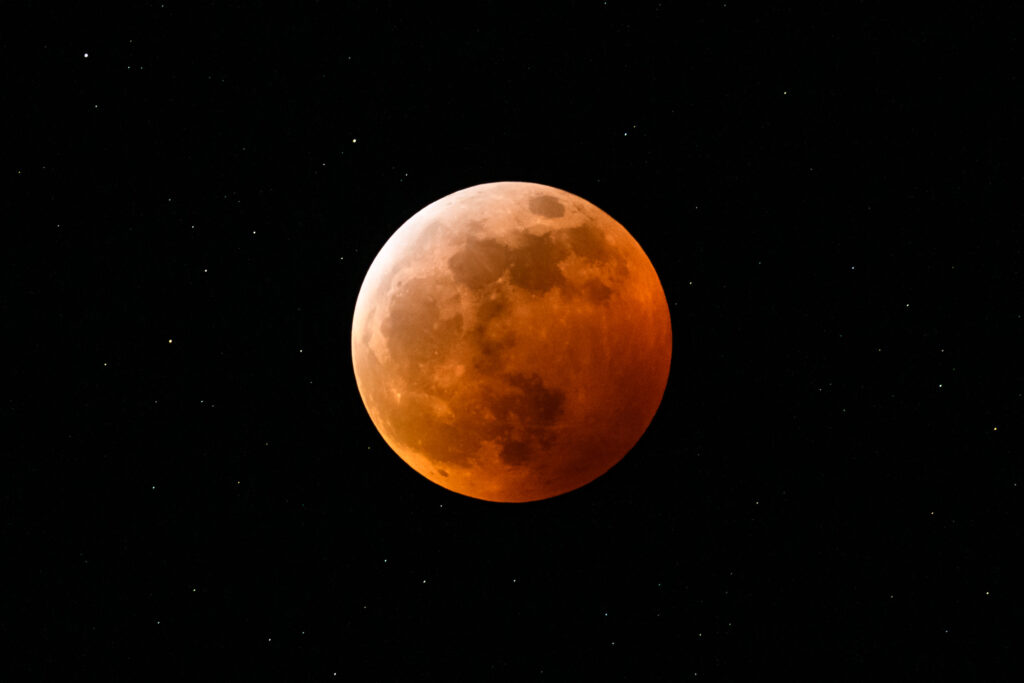
If there is a moon in the sky, even a sliver, use it to focus. The moon is extremely bright, at an infinite distance, and easy for most autofocus systems to focus on, even at night.
Once again, put your focus point in the center of the frame. Put the focus point on the bright part of the moon and focus, either using auto or manual focus. For autofocus, it is easiest to focus on the moon’s edge, which has the highest contrast. Remember to turn off autofocus once you have acquired focus.
Find or create a distant light
A streetlight, building lights, or car headlights in the distance can be bright enough to focus on; use them if they are present.
Of course, distant lights may be unavailable if you seek out the darkest skies. If you have a bright flashlight, illuminate the farthest object you can and focus on that.
Further away is better, but for a wide-angle lens, you should be able to focus at infinity with an object at least 25–30 ft or 8–10 m away.
Another option is to turn on your phone’s flashlight, prop it up at a distance, and focus on it.
Focus on a bright planet or star
Some planets are bright enough to use as a focus point. If Venus, Jupiter, Mars, or Saturn are in the sky, these planets will be brighter than stars, which are generally too dim to focus on. There are a couple of methods for using planets to focus to infinity.
Place your camera in live view and point your lens at the brightest planet you can find. In live view, zoom in on your focus point to the maximum available, then move your focus point so that it is directly over the bright planet.
Some recent mirrorless cameras can auto-focus on planets or bright stars. This capability depends on your camera’s age and capabilities, so check your manual and experiment with it. Nikon’s newer cameras have low-light autofocus, and other camera makers also offer low-light star-tracking autofocus. The autofocus speed in the dark isn’t particularly fast, but it does work on bright planets and stars. Once again, zoom in on the focus point in your viewfinder and place the focus point on the planet. Engage auto-focus and wait a second or two; it should autofocus on the planet. Then, turn your lens to manual focus.
Some recent cameras have a special display mode that boosts the brightness of the viewfinder or monitor without affecting the final exposure. Nikon calls this Starlight view, and Sony cameras refer to it as Bright Monitoring. If your camera supports a bright monitoring mode like this, use it during night shoots to help with composition and focus. Beware: These modes will use more battery power, so be sure to have extra batteries available.
Take a picture of the focus ring on your lens
Many lenses have a focus distance scale viewable through a window on the top of the lens. A snapshot of this scale at infinity focus can help you set the proper focus in the dark by moving your lens’s focus ring to that point on its focus scale.
Using a zoom lens, set the focal length you plan to shoot the stars. During daylight or twilight hours, focus the lens on the most distant object you can, then take a snapshot of the focus distance scale on your lens.
For example, our Nikon 14–24mm lens looks like this when focused at infinity: the focus point is to the right side of the infinity symbol ∞.
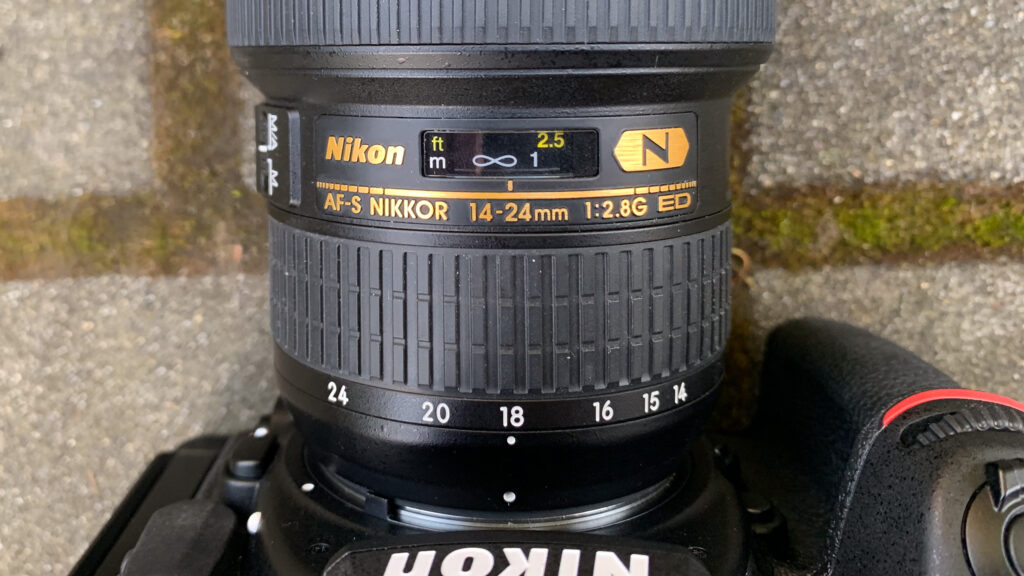
It is essential to do this with the exact lens/body combination you plan to use, as even lenses of the same model may differ slightly due to manufacturing tolerances.
Fiddle with manual focus
As described above, you snapped a photo of your focus ring at infinity focus, correct? If so, pull up that snapshot and use your flashlight or headlamp to set the focus ring to that spot.
Even if you don’t have a snapshot, set the lens at its infinity mark and use trial and error to achieve focus on the stars.
One way to do this is to use your camera’s back screen. Magnify your focus on your back screen and maneuver around to find a bright star or planet. While still zoomed in, make minor adjustments to your focus ring until the star appears like a pinpoint. This is our preferred way of focusing. Once you get the hang of it, it is quick and easy to focus this way. Note that this works well on most newer cameras, but older cameras may show only noise when viewing the stars.
If your camera’s rear screen shows excessive noise, you can snap photos and review them. To speed up the process, crank up your ISO setting to the maximum, say 12,800, 25,600, or higher. This will produce very noisy photos you won’t want to keep, enabling you to take shorter exposures.
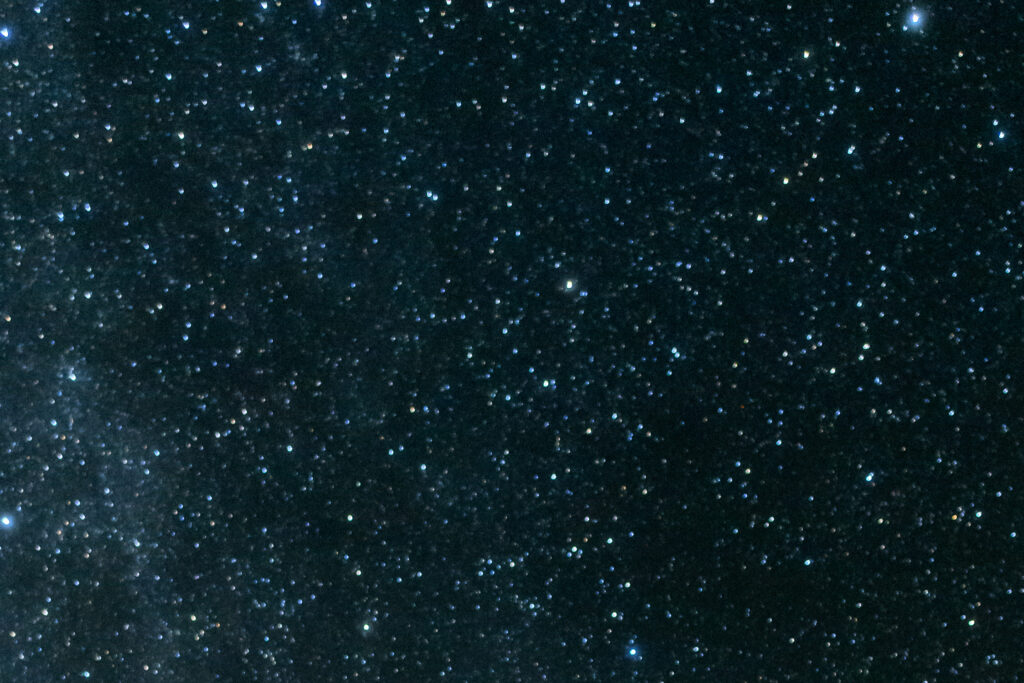
Start with your lens at its infinity mark. Take a photo, then zoom in as far as you can on the image and look at the size of the stars. You want them to be as small and sharp as possible, not soft blobs of light.
Make minute adjustments to your focus ring, take another shot, and refocus. This process can take a little time, but you can often nail focus with just a few test shots.
Confirm focus throughout the night
If you are photographing for an extended period at night, periodically check your focus by zooming into your photos on the camera’s rear screen to verify the stars’ focus. It is easy to accidentally bump your lens’s focus ring. Also, as the night progresses, changes in air temperature can slightly alter your lens’s focus characteristics.
Star photos can look fabulous on the back screen of your camera when not zoomed in, but you may get home and be disappointed by your stars when you see the larger photos on your computer screen.
Night photography can be tricky when you are new to the process, but it is hugely rewarding when you get the hang of it. Keep practicing, and the process will get easier every time.