How to properly photograph snow
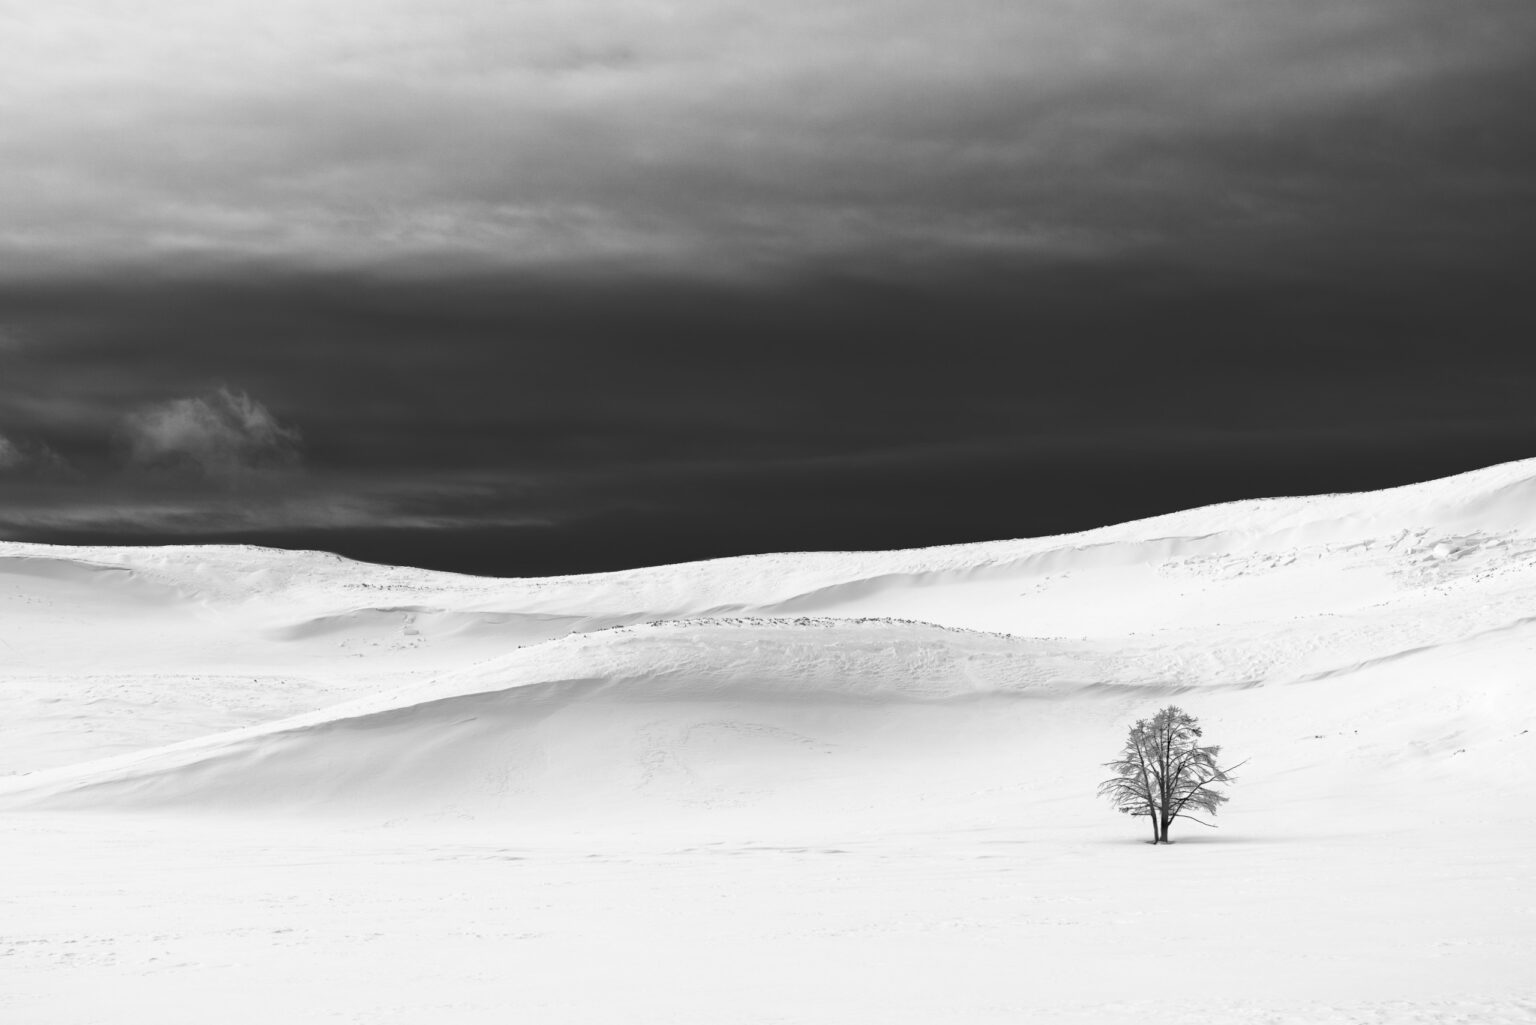
Photographing snowy scenes is both challenging and rewarding. Winter scenes provide high contrast and drama, highlighting the struggles of winter wildlife or showing the stark beauty of snow-covered landscapes. However, achieving the correct exposure and white balance with your camera can be challenging in snow.
Camera metering in snow
Understanding how your camera’s metering system works can help you understand the challenges of photographing in snow. Camera meters evaluate the scene and adjust exposure settings to achieve the correct brightness for your photos.
The most commonly used metering mode in nature photography is to look at the entire scene and average the bright and dark areas. Depending on the camera manufacturer, this metering mode is known by different names, such as evaluative, multi, or matrix metering.
Camera meters are designed to photograph typical scenes, such as a summer scene with green grass, a blue sky, and white clouds. The camera meter assumes that a scene is reflecting 18% of the light and will try to target this brightness level, known as 18% gray or middle gray. Targeting middle gray works well for most scenes.
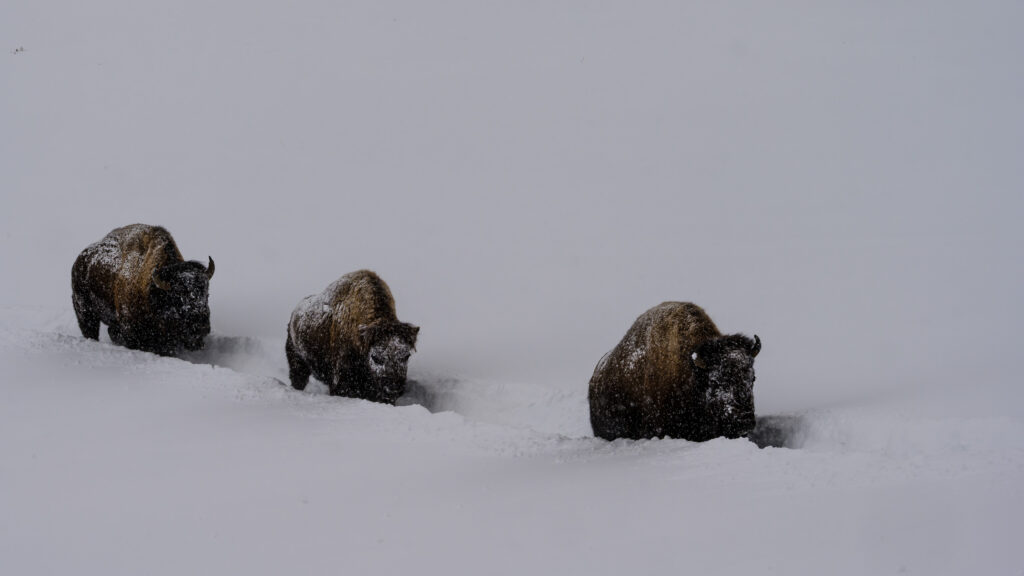
However, when most of the scene is white snow, your camera’s meter will get the exposure wrong. The camera sees an almost all-white scene and then tries to target the exposure to middle gray. The result is dark, underexposed photos with gray snow instead of white.
Exposure compensation in snow
When your camera underexposes snowy scenes, the easiest way to correct the brightness is to use exposure compensation. Exposure compensation instructs your camera’s meter to expose the scene brighter or darker than usual. Many camera’s have exposure compensation controls on a dial or readily accessible control where you tell the meter to increase or decrease exposure by several stops of light.
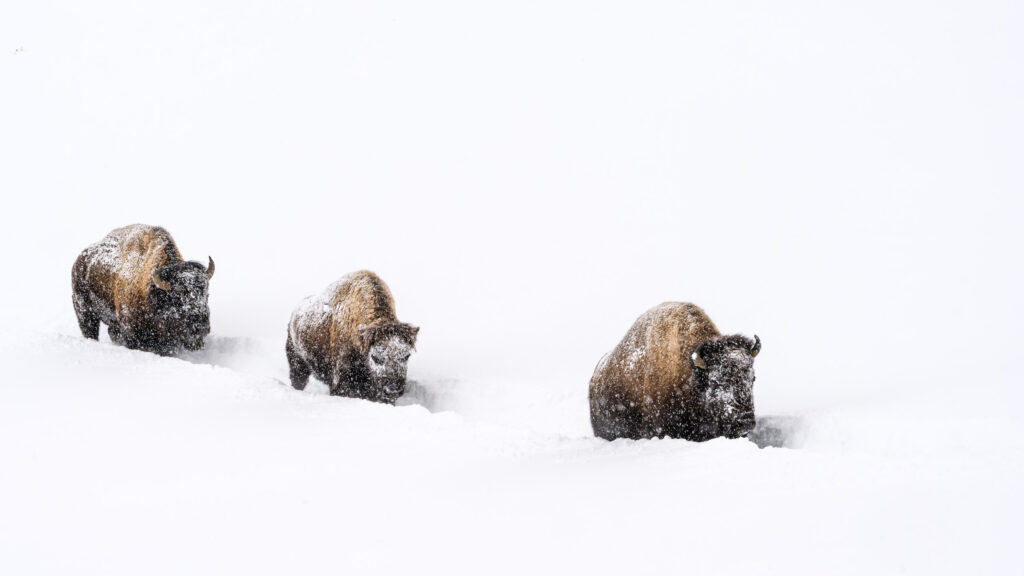
To achieve the correct brightness for snowy scenes, you often have to increase exposure by +1 or even up to +2 stops of light. For beginning photographers, this is counterintuitive. Snowy scenes look very bright to your eyes, but you need to instruct your camera to increase brightness to achieve the correct exposure.
When using Aperture Priority, Shutter Priority, or Manual with Auto-ISO modes, your camera automatically adjusts settings to achieve the desired exposure. When photographing in full Manual Mode, the meter in your viewfinder will show your current exposure. In full Manual Mode, it is up to the photographer to change the ISO, shutter, or aperture to achieve the desired brightness.

Checking your exposure
For mirrorless cameras, the image in the viewfinder will brighten as you increase exposure compensation. Your goal is to make the image in the viewfinder match the brightness you see with your eyes. Checking exposure is a bit more challenging for DSLRs. You must take a picture and evaluate its brightness on the back LCD screen.
Once the scene’s brightness passes your eye test, check the histogram to ensure you haven’t overexposed and blown out detail in the bright white snow. The histogram for a snowy scene will be pushed to the far right of the chart. It should be close to the right edge of the histogram but not touching it.

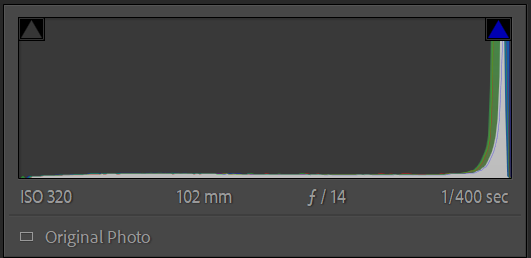

Another helpful tool to prevent overexposure is highlight warnings, or “blinkies.” Using highlight warnings during your shoot can give you feedback that you are blowing out the brightest details in the scene.
Be careful with exposure compensation when the scene changes
Switching from one predominantly snow scene to a nearby scene with lots of dark, green forest or similar is common when photographing nature in the winter. When the scene is mostly snow, your exposure compensation settings work well. But when your next scene is dominated by the greens of a forest or dark water, the camera will overexpose it, so you must remove your exposure compensation settings as you shift between scenes.


White balance settings for snow
Achieving the correct white balance for snowy scenes can also be tricky. In general, using Auto White Balance for nature scenes results in images with a pleasing color temperature that is accurate to what you see with your eyes. Photographing in RAW format allows photographers to change the white balance freely during post-processing.
Snow isn’t a perfectly neutral white; it reflects blue light more than other wavelengths and generally has a bluish tint. The blue cast from snow can be pretty strong in the shade or during twilight hours.
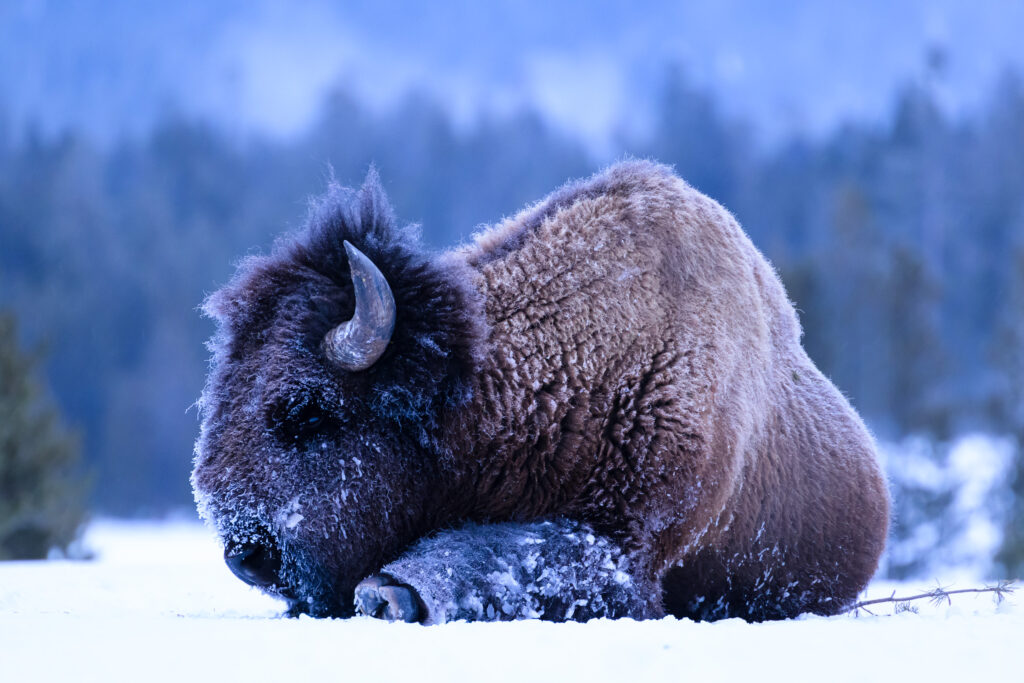
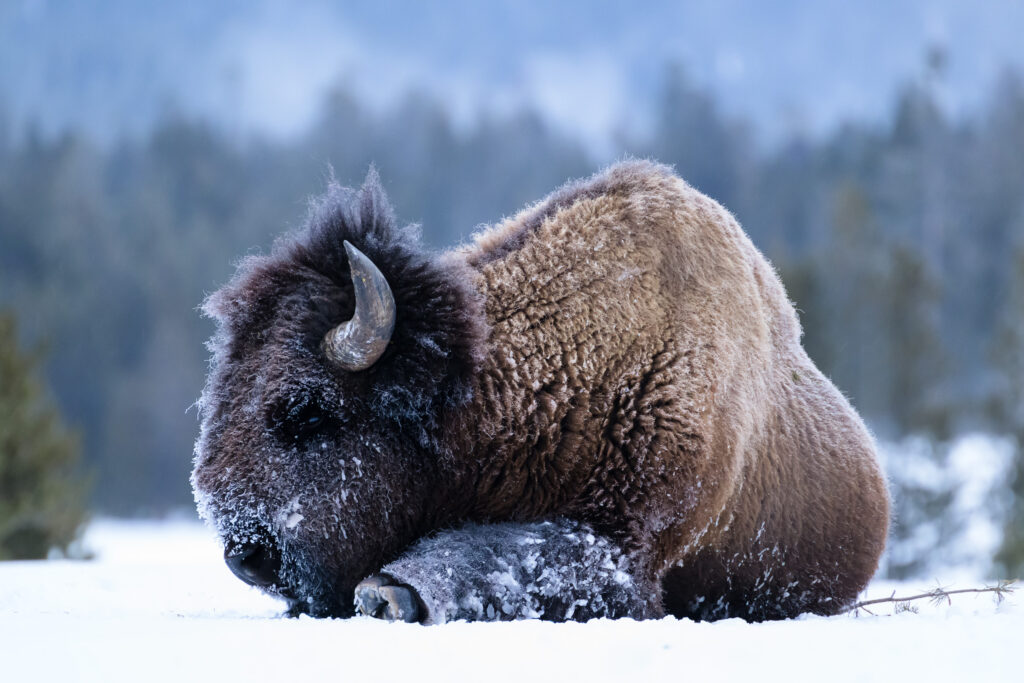
Most post-processing software has a color temperature eyedropper. When you use the eyedropper to click on an area that should be neutral white (or gray), the software sets the appropriate white balance. For example, when you use this method and click on snow, it sets the snow to neutral white and may provide a pleasing photo. But in many scenes, it will feel a bit different than what you saw with your eyes. Adjusting the color temperature towards blue can return the scene to a more photorealistic representation.
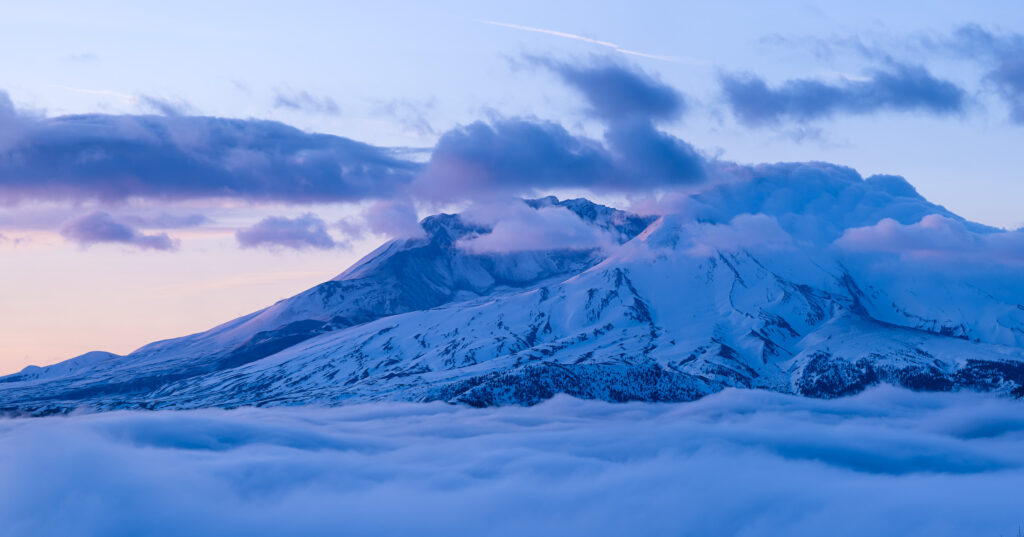


You should also use a creative eye when choosing your white balance for winter scenes. A bluish tint imparts moodiness to images and implies cold temperatures to the viewer. Some images impart the authentic feel of the scene by leaving some of that bluish tint in place.
Practice your camera settings for snow
While you can make many exposure adjustments during post-processing, including brightening snow, you will get the best results by capturing the correct brightness in-camera.
Because your camera won’t get the exposure correct for snow, you’ll need to practice these settings in the field. As you photograph more frequently in snow, these settings will become second nature.