
Motion blur photography guide
Once you’ve captured your razor-sharp action photos of a scene, consider adding motion blur for a different creative result. Motion blur can impart a sense of action, drama, and motion to your images.
There are a few types of motion blur photography: Panning blur, where you move your camera to match the action of your subject, blurring the background, and stationary motion blur, where the camera remains fixed, allowing the static parts of the scene to stay sharp while the moving subjects are blurred.
Panning motion blur
Panning motion blur is an effective technique for vehicles, runners, animals in motion, and more.
Like other types of motion blur photography, the key to panning blur is to use slow shutter speeds, allowing the action in a scene to blur. Panning motion blur combines slow shutter speeds with camera motion that tracks the speed of the action. The result is images with relatively sharp subjects, while the background blurs.
Gear needed for panning photography
You do not need complicated gear for motion blur panning. You need to be able to manually set your shutter speed, either in Manual or Shutter Priority mode. In addition, your camera needs to support continuous release, where it continues to take pictures while you hold down the shutter button.
You can use a tripod with a panning head to keep your motion level, but it is not a requirement for panning photography.
Camera settings for panning motion blur
Achieving motion blur requires slower shutter speeds. For many scenes, a shutter speed between 1/15 and 1/60 second provides a pleasing blur while keeping the subject relatively sharp. However, there is no perfect shutter speed value. You should experiment with different shutter speeds to find the optimal setting for the action in front of you. As you set your shutter speed slower and slower, there will be a point that you can no longer maintain sharpness on the subject.
In addition to a slow shutter speed, set your camera to continuous focus mode to keep your subject in focus as you track the subject’s movement.
Lastly, set your camera to continuous release or burst mode. You want as many frames as possible for each panning sequence.
Panning technique
You need to position yourself parallel to the motion for the panning technique. As your subject moves from one side of the frame to the other, follow the subject in your viewfinder, exactly matching its speed.
This technique works best when the subject’s motion is in a straight line at a relatively consistent speed. Erratic motion, such as football players, makes it nearly impossible to keep the subject sharp.
Press and hold your shutter button to create a burst sequence of photos while using a smooth motion that tracks the speed of your subject.
Be prepared for a low success rate
If you haven’t tried panning motion blur photography before, be prepared for a low percentage of keepers. Smoothly panning your camera to match the motion of your subject is a skill that takes practice. The faster the action, the more challenging this skill is. Also, the slower your shutter speed, the more difficult it will be to obtain sharp photos of your subject.
Some subjects, like race cars or vehicles, move in one direction, and following their action smoothly is straightforward. Other subjects, like a horse galloping or a runner, move side-to-side and up and down with each step. Matching this complex motion in two dimensions with your camera is impossible. If you take enough frames, you will eventually get images where the subject is sharp, but it could take 100 photos to get one photo you like.
Pay attention to backgrounds
For panning motion blur to be effective, you need some detail in your background to provide streaks as you pan. Panning against a featureless background, like a blue sky, leaves no detail, and your image will lack a sense of action.
When blurred, backgrounds with too much contrast can also produce unsightly results. For example, one person in a white T-shirt will create an ugly white blob in the blurred photo.
Examples of panning motion blur
As you view each of the following examples, pay attention to the shutter speed used for each scene. Knowing this range of shutter speeds will give you an idea of where to start when capturing motion blur photos.

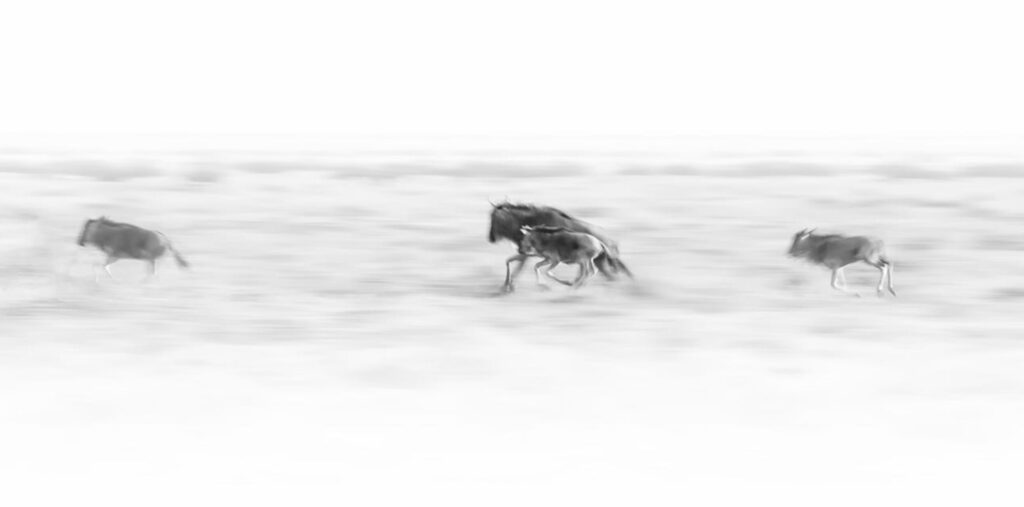
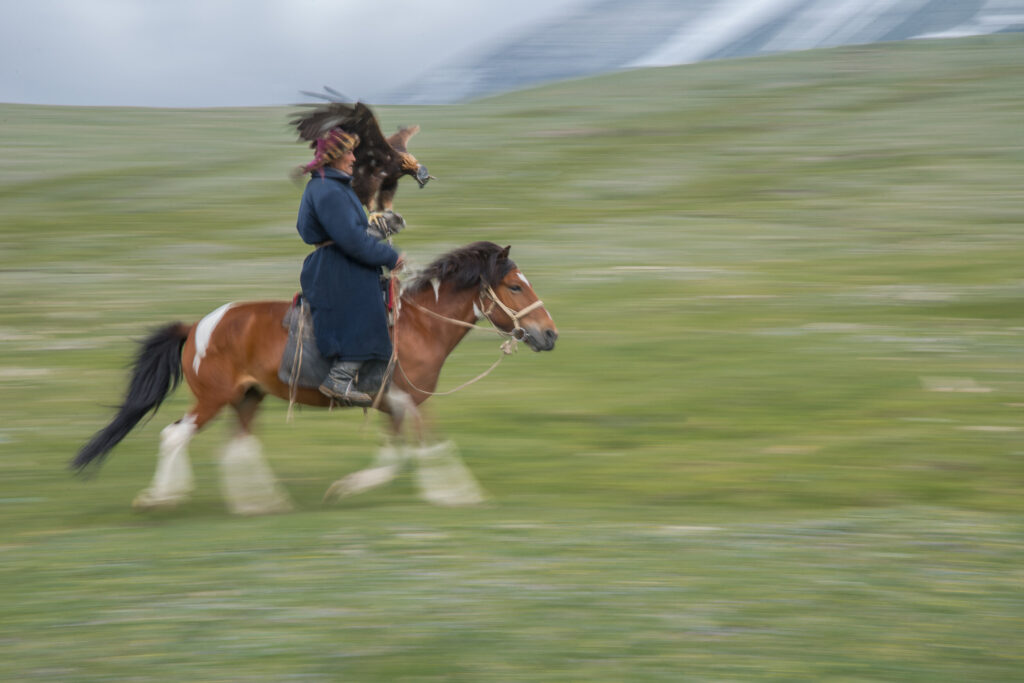


Panning motion blur with static subjects
This same panning technique can be used with static subjects to create fascinating abstracts. The goal here is to pan in the direction of the pattern. Trees are vertical, so smoothly pan the camera from bottom to top. Waves, street lights, or patterns in crop fields can be panned horizontally.
Since these are abstracts, you aren’t trying to keep anything sharp. Experiment with different shutter speeds to find the aesthetic that you like. You can also experiment with the speed of your panning motion.


Motion blur when the action is perpendicular to you
The panning technique needs motion that is parallel to you, moving side-to-side, so that you can match the subject’s speed with your camera’s movement.
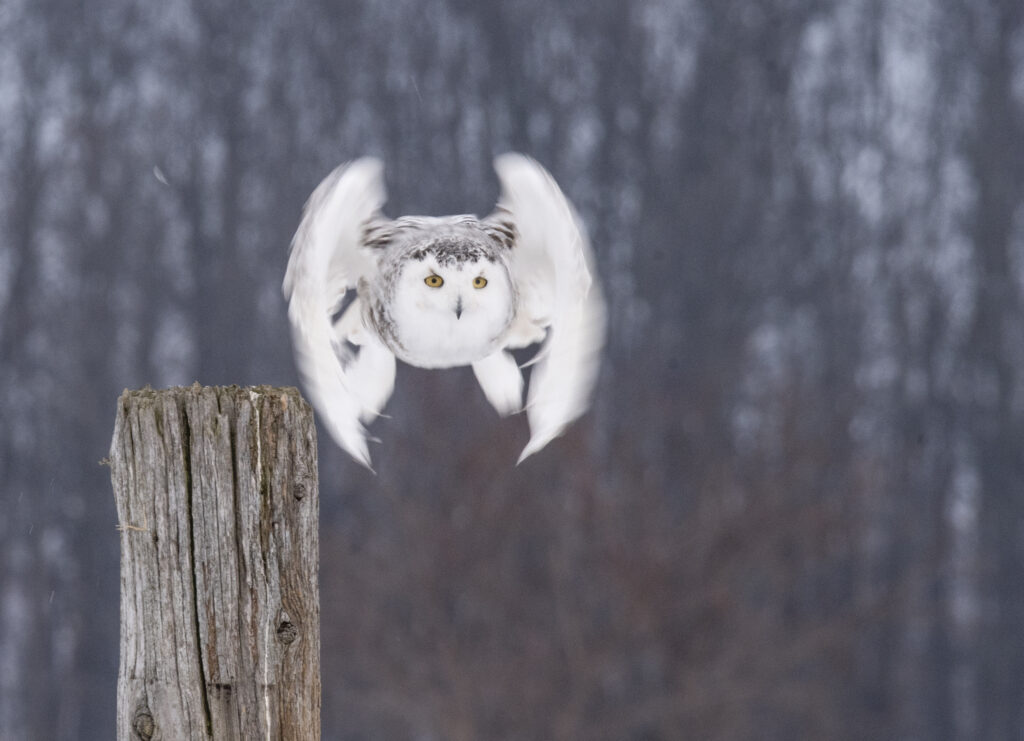
Sometimes, you may have a scene where animals come directly at you. You can still use motion blur with a slow shutter speed, but the background won’t be blurred. Continuous focus tracking of the subject is critical to make this sort of picture work.
Zoom blur
Another technique similar to panning motion blur is zoon motion blur. For zoom blur, you keep the camera stationary, and using a slow shutter speed and continuous release, you take a burst of photos as you rotate your zoom ring. The result is a blurred image with the direction of the blur running perpendicular to your camera’s lens.

Zoom blur is one of the trickiest motion blur techniques. It depends on how smoothly your lens’s zoom ring rotates. The stiffer your lens’s zoom ring, the more difficult it is to get a shot. If you like this effect, capturing an appealing image takes patience and practice. Your success rate will be low, so keep trying and experimenting.
Stationary motion blur
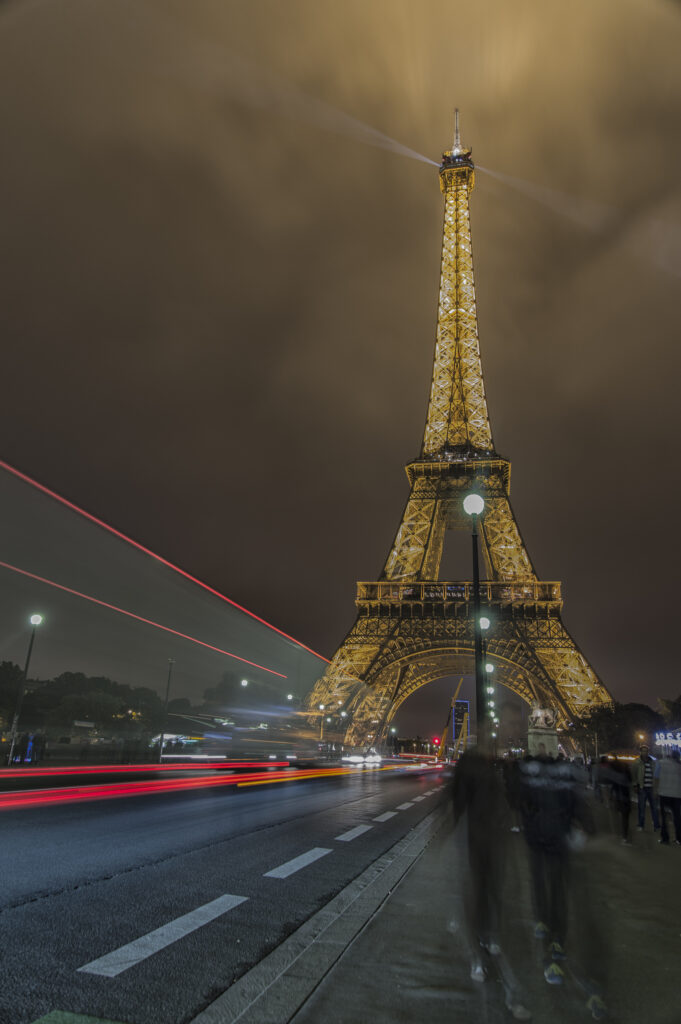
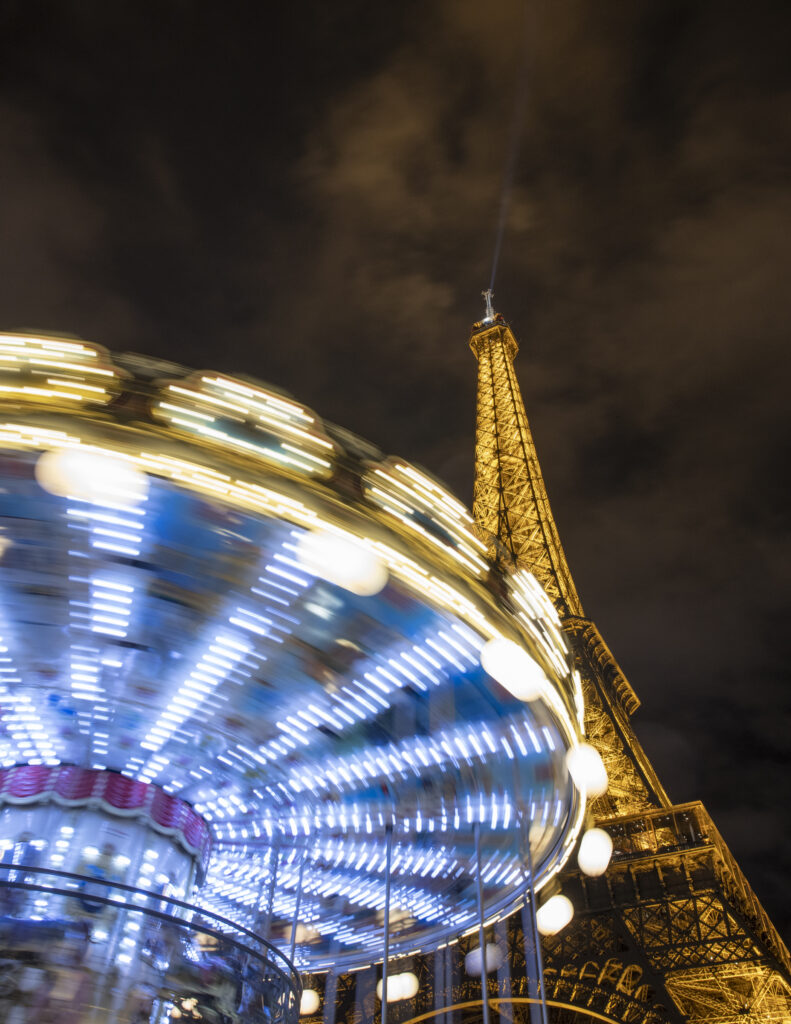
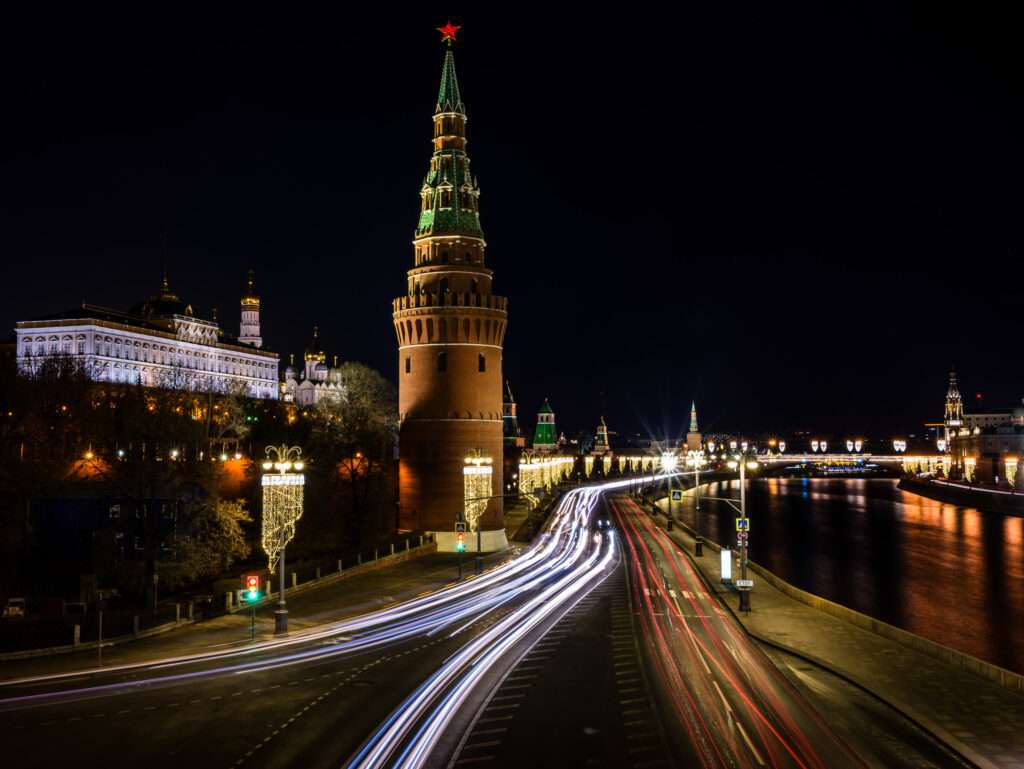
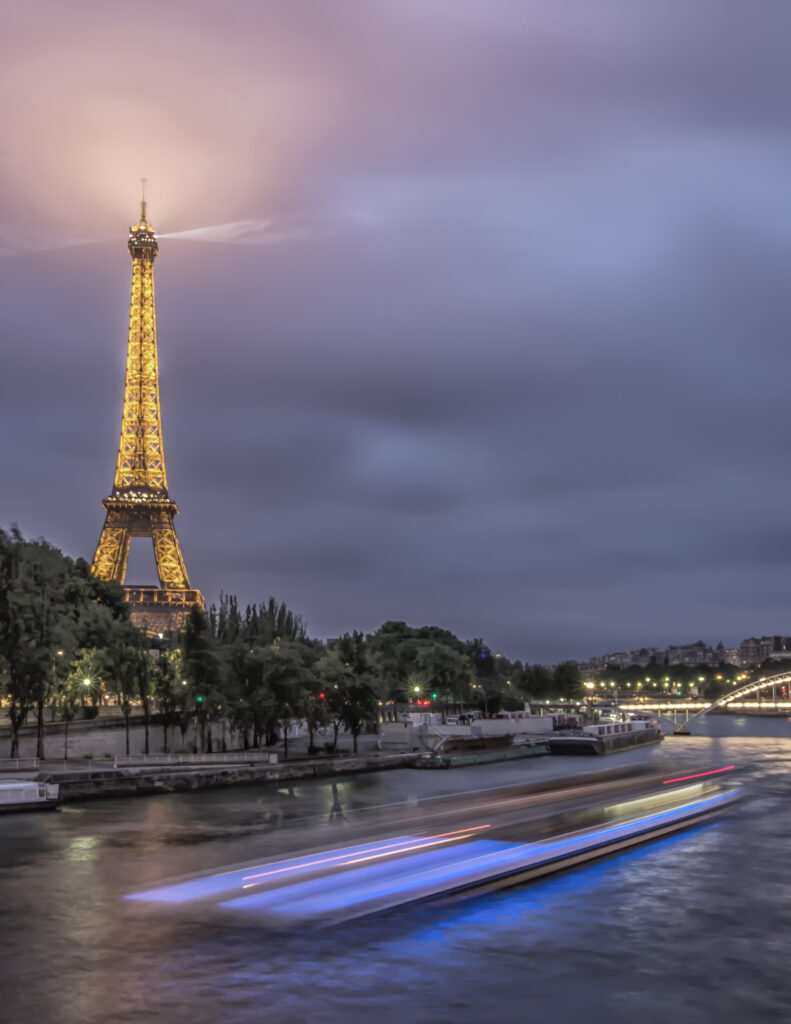
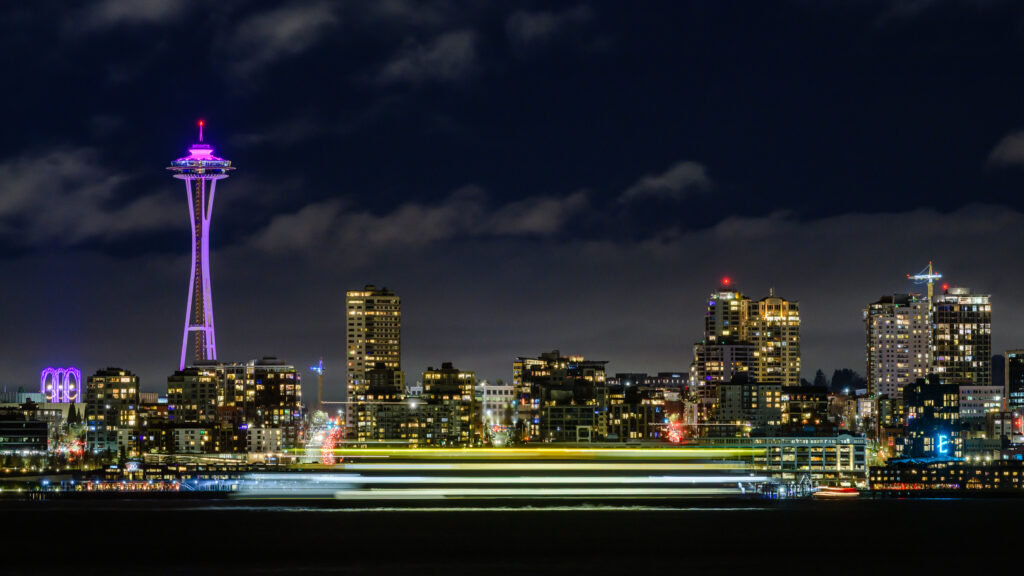
Stationary motion blur is a technique where the camera remains stationary on a tripod. A slow shutter speed allows the moving subjects to blur while the remainder of the scene is sharp.
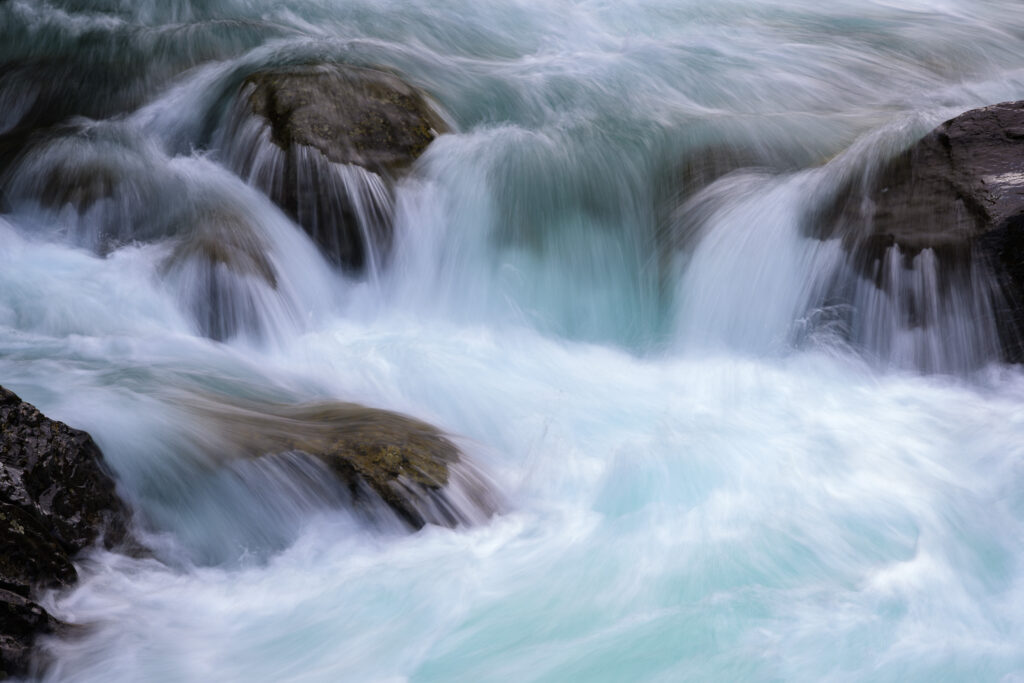
This technique can be used for vehicle or pedestrian traffic, trains, spinning Ferris wheels, merry-go-rounds, boats, water, and any other subject in motion.
Gear needed for stationary motion blur
You do not need complicated gear for stationary motion blur. Like the panning technique, you need to be able to manually set your shutter speed, either in Manual or Shutter Priority mode.
For many scenes, you’ll need a tripod to keep your camera stationary, and you’ll be taking single pictures, not continuous burst releases.
Determine the proper shutter speed
There is no perfect answer for shutter speed. How slow your shutter speed is determined by how fast your subject is moving. Fix your camera to a tripod and compose your scene. Start with a slow shutter speed, say 1/15 second. Take a photo and evaluate the blur. If there is not enough blur, slow your shutter speed. If there is too much blur, speed it up. Keep iterating until you find the creative effect that you are looking for.

Moving water
Motion blur photography of moving water is popular. We have a dedicated guide to photographing moving water using motion blur.
Give motion blur photography a try
Photographers tend to get stuck in a pattern where they freeze the action with fast shutter speeds for the sharpest image possible. We certainly don’t discourage that, but get creative with motion blur once you’ve got those action shots. Blurring images opens new creative possibilities and adds a dynamic element to many scenes, highlighting action and motion.
Motion blur techniques require practice, and you won’t always succeed, but the result is worth the effort.