10 tips for taking better photos on your Africa safari
By Kevin Pepper |
Here are some times to help you prepare and get the best photos on an African safari.
Tip #1 – Research before you go
Research is often overlooked yet critical to success in wildlife photography. Think of it like studying for an exam. You wouldn’t walk into your college exam without studying, would you? Research before a photoshoot will help you identify travel locations and better understand species’ behavior before you are out in the field.
- Species habitats – Where does the species live and hunt?
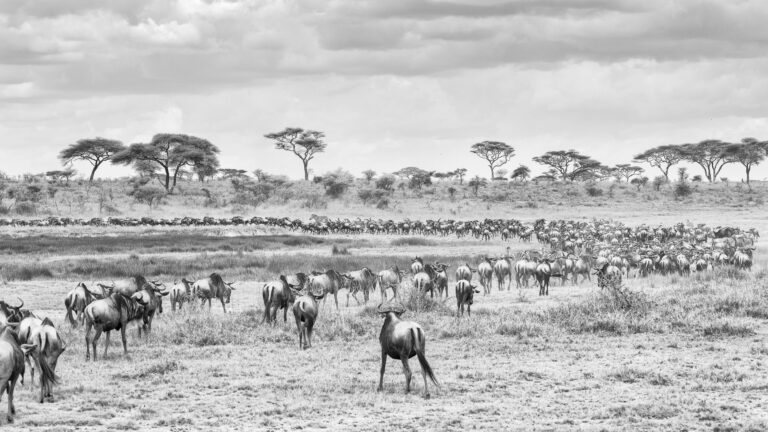
- Migratory patterns – When does the species migrate into accessible areas?
- Breeding seasons – When is their mating season, and when are their young born? Both of those seasons can be more photogenic.
- Logistics – How do you get there? Who will guide you? Will you use a workshop company, a group tour, or a private guide?
- Seasonal weather patterns – What will the weather be like, and how will it impact animal behavior and the resulting photos? Are you prepared for all weather conditions with your shooting gear?

Tip #2 – Go with a pro
Going on safari with a professional photo guide will cost more than a regular tourist safari, but the advantages outweigh the extra cost for a photographer.
A professional photo guide knows the location, the environment, and species behavior. They will craft an itinerary with photos as the priority, altering game drives and meal times to take advantage of the best animal activity and light.
As an experienced photographer, your photo guide inherently understands the correct camera settings for any situation and will point out photogenic scenes you may never consider. They can offer you constant feedback on your images so that you can improve your photography skills throughout your vacation. Also, during downtime, you will receive feedback and instructions on post-processing your images.
Tip #3 – Choose the correct camera gear
One of the easiest ways to improve your safari photographs is to ensure you have the right camera equipment. You will spend much time in a vehicle while on safari and sometimes photograph animals from vantage points outside the vehicle. This makes photography while on safari quite different from other types of photography.
Here is a basic list of camera gear for a photo safari.
- Two camera bodies
- Telephoto lens – e.g., 100–400mm, 100–500mm, 200–600mm, 500mm, or similar
- Standard lens – e.g., 24-120mm, 24-105mm, or similar
- 1.4x teleconverter
- Polarizing filter
- Enough batteries to last for three days between charging
- Battery chargers
- Enough memory cards to take 10,000 photos
- Two portable hard drives – nightly backup of the day’s images to redundant drives
- Laptop computer with photo editing software
- Empty bean bag for stability – fill with rice after arrival
Tip #4 – See the light

Light can transform a dull image into a brilliant one. Light needs to be used wisely depending on the type of light present, light intensity, direction, and time of the day.
Here are some everyday lighting situations that could help you create compelling shots.
Backlighting
Backlighting happens when the light source is behind the subject – for example, light during the golden hour when the sun is lower in the sky, almost at the horizon.
Backlight can create a silhouette with a hazy feel and few details on the subject, depending on the intensity and atmosphere present. You will also have some long shadows that can create a dramatic effect in the image.
Rim light
Positioning your subject at a slight angle from a backlight results in rim light. Unlike direct backlight, rim lighting will show more details of your subject instead of a silhouette. Rim light can beautifully brighten the edges of your subject, separating the subject from the background.
Front light
Front lighting occurs when the light is directly in front of the subject. Photographing with front light is easier, but if the light is directly in front of the subject, it may result in a “flat” photo. Flat lighting means that a subject is evenly lit and lacks shadows. Shadows add depth and three-dimensionality to images.
Midday light
Light from above is quite common. When outdoors, the sun is your light source, and most of the day, the sun is above your subjects. Lighting from above can create harsh shadows on your subject and be especially unflattering for human portraits.
Golden hour
Early mornings and late afternoons are great because the sunlight is more orange, less harsh, and comes from a low angle, especially at sunrise and sunset.
Sidelight
Sidelight is one of our favorite kinds of light. By positioning the light source to the left or right of the subject, light falls on one side of the subject, leaving the other in shadow. The masters of painting used it—Rembrandt used side light to give his paintings a three-dimensional effect.
Like every skill, seeing the light—its direction and quality—takes practice. But with some basic knowledge of lighting situations, any person with a camera can practice and learn to see the light to make their images look fantastic.
Tip #5 – Mind your shutter speed
Shutter speed is the most crucial element of exposure settings for wildlife photography. Taking action-loaded wildlife scenes with a slow shutter speed will only work if you intentionally try to create an artistic motion blur.
It depends on the speed of the action, but we generally recommend setting the shutter speed to at least 1/1000 second. For running animals, a typical shutter speed is 1/1000–1/1250 second. For large flying birds, 1/1600–1/2500 second, and 1/3200 second for small, fast-flying birds.
Early or late in the day, when the light is low, these shutter speeds mean increased ISO and more noise in your images. It is possible to reduce digital noise but not to remove motion blur, so use the ISO setting you need to get a well-exposed image.
You can certainly use slower shutter speeds for stationary or barely-moving subjects, but you must be adept at quickly changing shutter speeds when action occurs.
Read our in-depth guide for choosing the best shutter speed for wildlife photography.
Tip #6 – Pay attention to depth of field
Using a long zoom lens with a relatively wide aperture can have many advantages in wildlife photography. Wider apertures produce a narrower depth of field, allowing the subject to be isolated from a busy or uninteresting background by blurring the background with beautiful bokeh. Of course, you must keep the critical parts of your subject sharp, paying careful attention to where you are focusing.
Going “wide open” means using the widest aperture your lens supports, usually ƒ/2.8, ƒ/4, or even ƒ/5.6 for some zoom lenses. For smaller animals, this will often result in the entire animal being in focus. For larger animals, the photographer should ensure the eyes are in focus, with acceptable depth of field—typically extending at least from the nose back to the ears. Sometimes, this requires selecting a smaller aperture than you would for a smaller animal.
Groups of animals are trickier. A wide aperture can isolate one animal from the rest of the group and emphasize a behavior, but a smaller aperture is necessary if you want the entire group in focus. Read our in-depth guide on using aperture with groups of animals.
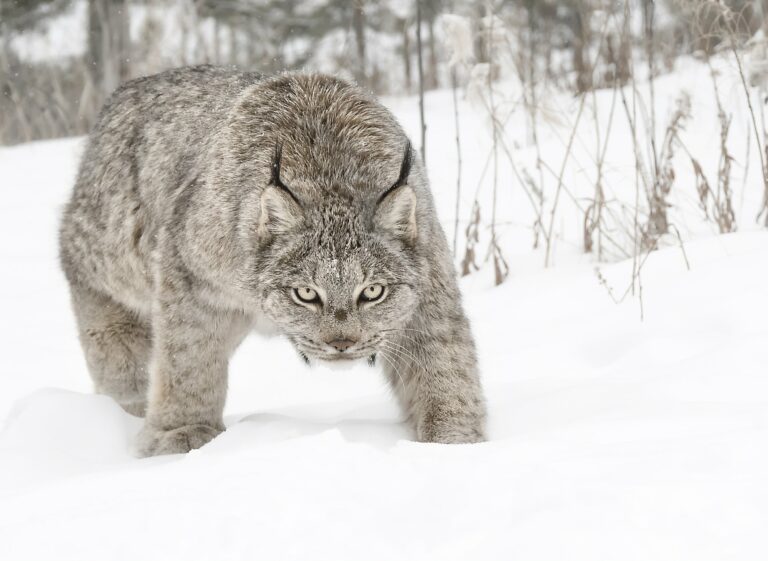
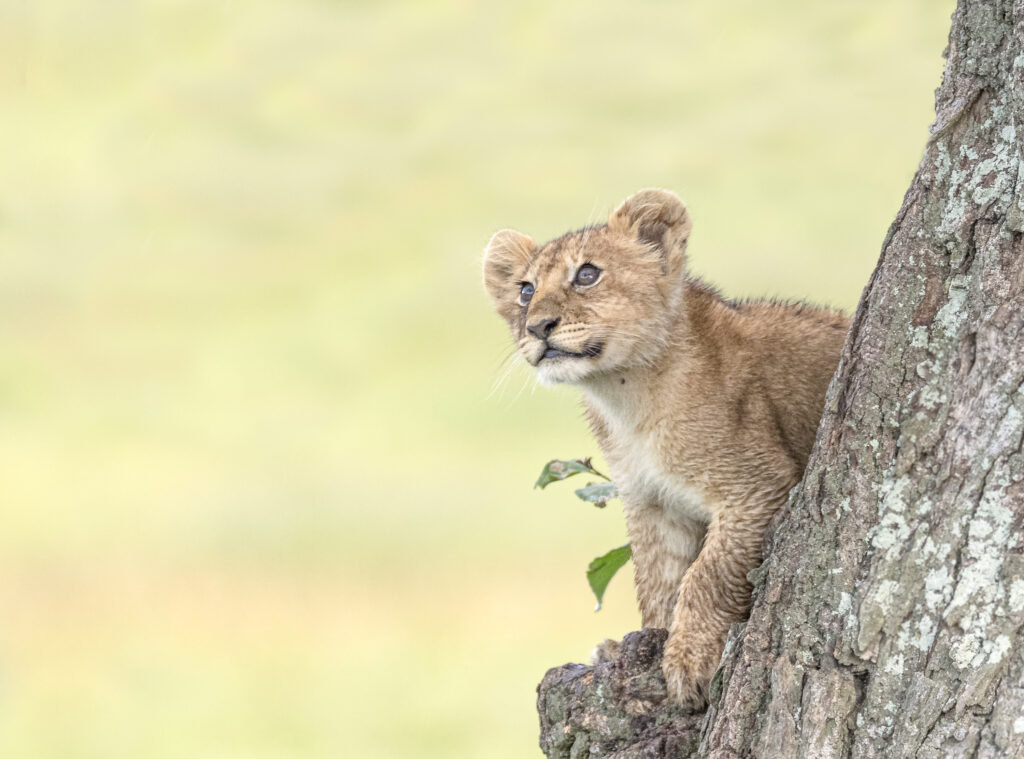
Tip #7 – Focus on the eyes

Humans are drawn to eyes, whether that is a fellow human or an animal.
In a photograph, the viewer’s attention first goes to the eyes. This eye contact forms a connection to the subject, and they may lose interest if the eyes are out of focus. Eyes can show an animal’s fear, sadness, anger, or happiness, and if you capture that emotion, the viewer will react positively to your photo.
You should place your camera’s focus point directly on the animal’s eye. This can be challenging, as the camera may pick up the snout, beak, or ears instead of the eye. Taking a sequence of photos will give you options to choose from and help correct this mistake.
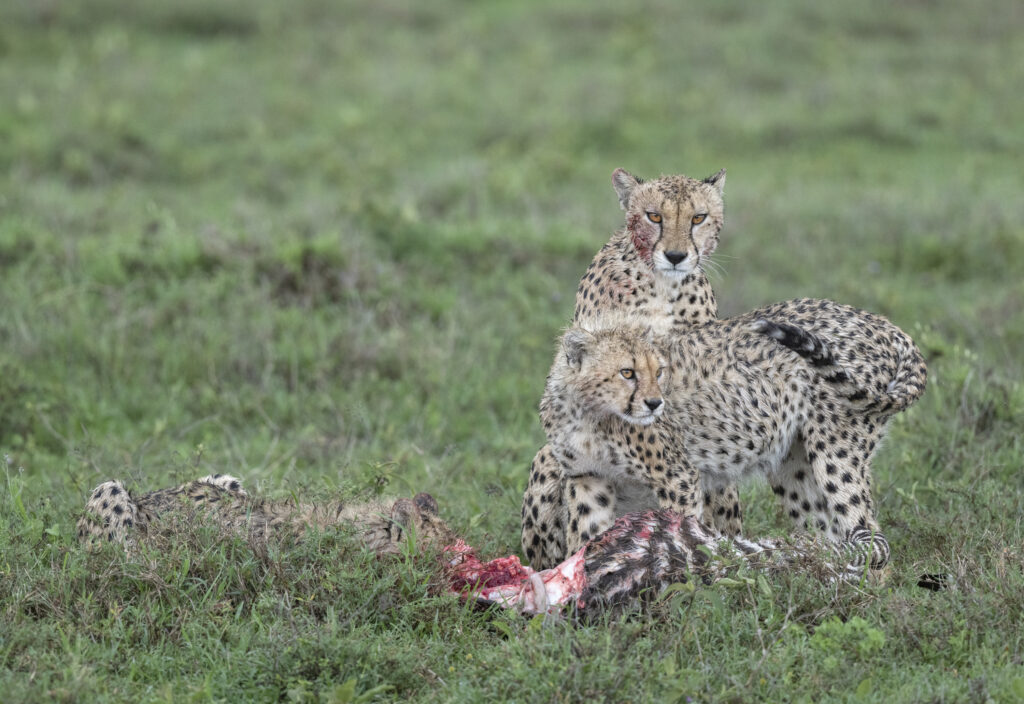
Tip #8 – Be patient and prepared

Wildlife photography requires patience and planning. Animals can be elusive, and you must be ready when they appear.
Even when the animals appear, a lot of animal behavior is boring in a photograph. A grazing animal spends most of its time with its head near the ground. Wait for them to notice something and raise their heads. A bird perched on a stick is interesting, but the moment of takeoff and landing is more compelling. If an animal is hunting, the moment they pounce is what you are waiting for. Lastly, if an animal notices you and stares right at you, click that shutter.
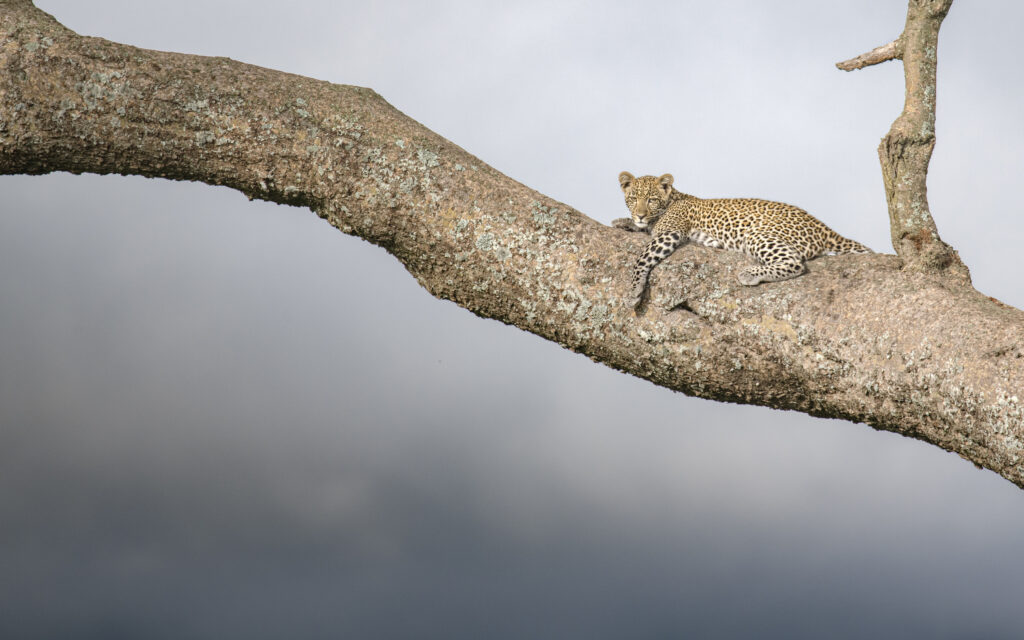
Tip #9 – Watch Your Backgrounds

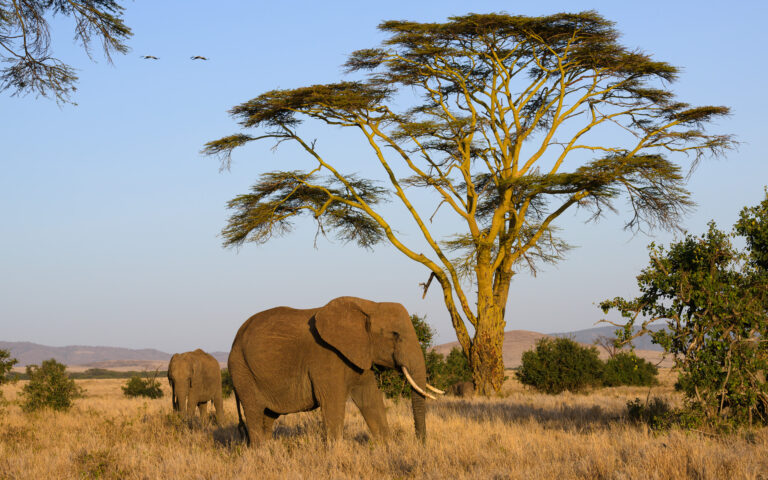
When photographing wildlife, you have little control of the background. In nature, these backgrounds can be cluttered, distracting, or ugly. If the background spoils your image, zoom in on the subject and eliminate as much of the background as possible. Zooming in also reduces your depth of field, helping to blur the background.
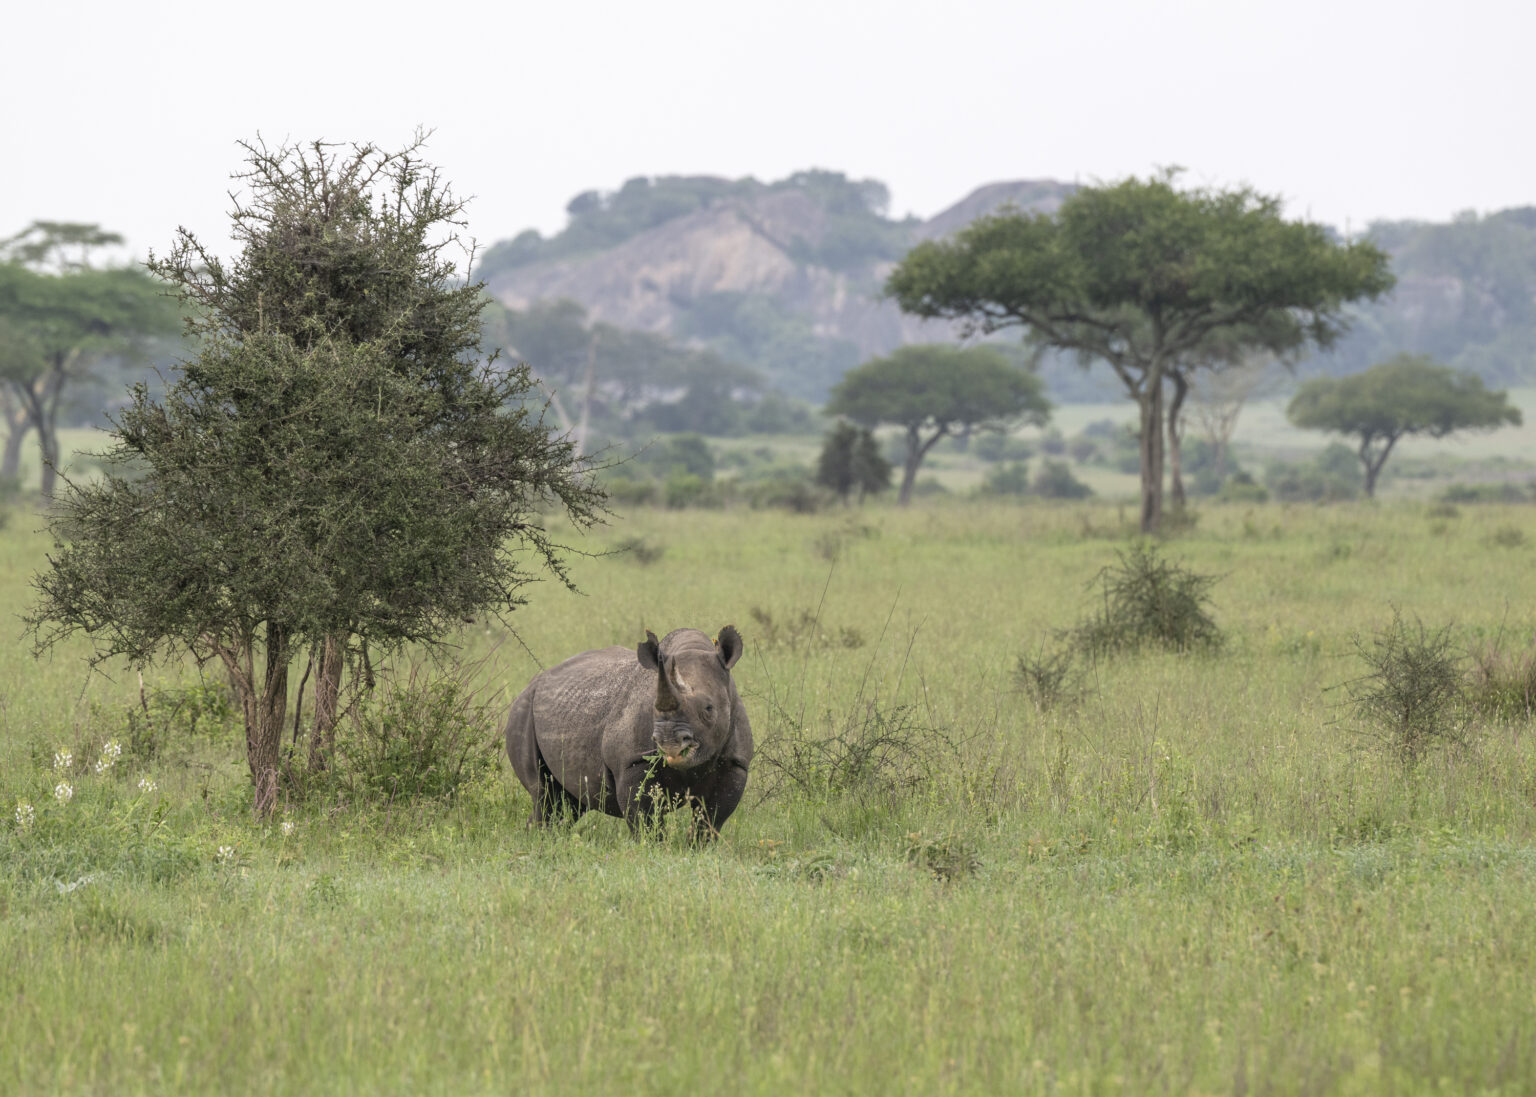
While up-close animal images are compelling, remember to show your viewer the environment where these animals live. An image that shows an animal in a beautiful landscape tells a more complete story. For example, a photograph of a humpback whale tail is fun, but where is that whale? Show it against a beautiful backdrop of glaciers or mountains gives the viewer context about the environment these animals inhabit.
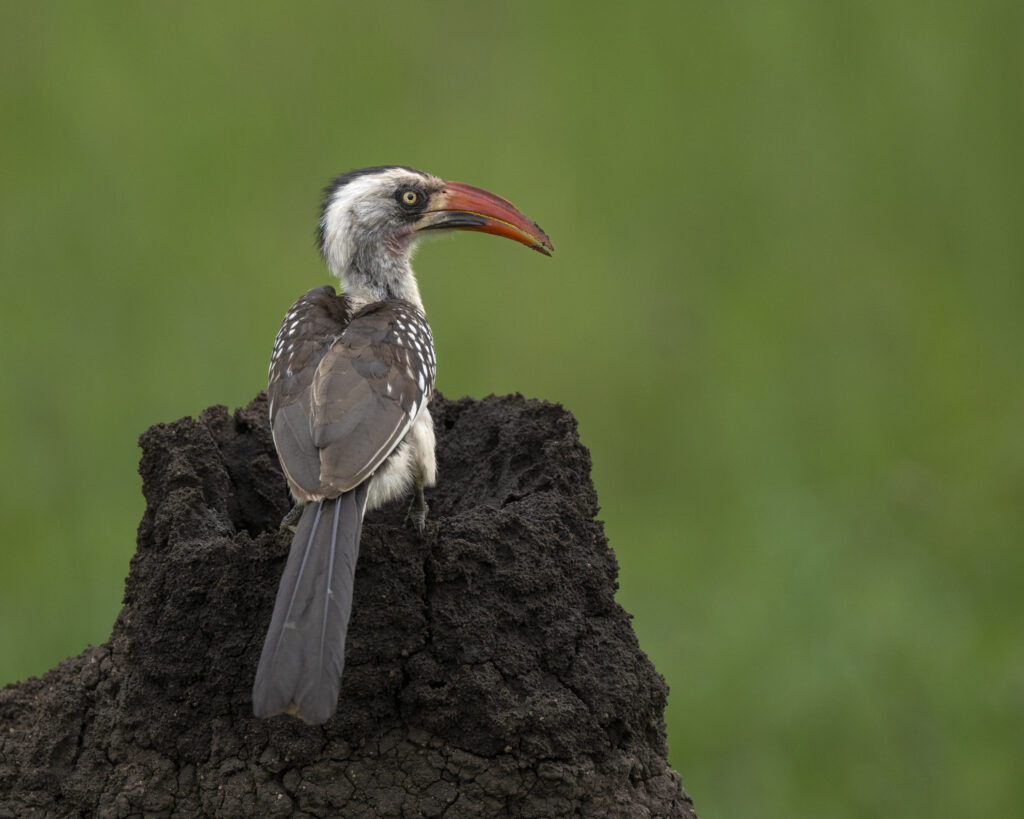
Tip #10 – Position the animal in your frame
The difference between a good and a great photograph often is how the photographer positions them in the frame.
Is the animal in motion? Show more space in front of them to give them space to move into. Is the animal gazing at something? Either show what they are staring at or allow more space in the direction of their gaze. Are there leading lines in the image? Place the animal so that the leading line guides the viewer’s eyes to the animal.
Don’t zoom too close and cut off body parts in your image. This is an easy mistake to make when animals are moving. Check your images and ensure you haven’t cut off their tail, feet, or tips of the wings. Also, pay attention to shadows and include the entire shadow if that is part of your image.
Tangencies also detract from a photograph. A tangency occurs when two objects appear to touch in a photo and can be visually bothersome. A slight change in your vantage point can often remove an undesired tangency.