How to photograph the Milky Way
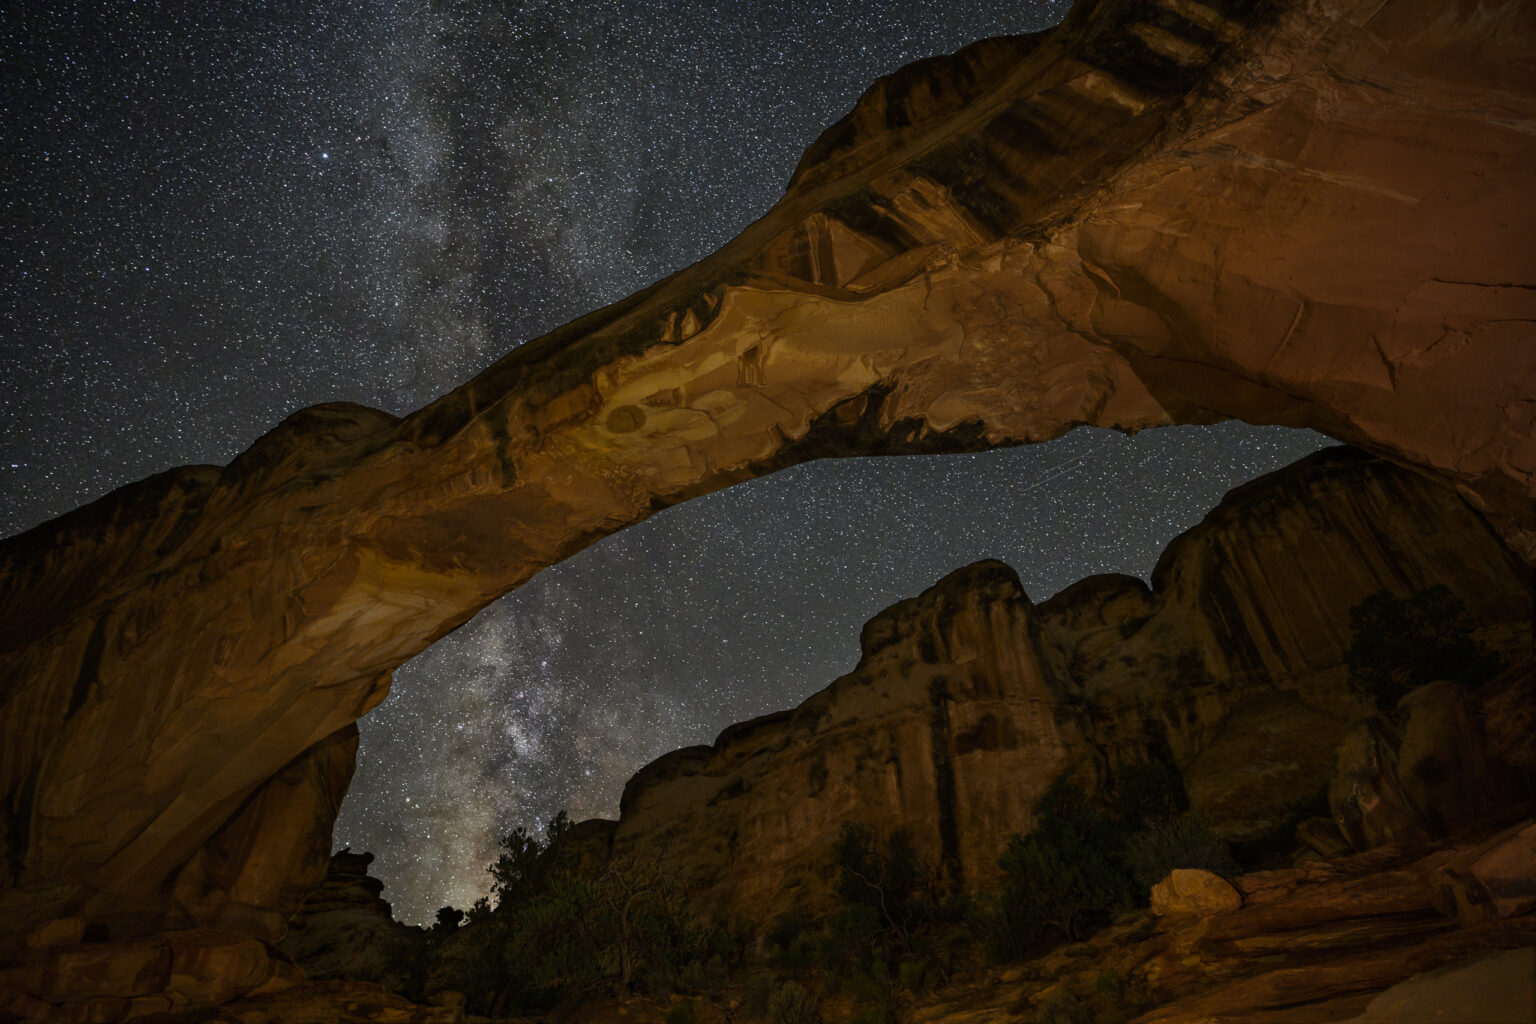
Photographing the Milky Way is perhaps the most popular form of astrophotography. With today’s camera gear and a little planning and preparation, Milky Way photography is accessible to beginners and enthusiasts alike.
Milky Way galactic center
When photographers say they are photographing the Milky Way, it is a bit of a misnomer. Earth is inside the Milky Way, and almost everything you see in the night sky is part of that galaxy. Milky Way photography is about photographing the arc of the galactic core.
The center of our galaxy is dense with stars and clouds of gas and is home to a supermassive black hole. In the night sky, the galactic center is the most spectacular region of our galaxy, appearing as an arc of dense stars. This arc makes for a compelling element in photographs.
When can you photograph the Milky Way?
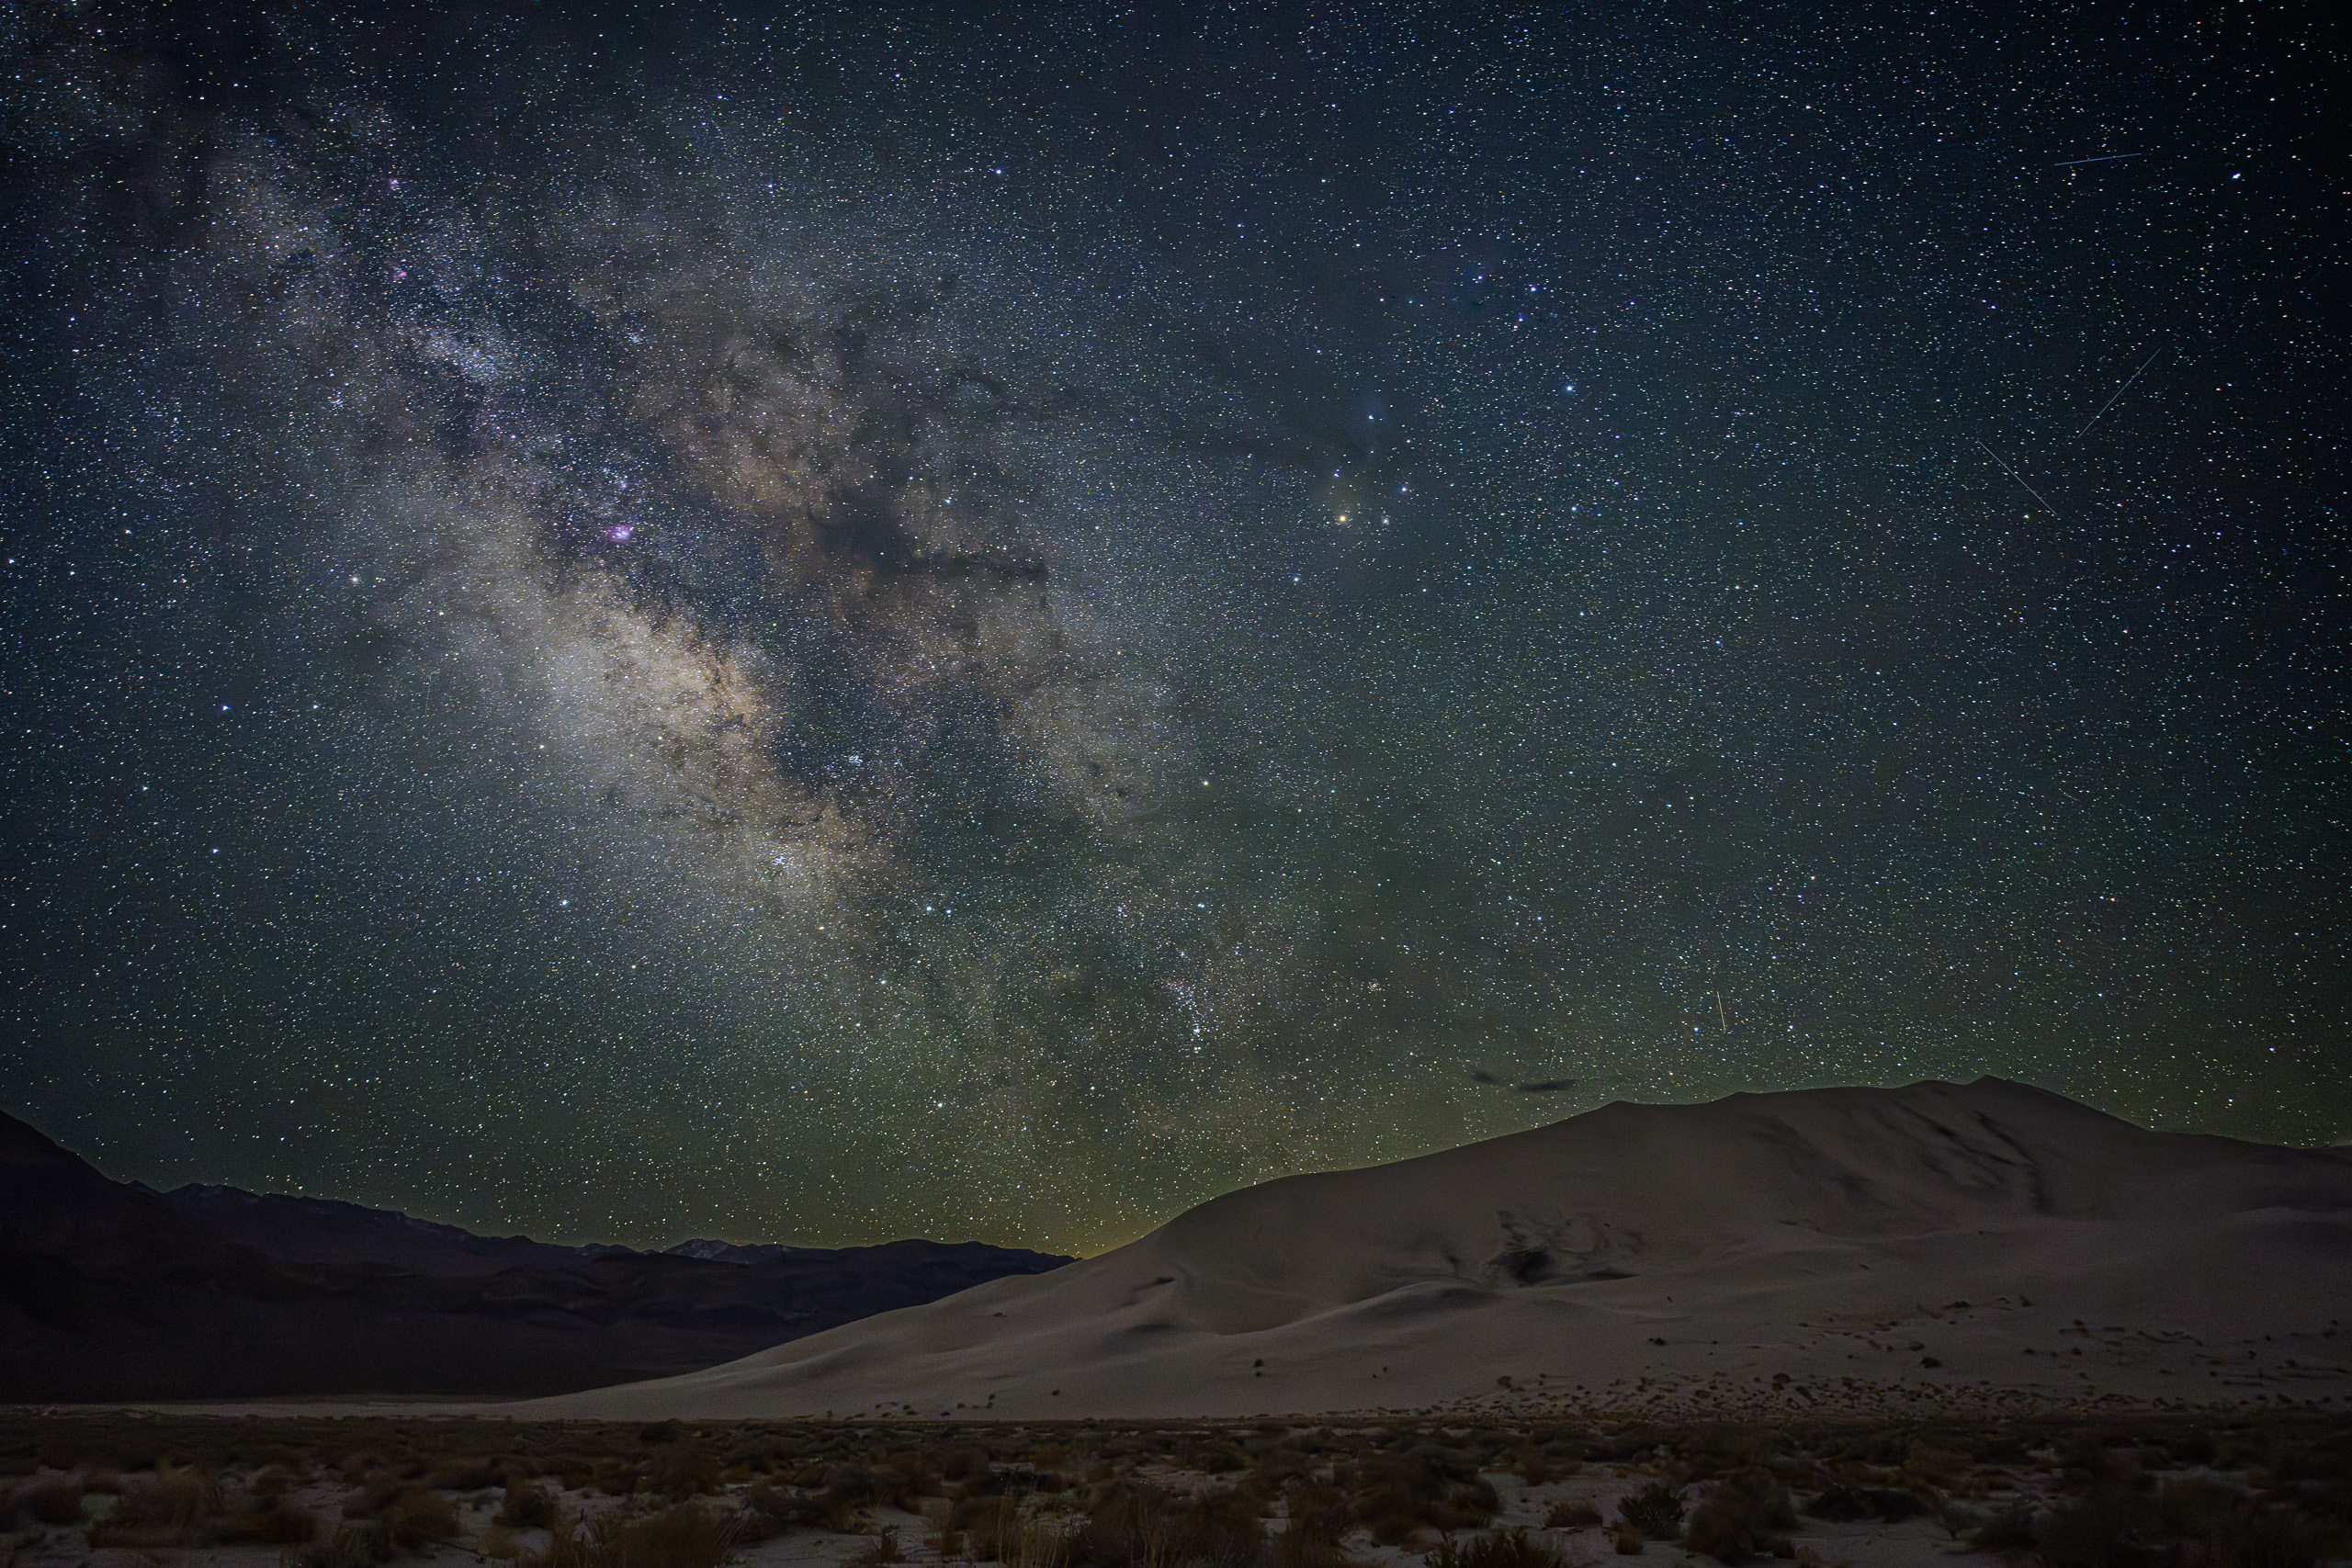
Due to Earth’s orbit and rotation, the galactic center is only visible during certain times of the year. It is visible in the northern hemisphere beginning in February and lasting through October, though the exact timing depends on your latitude. From November through January, it isn’t visible. The galactic center is never visible in far northern latitudes above 55°.
Due to the Earth’s and solar system’s axis tilt relative to the galaxy’s center, the southern hemisphere provides a better view of the galactic center. More of the galactic center is visible and higher in the night sky. The galactic core is visible from the end of January until October in the southern hemisphere.

Moon phase and the Milky Way
The moon is the brightest object in the night sky, and a full moon will easily overpower the Milky Way, making it difficult or impossible to see. For the best Milky Way photographs, seek out completely dark skies, which could be in the days around a New Moon or during hours when the moon is still below the horizon.
Some moonlight isn’t always bad, however. A partial moon can help illuminate the landscape, and you can combine that image with another exposure of the sky from that night when the moon moves below the horizon.
Weather and light pollution
To photograph the Milky Way, you need clear skies, and depending on your location, the time of year dramatically affects cloud cover. Check the cloud forecast before you venture out for a night of Milky Way photography. A few clouds in the sky can add some drama and interest to your photo, but too many clouds will hide the stars.

Just as significant as cloud cover is light pollution. City lights easily wash out the Milky Way, so you need to get far away from populated areas. For example, the United States has far more dark sky areas in the West than the heavily populated East.
Determine the location of the Milky Way
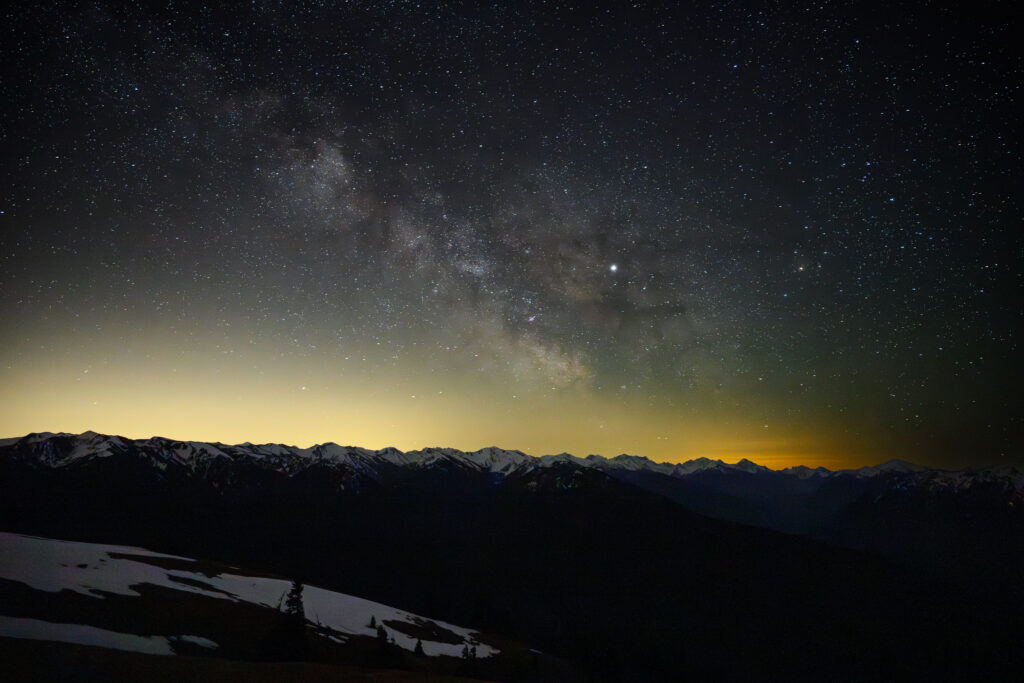
You’ve determined that it is Milky Way season, you have a clear and moonless sky, and you plan to head to a remote area away from light pollution. The next step is to determine where and when the galactic center will appear in the night sky so that you can line up the Milky Way with your landscape composition for your photos.
In the northern hemisphere, the Milky Way lies at a low angle early in the season, like March–April. Later in the summer, its angle appears straight up in the sky. Each night, the galactic center progresses across the southern skies. In the spring, it begins in the southeast; in the summer, in the south; and in the fall, it starts in the southwest.
During the early part of the Milky Way season, the low angle offers opportunities to photograph the entire arch of the Milky Way. Given its enormous size, you must create a multi-row panorama using multiple images from a super-wide angle lens to achieve this. Later in the season, the Milky Way is too high in the sky to accomplish this.


While this gives you a general idea of where you’ll see the galactic center, the best approach to photo planning is to use an app that will provide you with the location and times for the galactic center. We use PhotoPills for this purpose.
Locate the Milky Way galactic center using PhotoPills
When planning your Milky Way photo session, you may have a specific location or viewpoint in mind, or you may not know your exact shooting location. Also, you will often visit remote locations for dark skies that may not have connectivity for your phone. Based on those factors, how you plan your photo shoot using PhotoPills will differ.
Using PhotoPills for a location you already know
When you have a specific location or viewpoint already decided, we plan our shot in PhotoPills from home or before heading out. This way, we can determine the precise time and location of the Milky Way so we know when to arrive. Using the map view in the PhotoPills planner is also easier with internet connectivity, which isn’t always available in dark-sky locations.
In PhotoPills, tap Planner. From the map view, you must place the Red Pin at your shooting location. There are several different ways to place the Red Pin in PhotoPills.


- Drag & drop: To move the pin short distances, tap and hold the Red Pin, then drag it to your new location.
- Tap & hold on the map: Ignore the pin location and navigate to a different spot on the map. Tap and hold for a few seconds to make the Red Pin appear at this new location.
- Move Pin button: Tap the + symbol and choose the Move Pin button.
 The Red Pin will lift and reveal a white X symbol. Move the map until the white X is at your preferred location. Hit the Move Pin button again to drop the Red Pin in place.
 - Move the pin to your current location: Tap the + icon, then select the GPS button.
 The Red Pin will appear at your current location.
 - Move the pin to an address: Tap the Load button in the bottom bar and enter the address in the search box.
- Move the pin to coordinates: Tap the Load button in the bottom bar and choose Latitude/Longitude.
- Move the pin to a geotagged photo location: Tap the Load button in the bottom bar and select Geotagged Photo. If the photo you selected has GPS location metadata, the Red Pin will be placed there.
Once you have placed the Red Pin, you must set the date you plan to photograph. Tap the More button (3 dots) in the bottom bar and choose Date.

Once the Red Pin is placed correctly, slide the top panel left or right until the Visibility GC information appears. The top panel will show you the time frame when the galactic center will be visible, along with its azimuth and elevation.

The time bar is at the bottom of the Planner. Sliding the bar left or right changes the time shown on the map. As you slide and change the time, you’ll see the lines for the Sun and Moon rotate around the Red Pin. The arc of white circles will show the Milky Way core as it passes through the night sky. The heavier white circles indicate the arc’s galactic center or southern part. You’ll notice that the arc passes across the entire sky, with the less visually interesting northern section at the other end.

Locate the Milky Way over a landmark
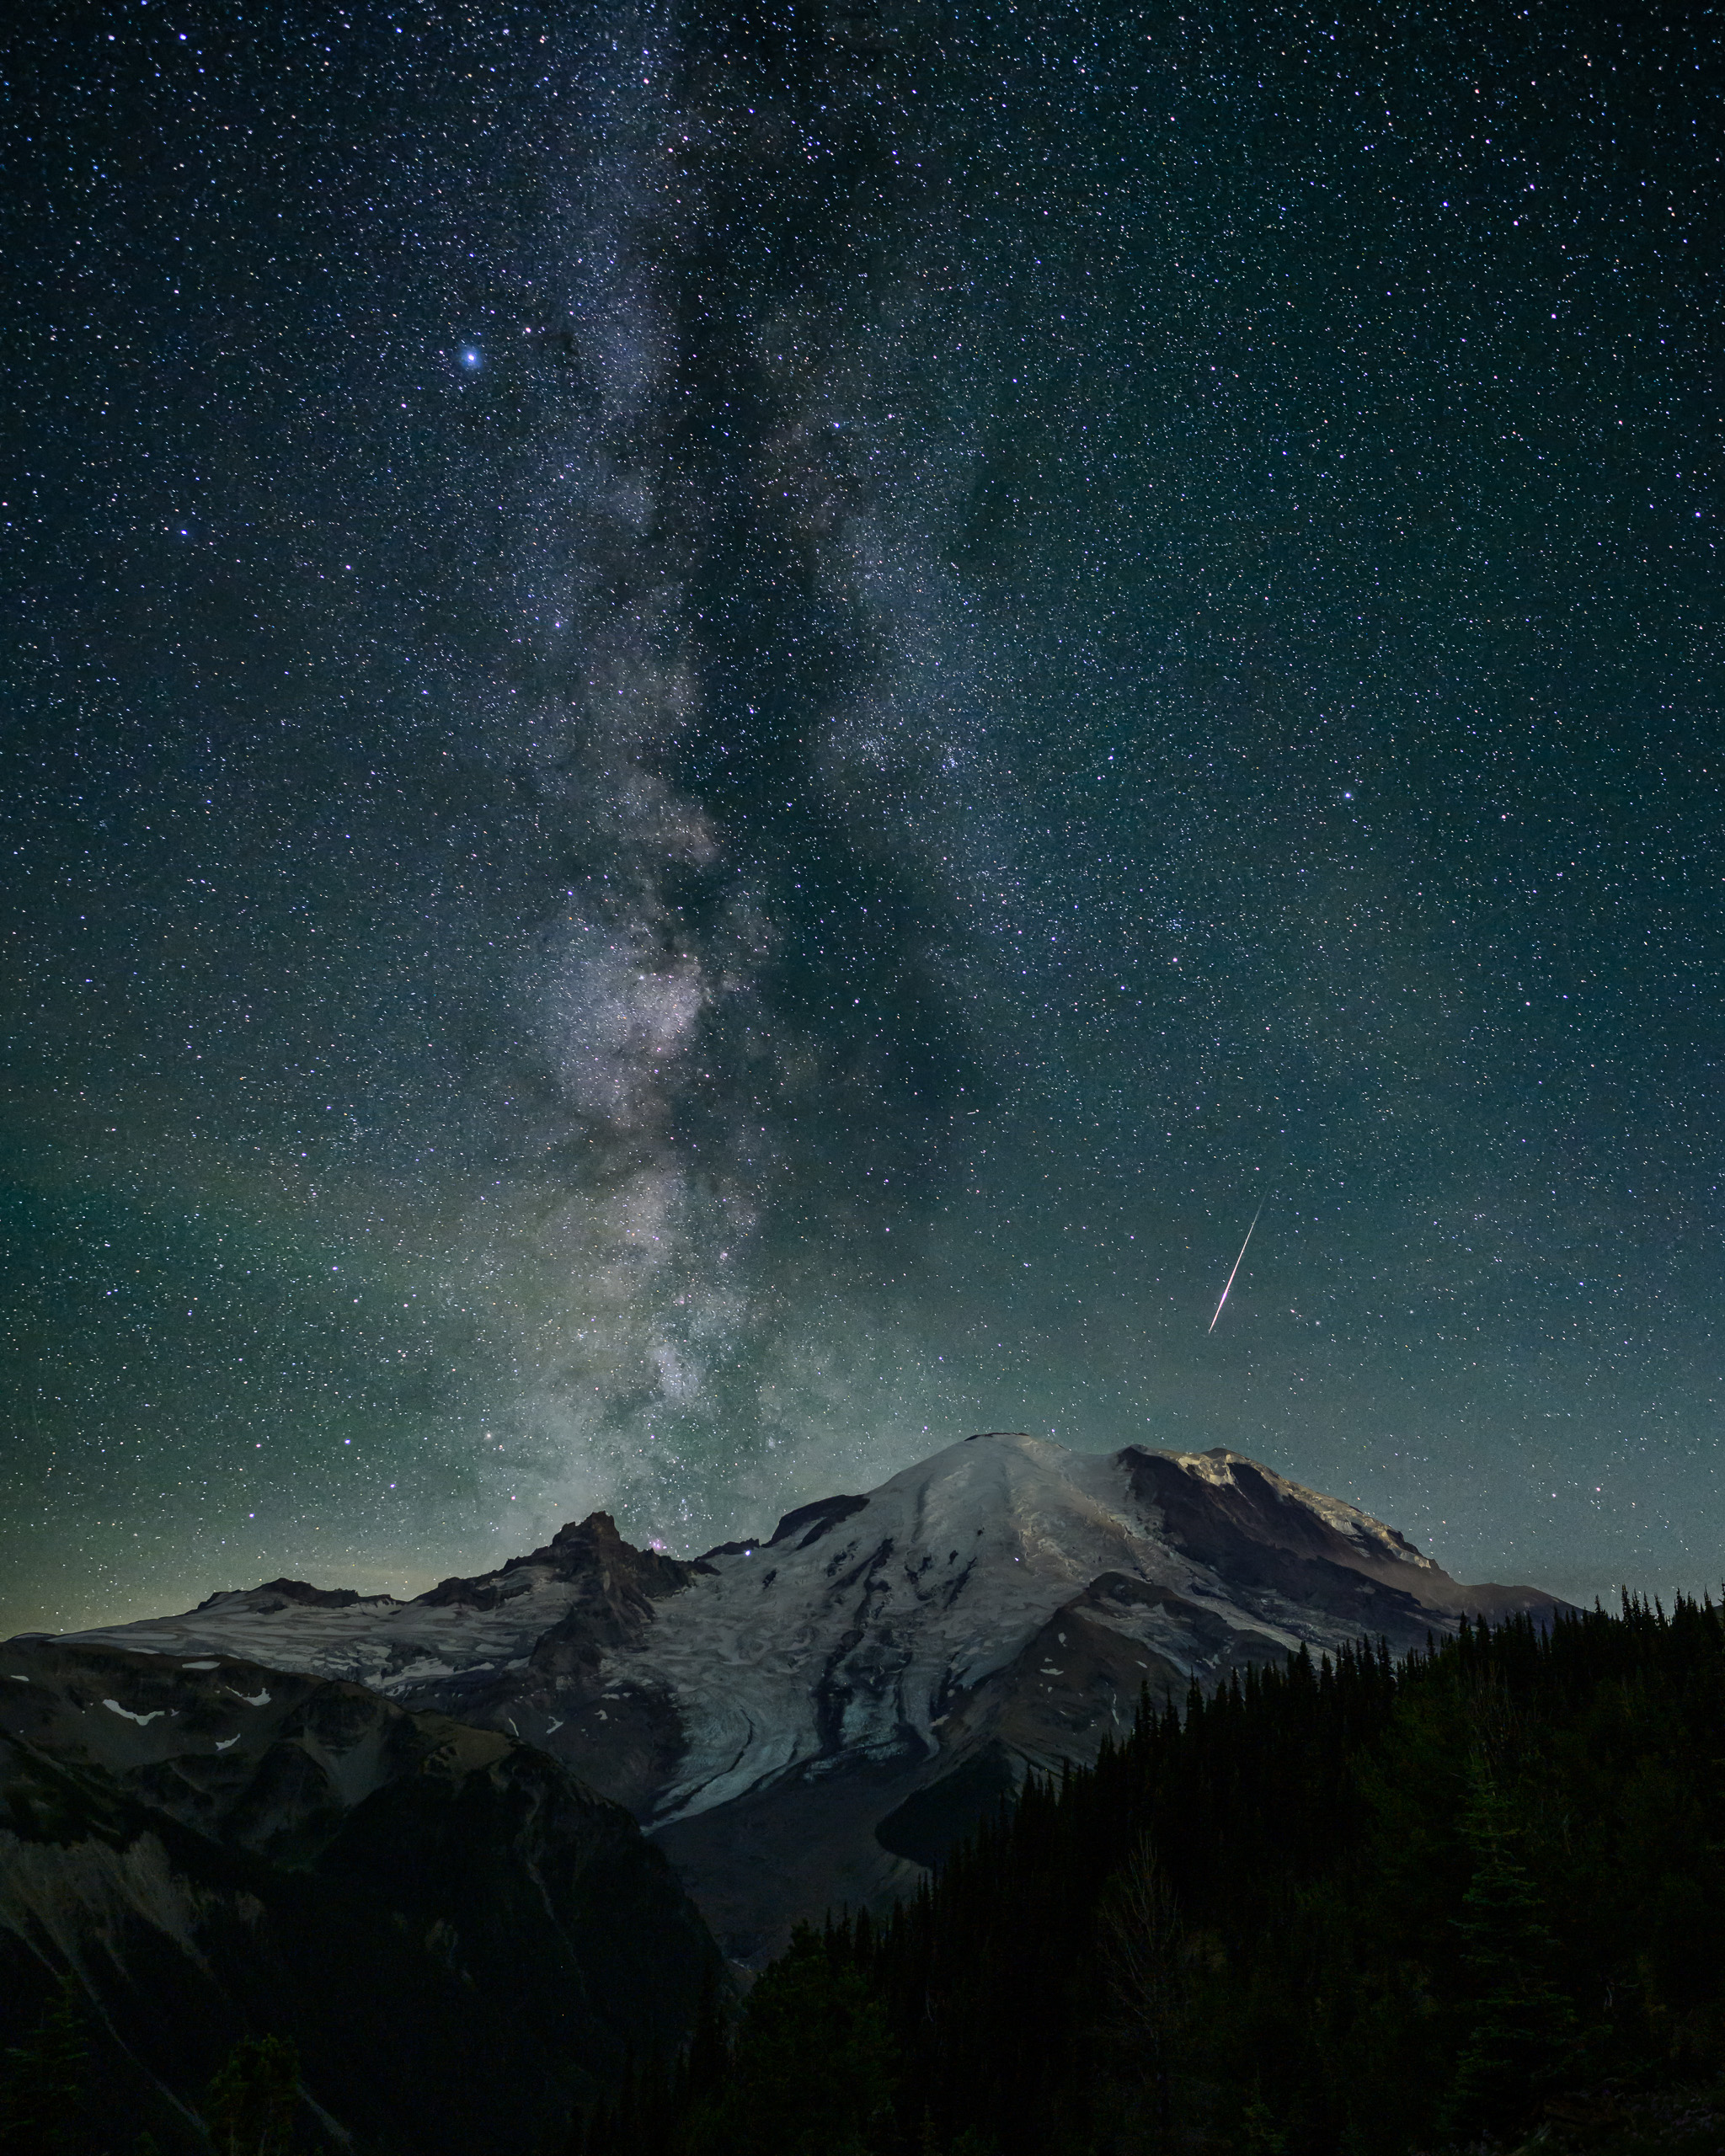
Our favorite use of the PhotoPills Planner is identifying when the Milky Way will align with a particular landmark. Let’s look for when the galactic center aligns with the volcanic crater of Mt. Rainier in Washington state, one of our favorite night sky destinations.
The terrain around Mt. Rainier can be steep and challenging to hike, but there are easily accessible trails and viewpoints in the Sunrise area of the park that offer direct southwest views of the crater. Due to lingering snow, the Sunrise area isn’t accessible until late June every year, so we don’t have to consider the early part of the season.
Now, we take a look at the New Moon in July. In 2025, the New Moon is on July 24. Using that date in the PhotoPills Planner, we slide the timeline through the night and find that at approximately 2:00 AM, from our preferred viewpoint, the galactic center of the Milky Way will line up directly with the crater, appearing as an “eruption of stars” so to speak.

Using PhotoPills when you’re on the trail in unfamiliar locations
If you are in an unfamiliar location, you may be unable to plan your Milky Way shot in advance. While scouting, you find an interesting mountainscape or tree that you want to include in a Milky Way composition. You have a south-facing viewpoint and a dark moonless sky, so you know that the galactic center will likely line up with your subject, but you don’t know when that will happen.
If your phone has internet access, you can use the Planner steps mentioned above. However, using the Night Augmented Reality (AR) view will let you quickly visualize the location and timing of the galactic center when you are on location.
First, move the Red Pin to your current location. The quickest way to do this is via the GPS button mentioned above.
Now, tap Night AR on the bottom panel and point your phone’s camera at your scene.

You can change the time represented by the Night AR view as follows:
- Swipe the Night AR view to the left to move time forward or to the right to move time backward.
- Tap on the right-hand side of the Night AR view to jump to the next day.
- Tap on the left-hand side of the Night AR view to jump to the previous day.
- Double-tap the screen to return to your current date and time.

As you change the time in the Night AR view, you can visualize many different aspects of the sky, such as the Milky Way’s position, star rotation, and the Moon’s position and path. Change the time until the galactic center aligns with your preferred composition, and note the time so you are ready to take the picture.
Even if you have planned your shot, the Night AR view helps you pre-visualize when and where the galactic center will appear in your composition. It is also a helpful view that will still work when you do not have internet connectivity. The maps in the Planner won’t render without connectivity.
Determine your composition
Photographing only the galactic center of the Milky Way isn’t all that interesting from a photographic perspective. The best Milky Way photographs feature a compelling landscape with a prominent subject. The galactic center is simply a secondary subject in a well-composed landscape photo.
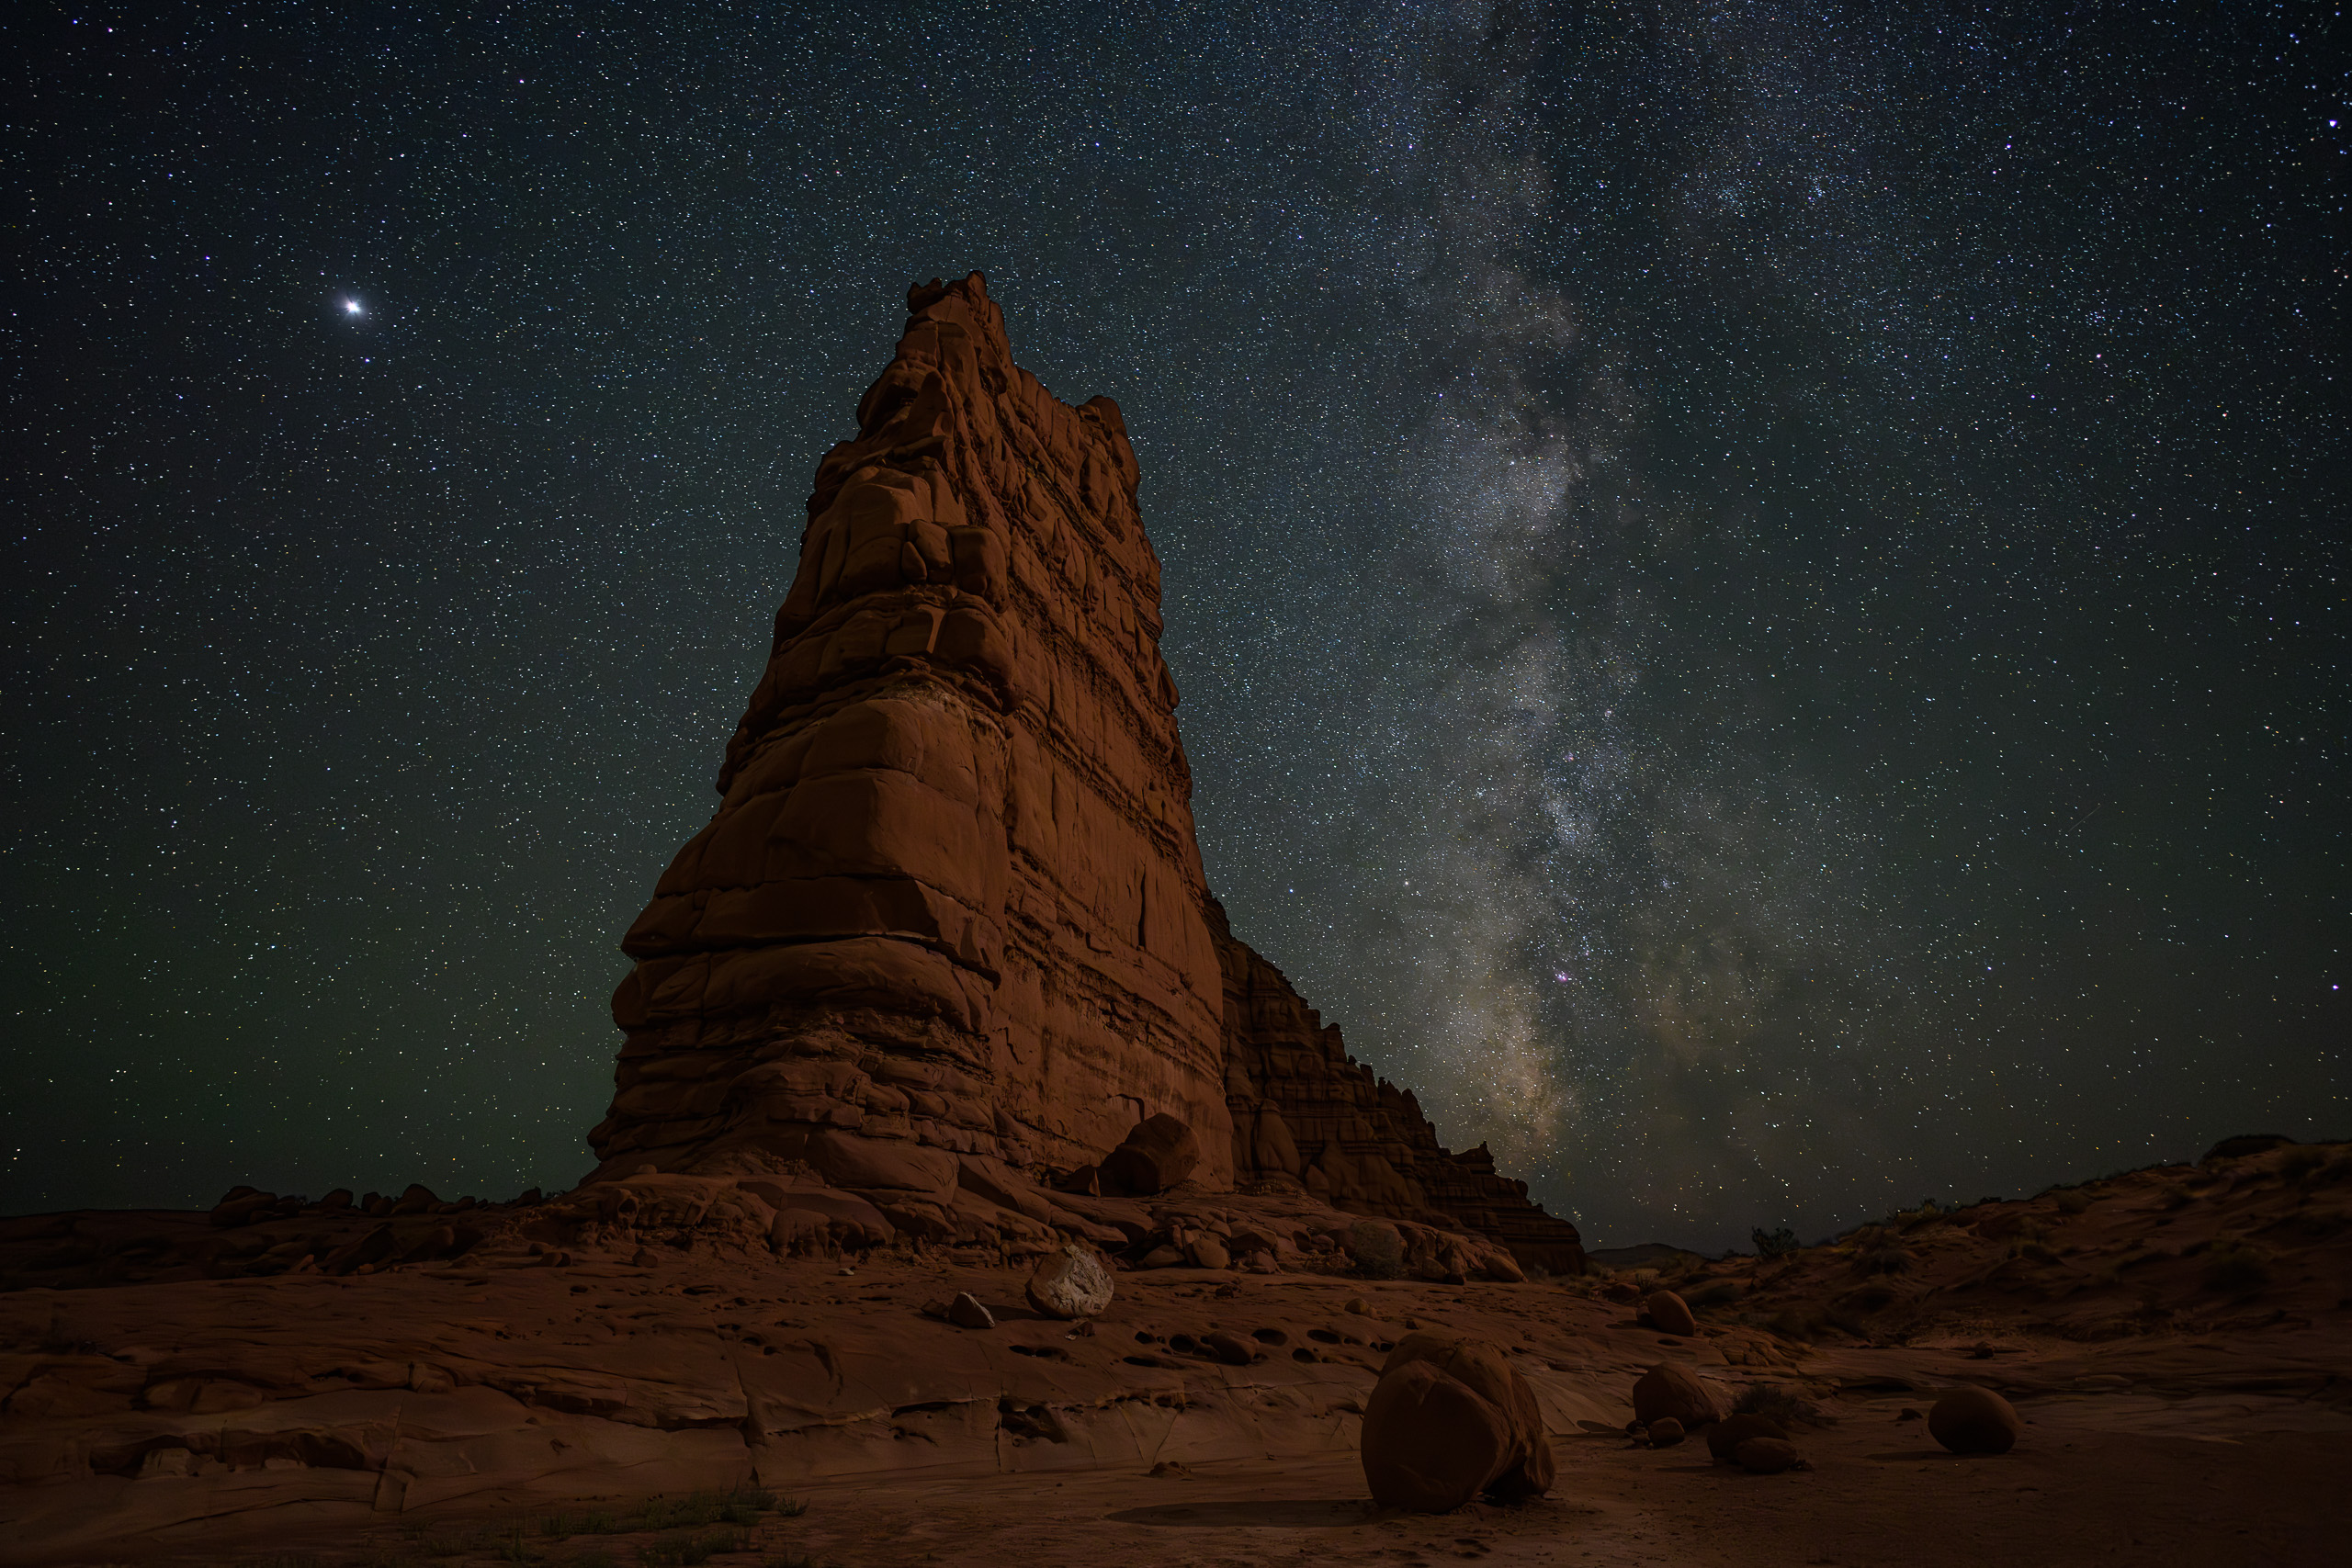
Adding a distinct foreground element anchors your scene and gives your composition a sense of place. Given how large the Milky Way is in the sky, your foreground gives your photo a sense of scale. The subject of your image can even be quite simple, like a lone tree or a manmade object. Don’t forget to take advantage of star reflections if you are near water.

Of course, determining an attractive composition on a moonless night is nearly impossible. When possible, arrive at your shooting location during daylight hours to scout for the best composition. You have already determined when and where the galactic center will appear, so point your camera in that direction at a composition you like and then wait for darkness.


Don’t ignore the other half of the Milky Way core
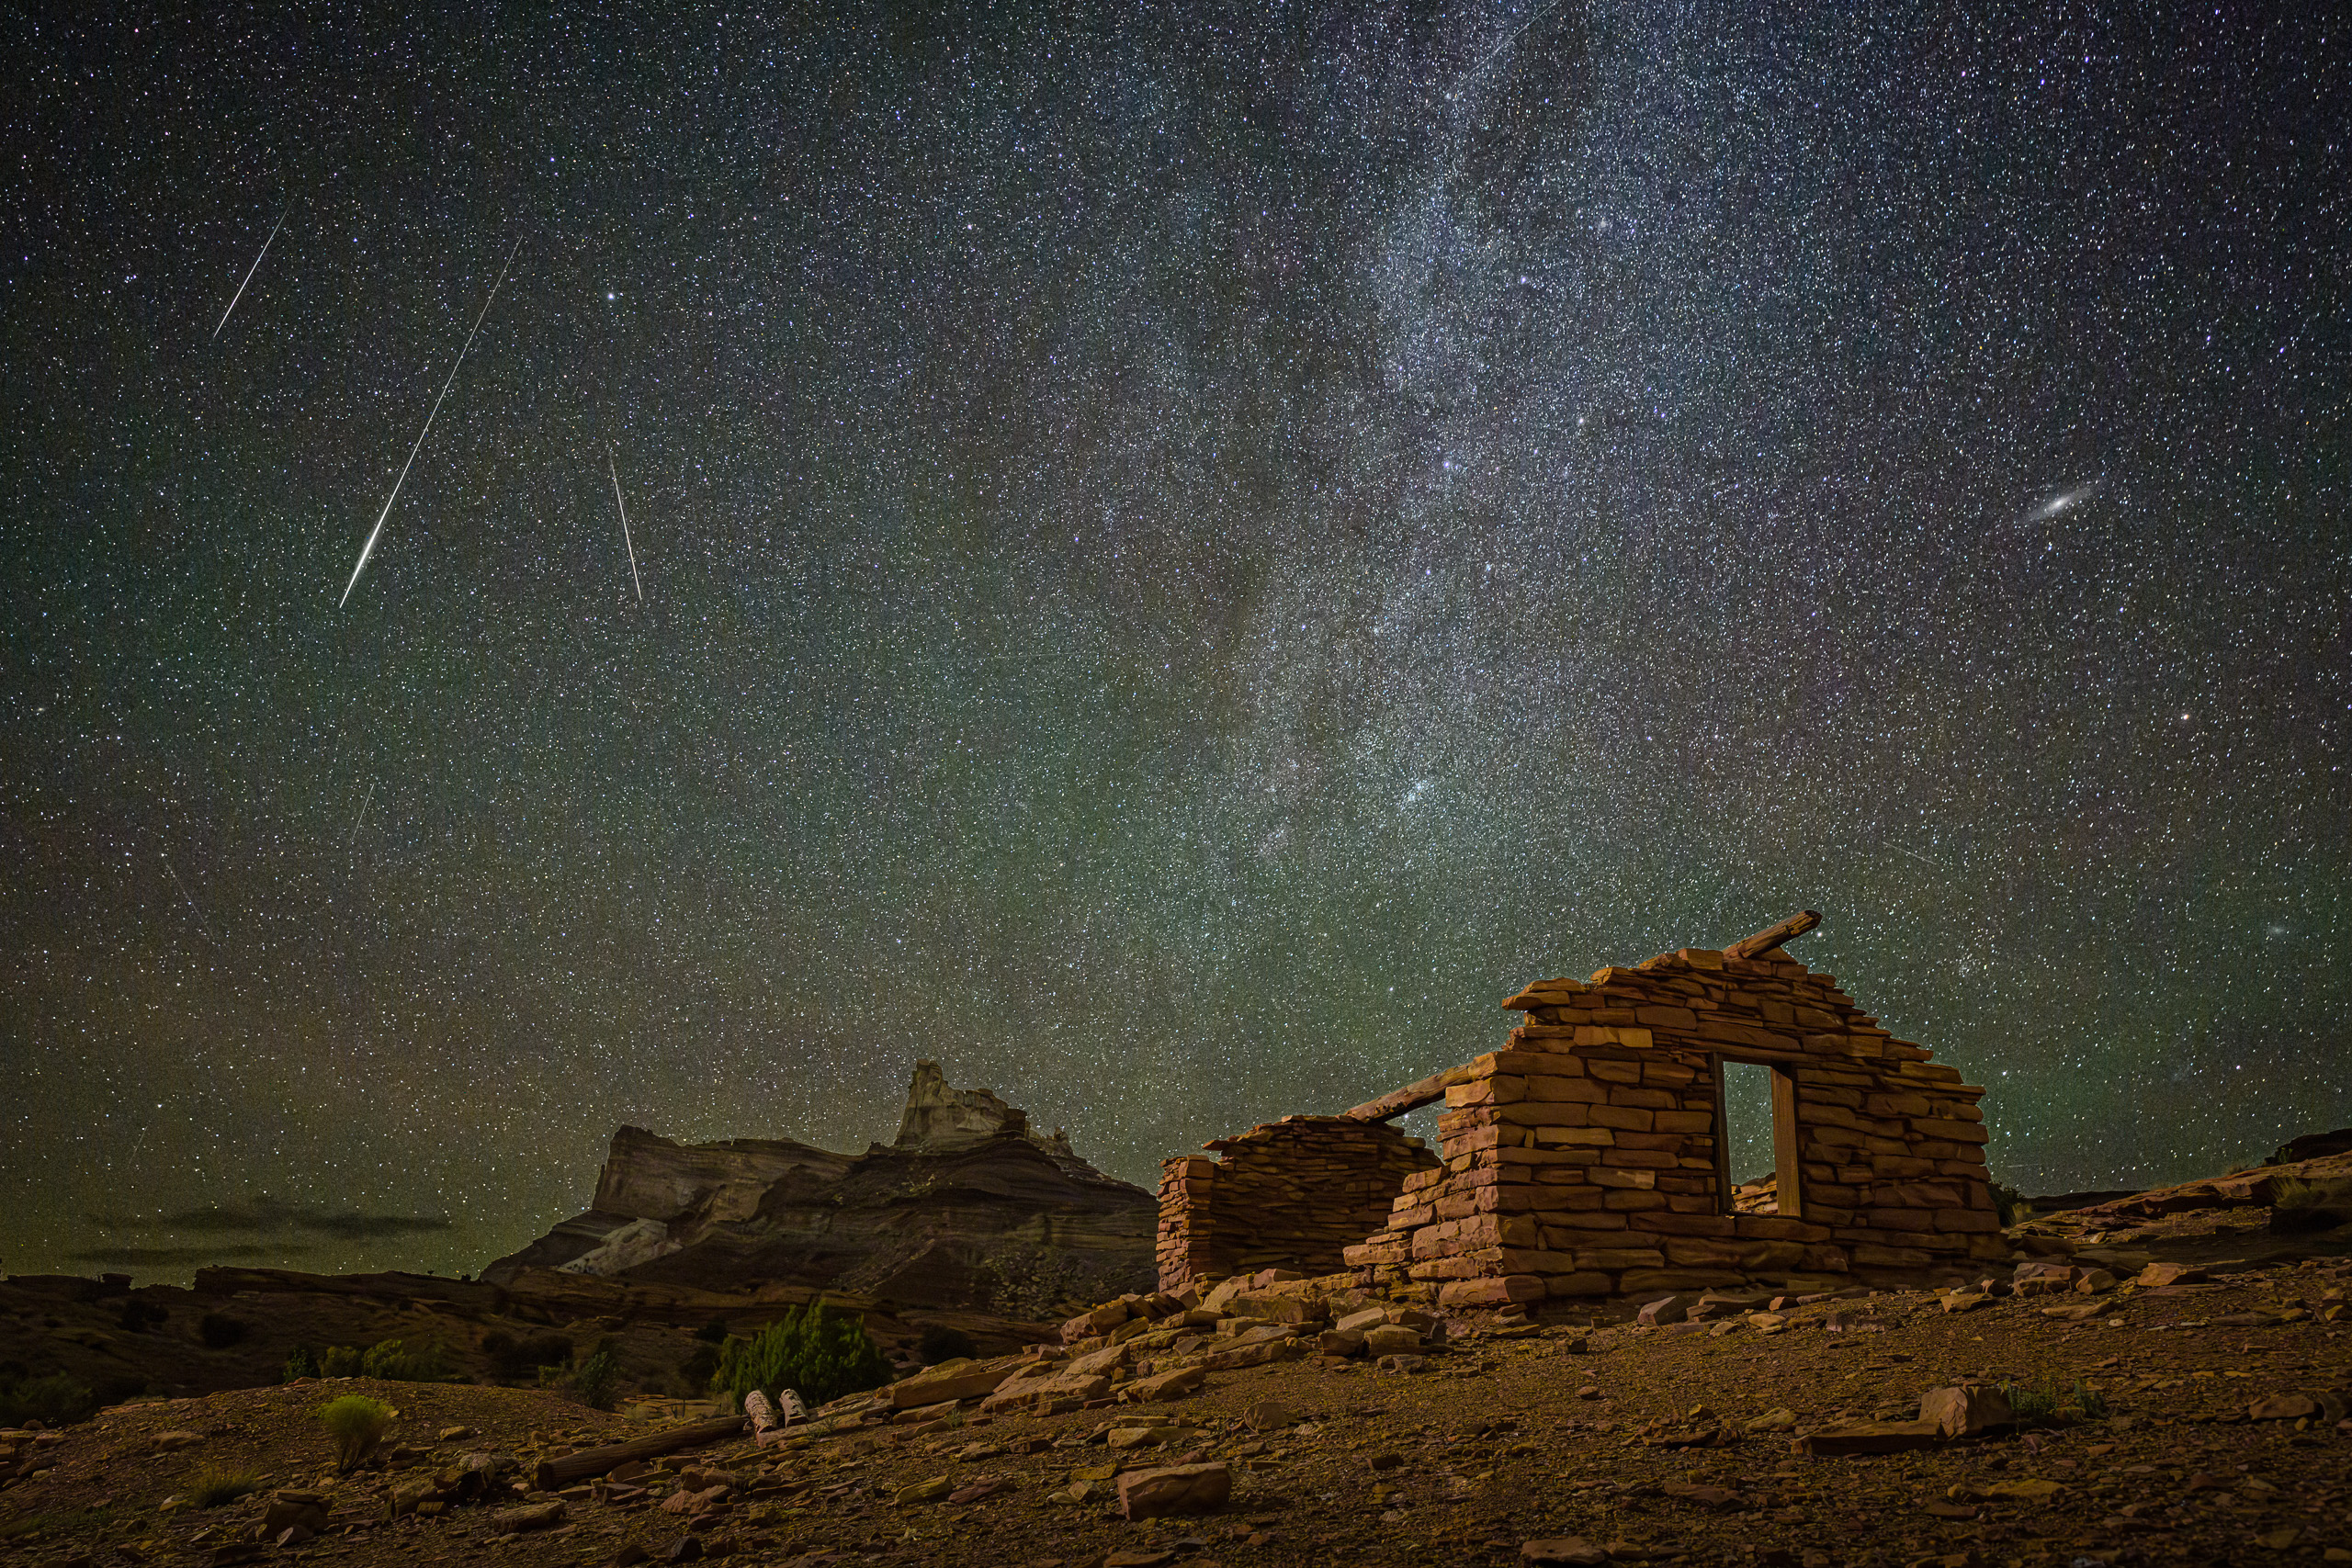
The vast majority of Milky Way photographs feature the visually spectacular galactic center. You may want to include a specific subject, such as a mountain, bridge, or building, but you need a vantage point facing southeast, south, or southwest. Many locations may not have such a viewing angle. If you still want to include interesting stars in your photo, consider the opposite end of the Milky Way. While it isn’t quite as dramatic, it has a far denser collection of stars, and you can often include the Andromeda galaxy in your photo.
Camera gear needed for Milky Way photography
Camera
You should have a camera that allows manual adjustment of exposure settings: shutter speed, aperture, and ISO. Ideally, the camera should support RAW files to provide maximum post-processing flexibility. Mirrorless cameras, DSLRs, and many point-and-shoot cameras support this.
Newer cameras have sensors better suited to high-ISO photography in very dark scenes, producing images with less digital noise.
Lenses
You should have a camera lens with a wide aperture to allow in more light. The general recommendation for night sky lenses is to use a fast lens with a maximum aperture of at least f/2.8, ideally f/1.8 or f/1.4.
The Milky Way is enormous in the sky. You’ll want a wide-angle lens to capture enough of that arc. A focal length between 14 and 24mm on a full-frame camera is excellent for photographing the Milky Way. The equivalent focal length for APS-C crop sensor cameras is 9–16mm.
Tripod
You also need a sturdy tripod. Since you seek dark, moonless nights, the available light is especially low, and you will need slow shutter speeds to capture the scene. The tripod will prevent blur caused by camera motion.
When photographing at slow shutter speeds, avoid bumping or jostling the camera, including when pressing the shutter button. A cable release or the camera’s built-in timer is an effective way to release the shutter without moving the camera.
Headlamp
When photographing at night, especially without moonlight, you need a headlamp that supports bright white and red light. Use bright white light when hiking to and from your shooting location, setting up, or cleaning up at night’s end.
When photographing dark skies, your eyes adjust to the low-light environment within 10–20 minutes and become far more sensitive than during daylight. Turning on a bright white headlamp or flashlight will reset this process, so it is better to use your headlamp’s red mode. Red light still allows you to see, but doesn’t reset the dark adaptation process in your eyes.
Batteries and memory cards
Night sky photography typically consumes more camera battery power than daytime photography. Bring an adequate supply of camera batteries and memory cards.
Lens wipes/lens heater
How humid is the location where you are shooting? Photographing the Milky Way is typically late at night, around the time the temperature reaches the dew point, and you may need to take measures to prevent condensation on your lens. In arid desert locations, dew isn’t typically an issue, but when the relative humidity is a bit higher, like near lakes and oceans, you may get dew condensing on the front of the lens.
Bring lens cloths to wipe off dew at a minimum. If humidity is high, a lens heater is preferable to fighting condensation all night.
Camera settings for Milky Way photography
The brightness of the Milky Way and starry skies is consistent, so you will use similar settings during all of your Milky Way photo sessions. You must control each camera setting independently, so use Manual mode to set your aperture, shutter speed, and ISO.
Focus
When photographing night sky scenes, you want your stars to be in focus, which is challenging under a dark, moonless sky. Focus is the most critical technique to master for night sky photography.
You frequently use very wide-angle lenses at night, like 14mm or 20mm. These focal lengths have a considerable depth of field, and focusing on the stars will mean that the rest of your scene is in focus. For example, at 14mm and f/2.8, the hyperfocal distance is 7.5 ft (2.3 m). If you focus on the stars, your scene will be in focus from infinity to 7.5 ft in front of you, more than adequate for most scenes. Photographing objects just a couple of feet in front of you requires more advanced focus-stacking techniques beyond the scope of this guide.
There are a few different ways to focus at infinity at night. Read more about how to achieve focus at infinity for night sky photography.
Once you have achieved focus, ensure your camera/lens is set to manual focus. Sometimes, this setting is a physical switch on your lens’s side or must be changed in your camera’s menu. You don’t want your camera hunting for focus each time you press the shutter, which can fail in low light.
Check your focus occasionally during the night by zooming in on the stars. Every astrophotographer has accidentally bumped their focus ring at some point. Without a closer examination, you may assume your stars are nicely in focus, only to be disappointed on your computer screen at home.
Color temperature/white balance
A neutral white balance for a moonless night sky is around 4,000 K. We recommend setting your camera’s white balance to 4,000 K and shooting in RAW so you can adjust the color temperature for creative purposes in post-processing.
Vibration reduction/image stabilization
Since you are photographing from a tripod, your lens and camera’s vibration reduction/image stabilization capabilities aren’t necessary, and you can turn them off.
Long Exposure Noise Reduction
Most digital cameras have a built-in feature called long exposure noise reduction. In this mode, the camera first captures a standard image. Then, the camera takes a black-frame image with the shutter closed. The camera analyzes the black frame for hot pixels and thermal noise, subtracting those artifacts before saving the initial scene. Another name for this technique is dark frame subtraction.
Long-exposure noise reduction can effectively capture cleaner night-sky images; we recommend turning it on when possible. However, it comes with a few drawbacks. First, every image you take will take twice as long. A 15-second exposure now becomes 30 seconds. A 4-minute exposure becomes 8 minutes. When time is short, the added time might not be worth it. It also gets in the way if you are trying to photograph time-lapses or star trails.
Aperture
When photographing the night sky, you want to gather as much light as possible. Set your aperture to the widest your lens supports (the lowest f-stop number), such as f/2.8.
Wide apertures like f/1.4 or f/1.8 are excellent for maximizing the light your lens gathers. However, these super-wide apertures can cause comatic aberration (different than chromatic aberration), where the stars in the corners of your images are misshapen and not pinpoints. This may sound counterintuitive, but it often helps to stop down the lenses to smaller apertures, such as f/2 or f/2.2, to reduce coma.
Shutter speed
Your camera will see night scenes and the night sky better than your eyes. However, there are challenges when photographing in the dark that today’s camera technology can’t always overcome.
On a moonless night, these night scenes are exceptionally dark. To capture details in the landscape, you need a very long exposure. However, the stars are in constant motion throughout the night. (Technically, you and your camera move as the Earth spins.) Very long exposures produce star trails, not pinpoint stars.
To counteract the motion of the sky, astrophotographers use star trackers, motorized devices that align the rotation of their camera with Earth’s rotation. This allows you to capture very long exposures of the stars at low ISO, but now your landscape is blurred due to the tracker’s movement.
To avoid star trails, you need to limit your shutter speed. The limit depends on your lens’s focal length and the megapixels on your camera sensor. The longer your focal length, the faster the stars move through your frame, so you need faster shutter speeds as you zoom in on a scene. The more megapixels your camera has, the faster a pinpoint star becomes a star trail.
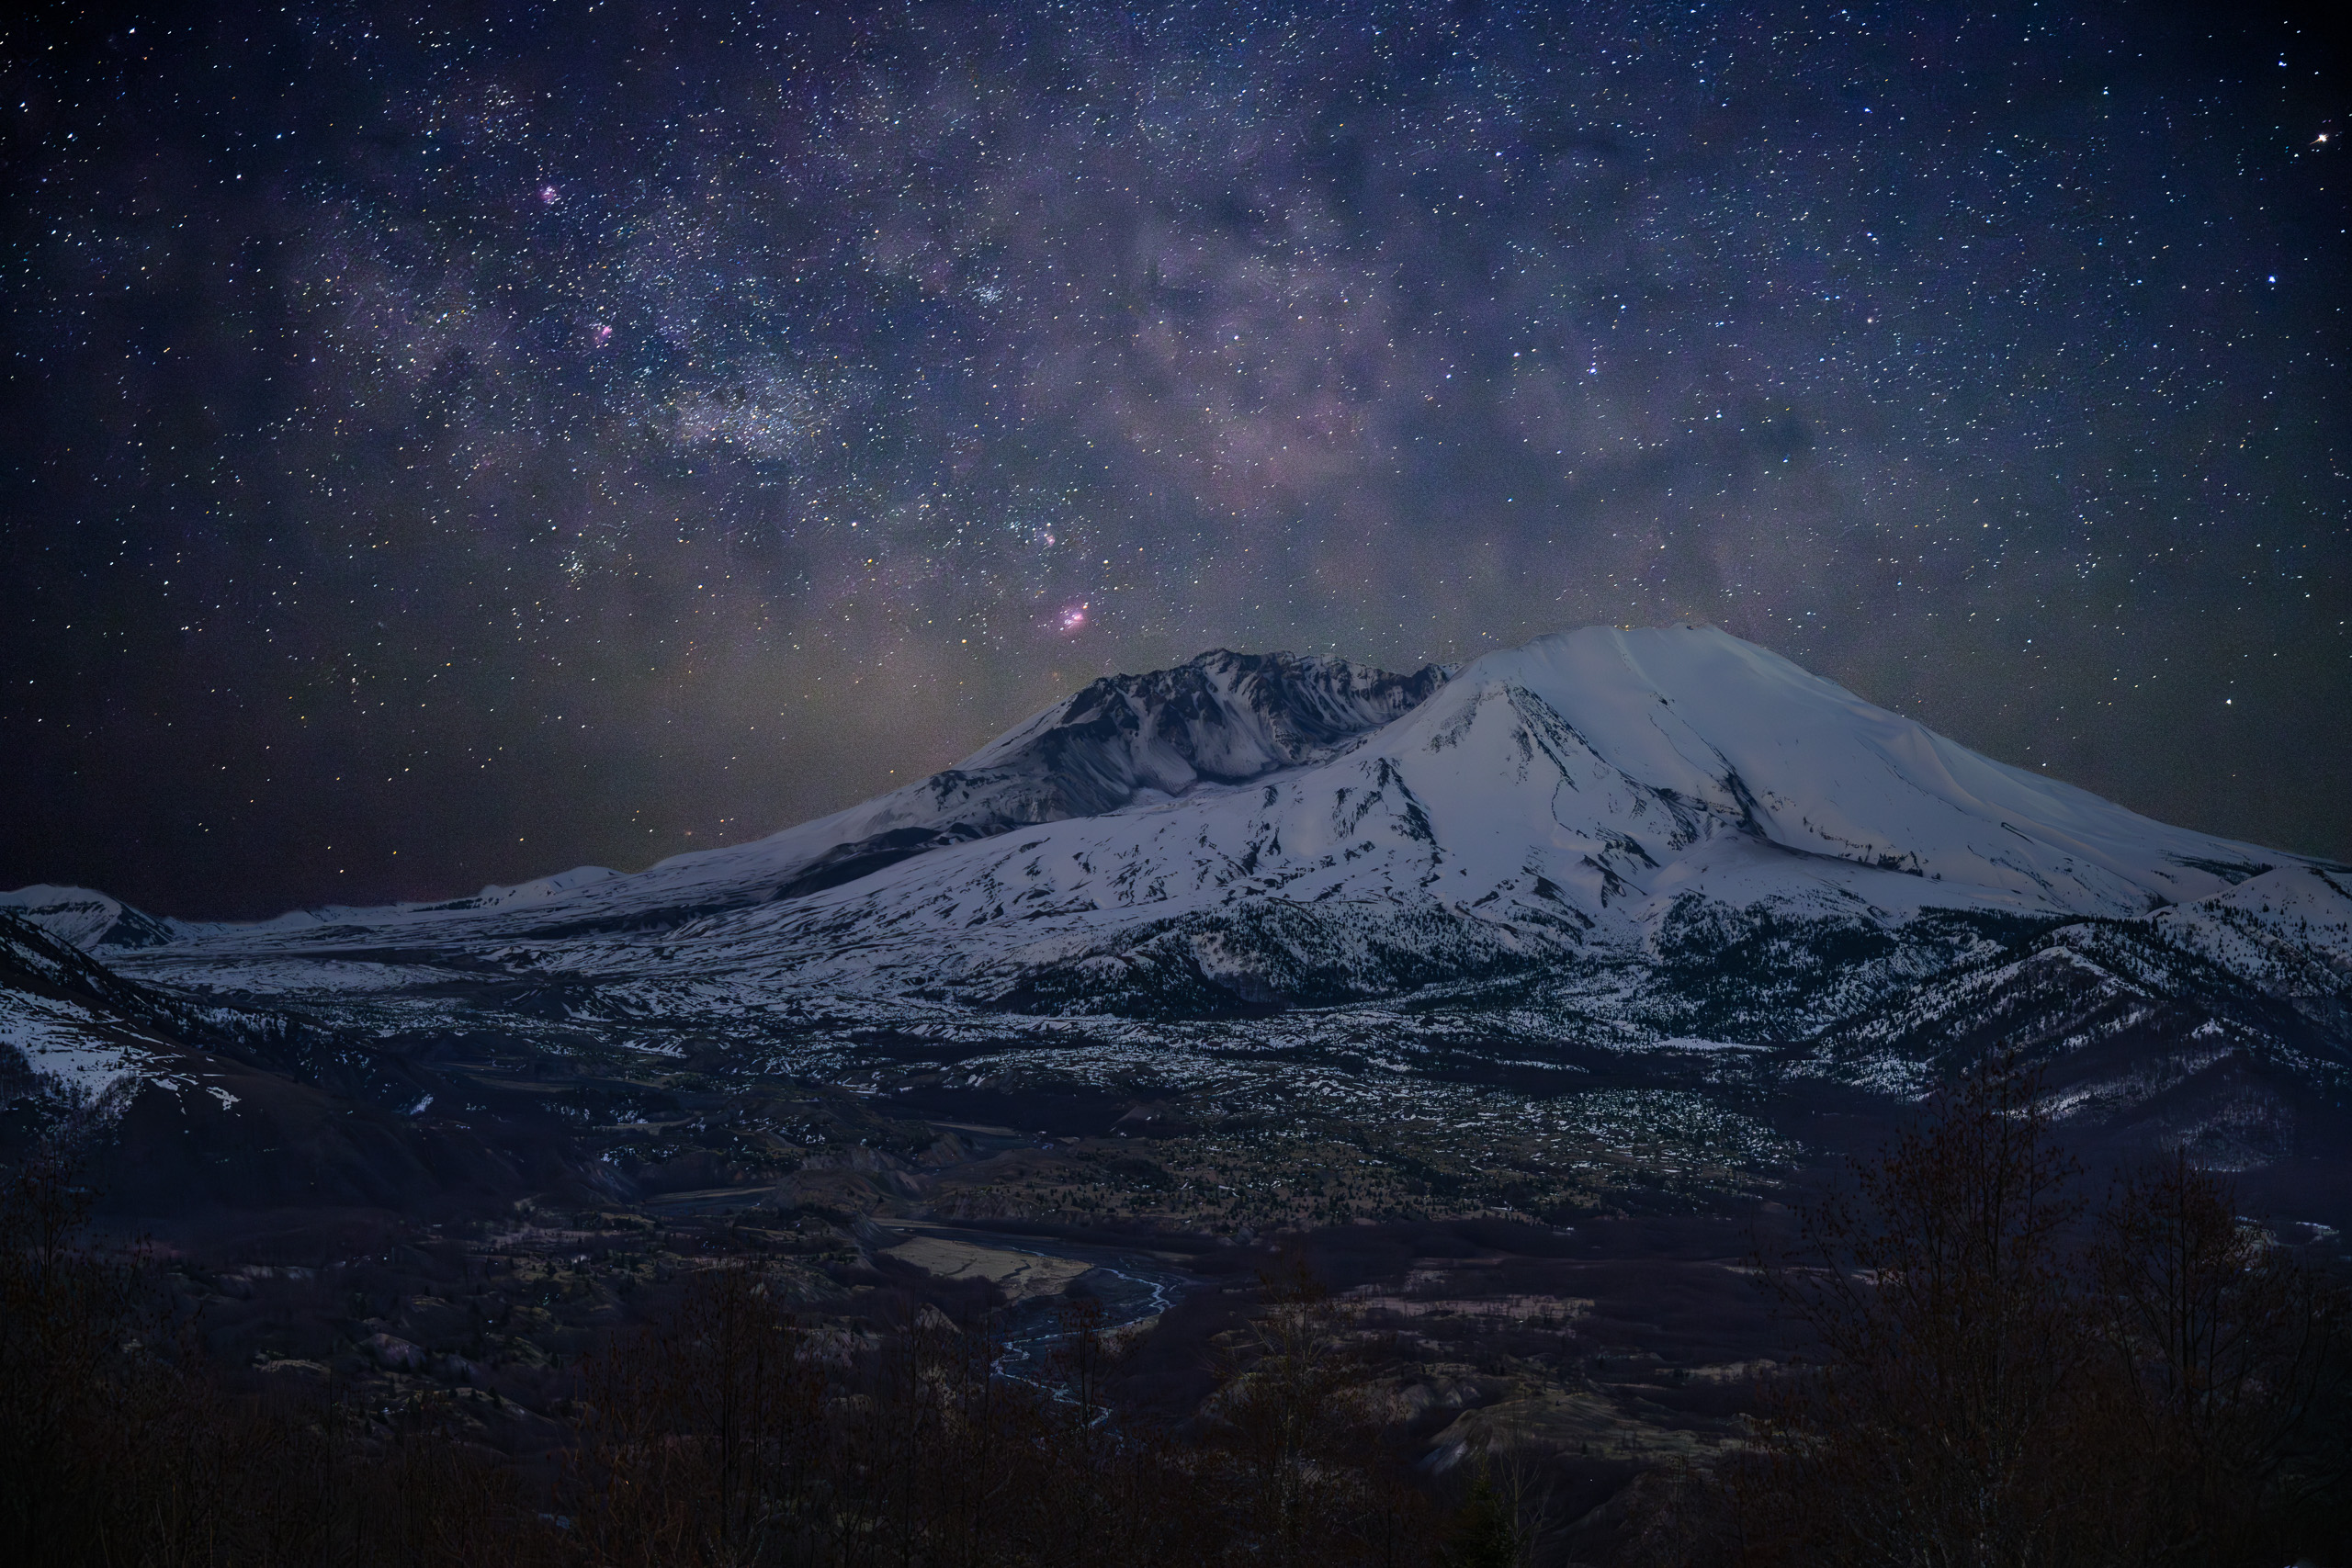
One convention you may hear for the night sky is the 500 Rule. The 500 Rule states that you should take 500 and divide it by the focal length of your lens to calculate the slowest shutter speed you can use for stars without trails. For example, on a full-frame camera using a 20mm lens: 500 / 20 = shutter speed no longer than 25 seconds. If you have a crop-sensor APS-C camera, you must divide by 1.5. So, a crop sensor camera using a 10mm lens: 500 / 10 / 1.5 = shutter speed no longer than 33 seconds.
The 500 Rule was created when camera sensors had far fewer megapixels. It is outdated with today’s high-resolution cameras. On our 45-megapixel camera, we’ve used the shutter speed suggested by the 500 Rule but find it produces small star trails rather than pinpoint stars.
There is a newer, more complex formula known as the NPF Rule. This formula considers aperture, pixel density, and focal length and gives better recommendations for achieving pinpoint stars. The formula isn’t as easy to remember as the 500 Rule, but thankfully, PhotoPills has a built-in NPF calculator that we use during our night sky photo sessions.
In PhotoPills, scroll the menu page and tap Spot Stars. Choose your camera model, and set the focal length and aperture you intend to use. The app will display the maximum shutter speed based on the NPF and 500 Rules. On higher-resolution cameras, the maximum shutter speed for the NPF Rule will be far shorter than the 500 Rule.

The NPF calculation in PhotoPills has two modes. One is called Default, with shutter speeds that result in barely noticeable star trails. The second mode, called Accurate, calculates shorter shutter speeds to ensure pinpoint stars for large prints. In general, we are satisfied with the Default NPF calculation results.

ISO
You’ve set a wide aperture to gather the most light and limited your shutter speed to prevent star trails. The only other setting that affects your exposure is ISO.
One of the biggest challenges of night sky photography is achieving good exposure. Every starry scene on the back screen of your camera looks fantastic, but this is because your eyes are accustomed to the dark, and everything on the camera looks bright at night. However, you will often return home and be disappointed at how dim your photos are on your regular computer screen.
Choosing the correct ISO sensitivity setting is a balancing act for night sky photography. You want to brighten the scene using a higher ISO, but every increment of ISO can introduce more digital noise in your photographs. Today’s post-processing noise-reduction techniques are highly sophisticated, and we are increasingly comfortable reducing noise afterward.
The exact ISO setting may vary slightly depending on several factors. First, lenses vary in light-gathering performance, and some may require a higher ISO to achieve the correct brightness. Next, the night sky’s brightness varies with altitude and air humidity. At high altitudes, there is less atmosphere between your camera and the stars, and the night sky is brighter. The stars are also brighter in low-humidity environments, such as deserts.
We recommend carefully analyzing your in-camera histogram to overcome these challenges to determine the proper ISO setting for each scene. A typical night sky photograph will show two distinct peaks in the data. On the histogram’s left, there will be a prominent peak near the left edge, representing the very dark black areas of the landscape. Then, a second peak will be nearer to the histogram’s center, representing the brighter sky.
A well-exposed Milky Way histogram will have the second peak approaching the midpoint and the far-left peak just off the left edge, so there is some visible detail in the landscape.

If your exposure is too dark, the left peak will touch the histogram’s left edge, and no detail is captured in the shadow areas of your image. If your exposure is too bright, you may introduce more digital noise than necessary.

Depending on the abovementioned factors, a typical ISO setting during Milky Way photography is between ISO 3200 and 8000.
Photograph a very long exposure of the landscape
On a dark, moonless night, there is often not enough light to show details in the landscape other than shadows filled with digital noise. One of our favorite techniques to overcome this is to capture a second frame of the landscape using very long shutter speeds and a lower ISO. This frame can then be blended with your Milky Way sky in Photoshop.
First, focus on your Milky Way photos. Keep photographing the galactic center until you are confident that you have the best placement in your composition.
Now, DON’T move your tripod, not even an inch. You want the exact framing of your landscape exposure to make blending the two images easier. We recommend a shutter speed of around 4 minutes (240 seconds) and an ISO of approximately 1250 for this exposure. This should give you a well-exposed landscape image with lower noise to blend during post-processing. You can darken it during post-processing to maintain the feel of a night scene, as needed.
Get out there and photograph the stars
Milky Way photography is very rewarding for night sky aficionados. Your camera shows the stars better than your eyes can see, opening up new creative choices for photographers.
If you are new to star photography and the Milky Way, it does require some advanced planning. Learn how to locate the Milky Way’s galactic center using an app like PhotoPills, and visit your shooting location during daylight hours to find the best compositions before it’s dark. Practice with your camera in the dark, placing it on and off a tripod, focusing at night, and operating your camera controls. With practice, night sky photography will become much easier.
We hope to see you under the stars!