Backlit Bird Photography Tips
By Kevin Pepper |
Backlighting in bird photography is one of the craft’s most expressive tools. It transforms the ordinary into the extraordinary—turning a simple Tern or puffin into a glowing, angelic figure of light and form. When done right, backlit bird photography adds glow, drama, and depth, sculpting the subject in light and shadow and creating images that feel alive, even without showing every detail. It teases the edges of the bird, highlights movement, and plays with translucency in a way that front light simply can’t. But here’s the catch—not all backlight is created equal. Depending on how you position yourself, your subject, and the sun, backlighting can either enhance the image or obliterate it. Knowing the difference separates a lucky snap from an intentional work of art.
There are two classic backlit scenarios in bird photography:
- Birds backlit against a bright sky
- Birds backlit by the sun but placed against a dark background
Both use the same light source, but the effect, technique, and emotional impact are very different.
Let’s break down how to shoot both.
1. Backlit Bird Photography Against Bright Skies
Imagine a puffin or a Tern with the bright sun behind it, silhouetted against a glowing sky.
What It Looks Like:
- Rim light wraps around the feathers, especially the wings.
- The background is luminous—often white, gold, or pastel.
- The subject risks becoming a silhouette unless exposed correctly.

Settings and Technique:
- Metering: Spot metering on the bird.
- Exposure Compensation: +1.0 to +2.0 stops to avoid underexposing the subject.
- White Balance: Use “Daylight” to keep the warm tones.
- ISO: Raise it to maintain shutter speed (especially if handholding). I will just use auto ISO.
- Aperture: f/5.6–f/8 to keep detail in feathers while letting in enough light.
- Shutter Speed: 1/2000s or faster to freeze flight.
Tips:
- Wait until the bird turns just enough to catch light along the wings.
- Use burst mode for mid-air moments when the light kisses the wing edges.
Creative Effect:
- Ethereal and dramatic.
- Emphasizes light around the subject.
- Great for storytelling and visual mood.
2. Backlit Bird Photography with Dark Backgrounds
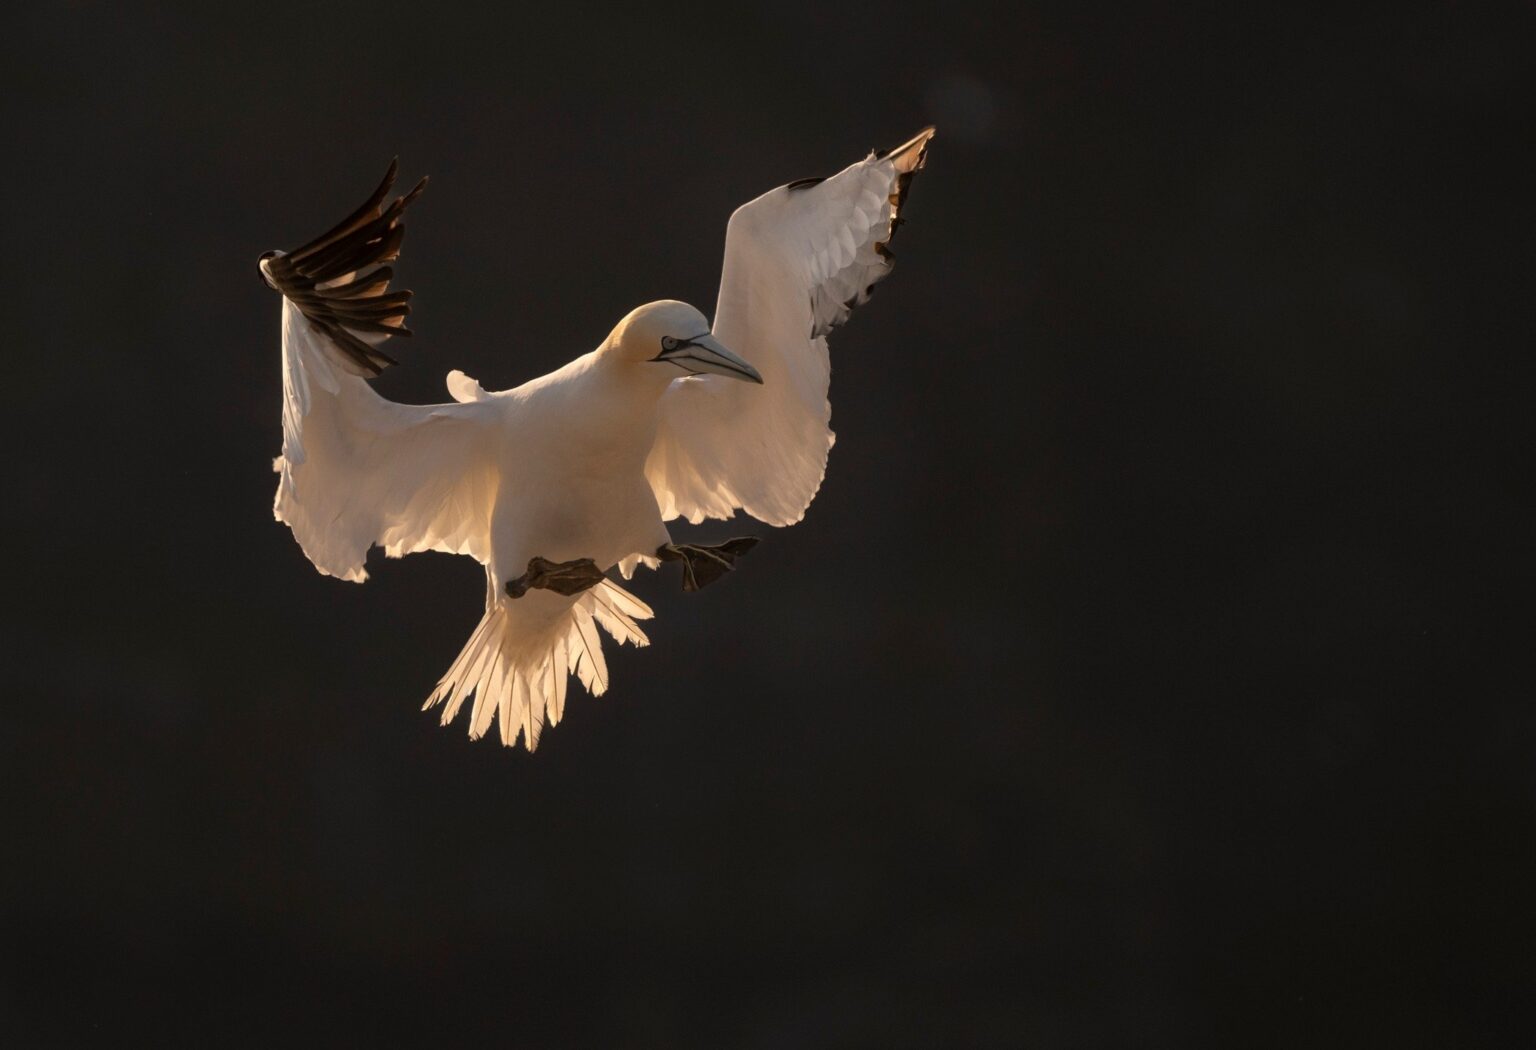
Now imagine a gannet or heron with the sun behind it—but instead of the sky, it flies in front of a cliff face, forest, or shaded water.
What It Looks Like:
- The bird glows with a golden or white outline.
- The background stays dark, making the bird look like it’s lit from within.
- Detail in feathers can still be retained with careful exposure.

Settings and Technique:
- Metering: Spot metering or manual exposure based on test shots.
- Exposure Compensation: Usually 0 to +0.7 stops—less than with a sky background.
- ISO: Moderate (e.g., ISO 800–1600) depending on light levels.
- Aperture: f/5.6–f/7.1 to balance sharpness and light.
- Shutter Speed: At least 1/1600s for birds in flight.
Tips:
- Position yourself so the background stays in shade—trees, cliffs, or even buildings.
- The sun must still be behind the bird, but your background must be much darker than the subject.
Creative Effect:
- Bold, high contrast.
- The glowing subject pops from the frame.
- Creates a feeling of intensity, focus, and isolation.
So, What’s the Difference?
| Bright Background | Dark Background | |
|---|---|---|
| Metering | Spot metering, aggressive exposure comp | Spot or manual, milder compensation |
| Challenge | Avoiding silhouette | Preventing blown highlights on the bird |
| Mood | Dreamy, ethereal | Dramatic, intense |
| Use Case | Sunrise/sunset silhouettes with detail | When birds pass cliffs, trees, or shaded terrain |
| Feather Glow | Soft rim light | Crisp, fire-like outline |
| Editing Note | Recover shadows on bird | Protect highlights and deepen background blacks |
When Less is More: The Power of Silhouettes
Not every backlit image needs feather detail to tell a story.
Sometimes, the absence of detail, or minimal detail is the story.
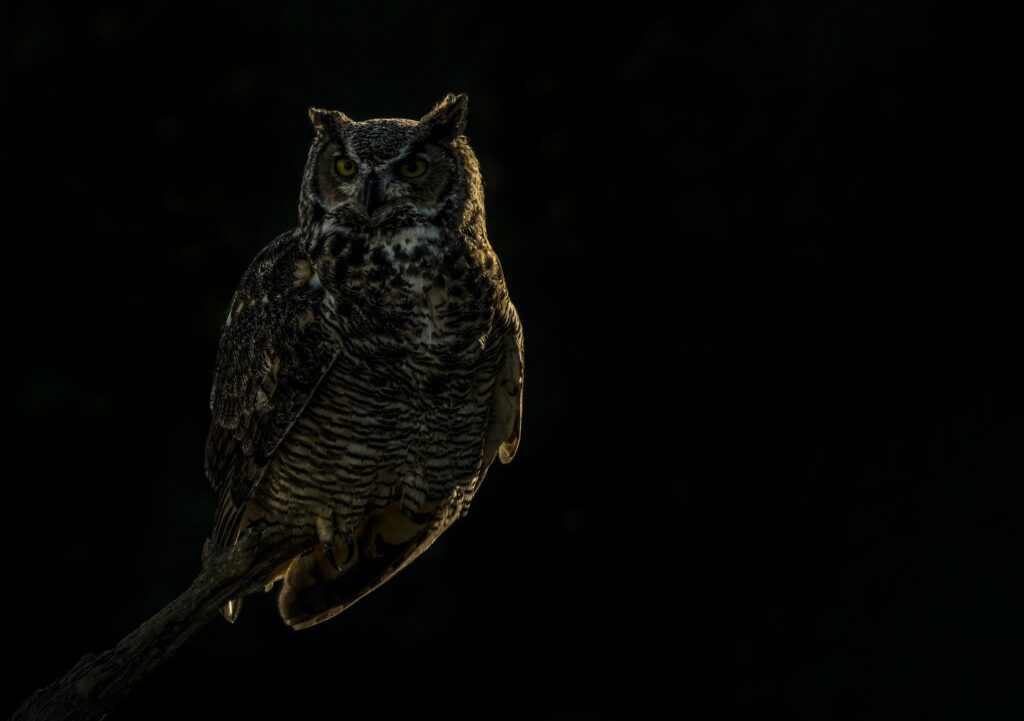
Silhouettes strip a scene down to shape and gesture. A crane mid-dance. A Snowy Owl with its wings stretched. An Owl perched in front of the rising sun deep in the forest. With nothing but form, the emotion can hit even harder.
A good silhouette doesn’t whisper—it declares. It’s bold. It’s graphic. It grabs your eye from across the room and makes no apology for what it didn’t show.
When Should You Go for a Silhouette?
- When the background behind the bird is rich with color and pattern—sunrise, sunset, stormy glow.
- When the bird’s pose is distinctive (spread wings, sharp beak, dramatic perch).
- When light is too strong to preserve detail—but too good to walk away from.
How to Photograph a Bird Silhouette
Shooting a silhouette is almost the opposite of exposing for detail. Here’s how:
1. Expose for the Bright spot in the scene
Switch to evaluative/matrix metering or spot meter on the brightest part of the sky. This will cause your subject to go dark, creating that crisp outline.
2. Use Negative Exposure Compensation
Dial in -1.0 to -2.0 EV. This deepens the silhouette and prevents the sky from blowing out.
3. Watch the Edges
You need clean lines. A silhouette lives and dies by its outline. Avoid cluttered or overlapping backgrounds. Let wings, beaks, and perches stand out clearly.
4. Focus Manually if Needed
If your autofocus hunts in the low contrast, switch to manual or focus on the edge of the subject where contrast is sharpest.
5. Shoot at f/8 or Higher
You want your edges tack-sharp. A smaller aperture helps with that, especially when the light is strong and you don’t need a wide-open lens.
Creative Effect:
- Minimalistic.
- Emotionally charged.
- Emphasizes shape, story, and moment over detail.
Silhouettes remind us that not every great photo needs feather detail and catchlight. Sometimes all you need is a bird on a branch, a perfect sky, and the nerve to let the shadows win.
Final Thought: Use the Ambient Light You’re Given
All three techniques—glowing rim light, backlit brilliance against a dark background, and striking silhouettes—come down to one thing: seeing the light and knowing how to use it.
Whether it’s a puffin glowing in golden mist, a gannet outlined against a shaded cliff, or a bird reduced to pure shape against a blazing sky, you’re not just capturing wildlife—you’re painting with the sun.
You don’t need perfect light. You need intention, a little patience, and a good understanding of what your camera is about to do.
Bring the settings. Bring the timing. I’ll bring the guidance—Join us on one of our bird-focused photo workshops. We’ll chase the light together.