Improving Your Wildlife Photos with Better Backgrounds: Five Tips for Cleaner Compositions
By Kevin Pepper |
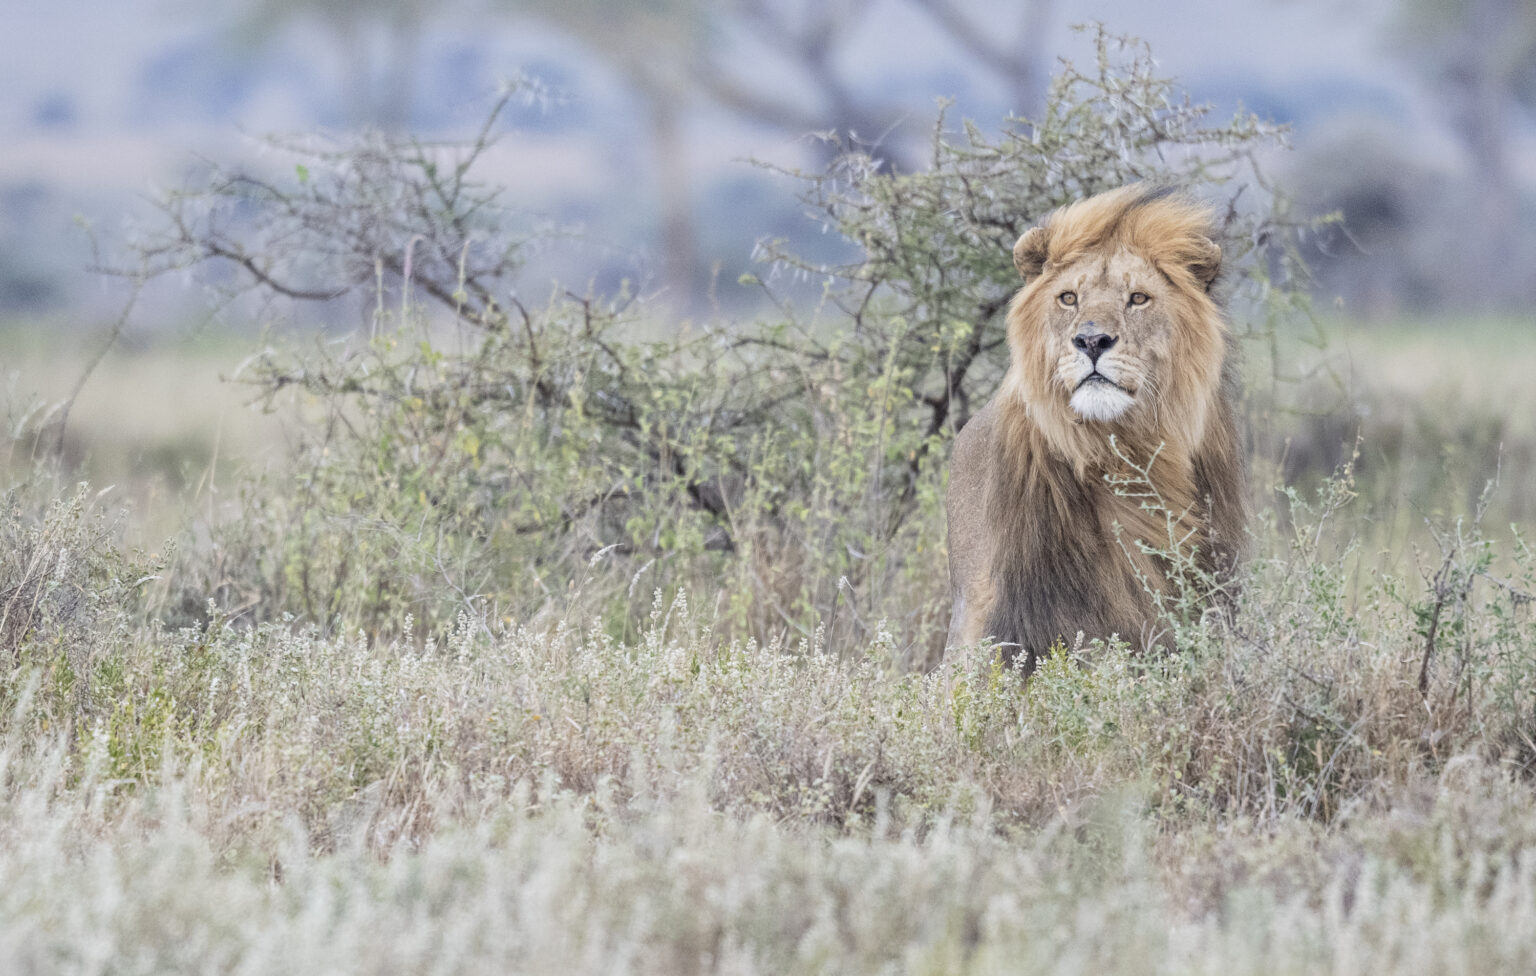
You spot a lion. You raise the camera. You click. Later, you check your image—and there’s a tree growing out of its head. Sound familiar? Most wildlife photography blogs focus on gear—what lens to bring, which f-stop to use, or how fast your shutter should be. That’s all important, sure. But those are just the mechanics. What often gets overlooked are the subtle decisions—the split-second choices in the field that can quietly make or break a photo – Forgetting to Improving Your Wildlife Photos with Better Backgrounds
The truth is, great wildlife photography isn’t just about the how—it’s about the where and when you click. The angle you choose. What’s in the background. The light on the scene. These aren’t settings you dial in. They’re things you notice. And they come from being present in the moment, and having the right tour leader with you.
So if you believe you are already nailing focus and exposure, but your images still feel cluttered or fall flat, this post is for you.
Here’s how to take control of your backgrounds—and elevate your images from good to gallery-worthy.
Why Improving Your Wildlife Photos with Better Backgrounds Is A Good Decision
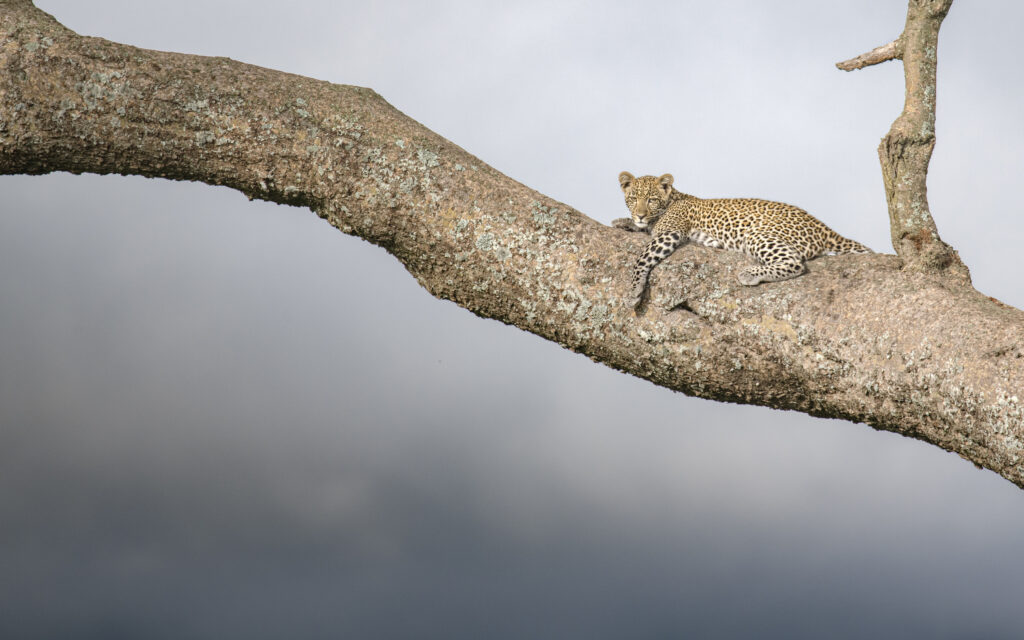
Backgrounds are the unsung heroes of wildlife photography. They can be the quiet strength of a striking image—or the thing that makes your audience scroll right past it. They frame your subject, guide your viewer’s eye, and add atmosphere… or chaos.
When you’re in the field, your instinct is to focus on the animal. That’s natural. But the camera sees everything in the frame—not just what you intended. And what’s behind your subject can either elevate your image or undermine it entirely.
A clean, intentional background does three powerful things:
1. Makes Your Subject Stand Out
When the background doesn’t compete for attention, the subject becomes the clear focal point. This is especially important with animals that already blend into their environment—like leopards in trees or tawny lions in dry grass.
- Example: A puffin on a sea cliff pops when placed against soft ocean blues. The same puffin against a jagged, shadowy rock wall? It vanishes.
- In Practice: Look for color contrast, depth, or negative space that allows the subject to breathe visually.
2. Minimizes Distractions
Your viewer shouldn’t have to work to understand your photo. Stray twigs, cluttered bushes, or high-contrast patches of sky can pull the eye away from your subject—and ruin an otherwise great image.
- What ruins a shot?
- Bright patches of sky or reflective water drawing the eye.
- Harsh horizontal or vertical lines (like a tree trunk slicing through a zebra’s neck).
- Fencing, buildings, or vehicle tires that say “zoo” more than “wild.”
- The Fix: Take one step to the side, get lower, or reframe slightly. You’ll be amazed how often a minor adjustment removes the distraction.
3. Adds Mood or Story Without Stealing Attention
Backgrounds don’t have to be empty. A good background supports the narrative. It can give a sense of place—misty forest, arid savanna, alpine snow—without cluttering the frame.
In Practice: Look for backgrounds that complement the behavior, mood, or habitat of your subject. Use them to add context, not confusion.
Example: A snow leopard photographed against a rocky Himalayan slope tells a richer story than the same animal against a flattened white sky.

Tip #1: Change Your Angle—Small Shift, Big Impact
This is the simplest fix—and the one most people skip because they’re so focused on the subject. But trust me: moving your feet is often more valuable than switching lenses.
What to do:
- Move a few feet left or right. You’d be surprised how a minor shift can turn a cluttered frame into a clean composition.
- Drop to one knee or even lie flat. Shooting upward can place the animal against a distant hill, open sky, or a more neutral background.
- Stand taller if grasses, rocks, or branches are cutting across your subject’s body or face.
Why it matters:
Most beginners default to eye level—or worse, shoot from too high. But animals live in a world lower than ours. Changing your angle gives you more control over what’s behind them. It can eliminate distractions or highlight storytelling elements like tracks in the sand or storm clouds rolling in.
Example: Photographing a cheetah on a termite mound? Step five feet left and now it’s silhouetted against a rich sunset. Stay where you were, and it’s got a thorn bush poking out of its ears.
Pro Tip: Think before you click. Ask yourself: “What happens if I shift slightly?” Often, that’s the shot that ends up in your portfolio.
Tip #2: Use a Wider Aperture—Improving Your Wildlife Photos with Background Blur
You’ve heard it before: “Open up your lens.” But do you really understand what that does for your composition?
What happens:
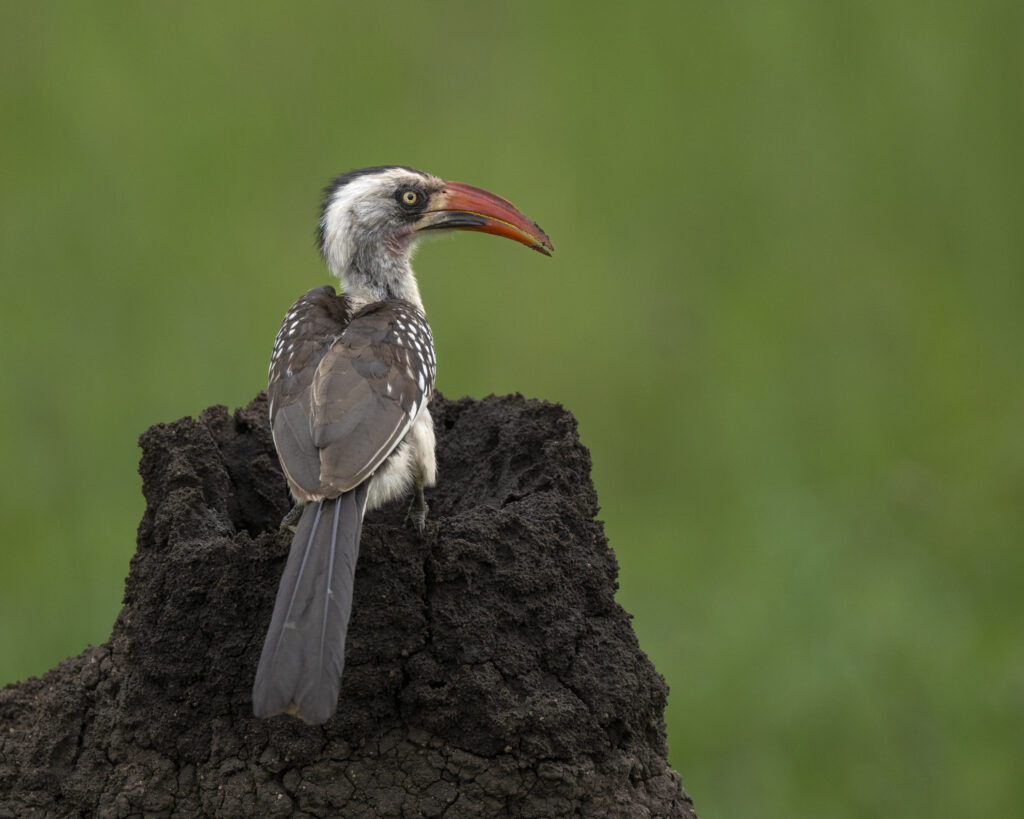
- A shallow depth of field (f/2.8 to f/5.6) blurs the background, making your subject pop.
- The eye naturally goes to the sharpest, brightest part of the frame—usually your subject’s eye.
Why it works:
When the background is messy—twigs, brush, uneven lighting—using a wider aperture softens all of that into pleasant texture or color washes. It keeps the focus on the animal, where it belongs.
Cautionary note:
If you’re too wide (say, f/2.8 on a long lens) and your subject is moving, you risk missing critical focus. A lion’s nose might be sharp while the eyes are soft—and that doesn’t work. You’ll need to balance aperture with focal length, distance, and movement.
In Practice:
Reserve f/2.8 or faster for still moments, portraits, or low light.
Use f/4–f/5.6 for handheld work with active wildlife.
Read our more technical posts here:
The Best Shutter Speeds For Wildlife Photography
How To Keep Groups Of Animals In Focus
Tip #3: Watch the Light In Wildlife Photography—It Shapes the Whole Frame
Too many photographers treat light like it’s only about the subject. But light reveals or hides background elements, too.
What to look for:
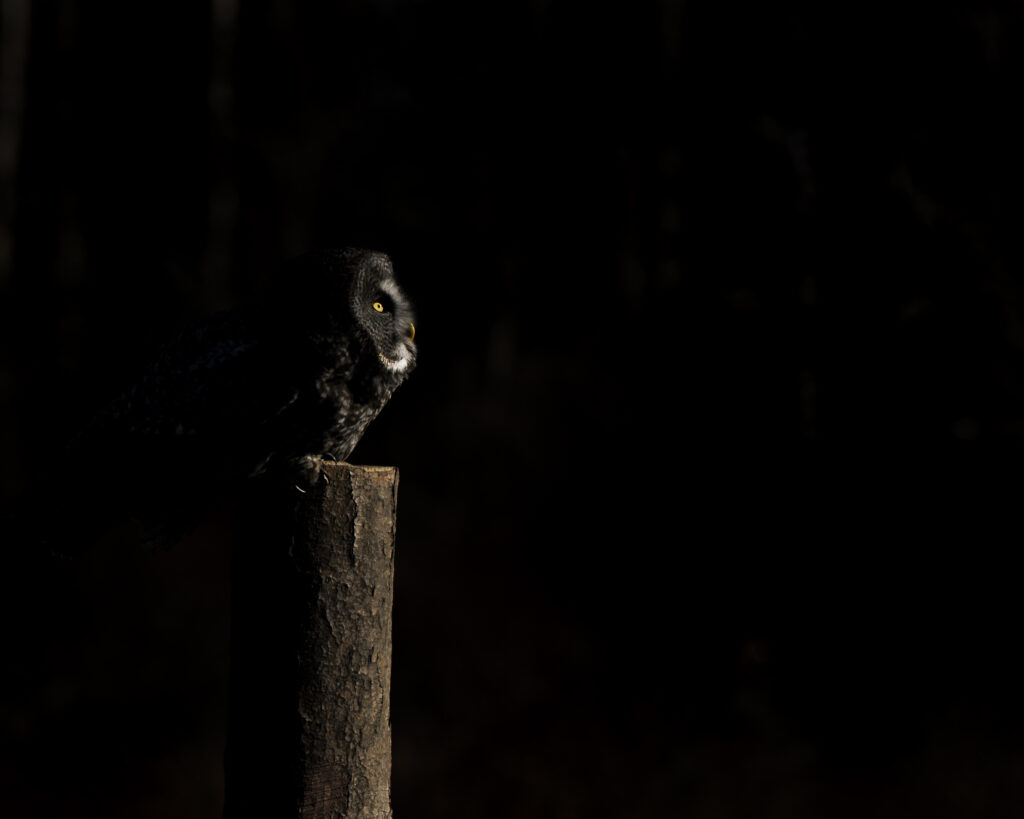
- Backlight can create glowing rim light around fur or feathers—especially powerful when the background is darker. Think elephants at sunset or deer in early fog.
- Side light adds depth and texture to your scene—great if you want to include environmental detail (like tall grasses or textured rocks).
- Overhead midday light tends to flatten the entire scene. It increases contrast and brings out every background distraction—bright rocks, white tree trunks, uneven bushes.
Field Tip: If the light is bad for your subject and the background, it’s time to wait or reposition. Don’t just shoot because the animal is there—wait for better light or move to where it’s working for you.

Tip #4: Improving Your Wildlife Photos with Pre-Visualize the Shot—Think Before You Click
This is the habit that separates reactive shooters from thoughtful image-makers.
Before pressing the shutter, do a 2-second check:
- What’s behind the animal?
- Is there a bright spot, line, or clashing color that could distract?
- Is there another angle I can take—without disturbing the scene—that tells a cleaner or more powerful story?
What to look for:
- Tree trunks “piercing” your subject.
- Bright skies behind a dark subject (or vice versa).
- Out-of-focus animals or tourists overlapping your composition.
- “Near misses”—like a horn just grazing the edge of the frame or a tail cut off at the tip.
How to fix it: Recompose. Zoom in slightly. Wait for the subject to move. Shift your stance. Every great wildlife shot involves decisions beyond just clicking the shutter.
Practice Tip: Try scanning the edges of your frame first before hitting the shutter. It’ll train your eye to see the whole image—not just the animal.

Tip #5: Use Environmental Backgrounds To Improve Your Wildlife Photos
Not all backgrounds need to be empty. Sometimes, they’re part of the story.
Use them when:
- You want to show habitat (like polar bears on sea ice or lions in golden grass).
- You’re telling a narrative—survival, isolation, migration.
- You’re shooting for editorial or conservation purposes.
But: The background should complement the subject, not compete with it.
Examples:
- A caracal against dry scrub looks like it belongs. Against a plain blue sky, it loses some context.
- A gorilla framed by misty jungle vines evokes mystery and mood. Jungle behind a zebra? Confusing.
- A flock of flamingos in front of reflective water creates symmetry and elegance. But throw in a boat or an out-of-place rock? You’ve lost the poetry.
Tip For Improving Your Wildlife Photos: Look for repeating patterns, complementary colors, or natural framing (like shooting through leaves). These elements can enhance your story while still keeping the subject dominant.

How We Teach This in the Field On Our Photo Tours
Reading about clean backgrounds is one thing—putting it into practice in a fast-paced, ever-changing environment is something else entirely. That’s why on our wildlife photography workshops, we don’t just talk about composition after the fact. We teach it in the moment.
Here’s how we help you improve background awareness—every single day:
1. We Slow You Down—On Purpose
It’s tempting to rapid-fire every time an animal appears. But we teach you to pause, assess the scene, and make deliberate choices. Before you click, we’ll ask:
- “What’s behind it?”
- “Can you move for a cleaner angle?”
- “Is there a better story to tell with a shift in perspective?”
2. We Offer Real-Time Feedback
During game drives, hide sessions, or on foot, we quietly walk you through decisions as they unfold:
- “Drop a little lower here, and you’ll eliminate that tree trunk.”
- “Wait ten more seconds for the lion to shift—it’ll clear the brush.”
- “You’re at f/8… try f/4 to soften that busy background.”
That kind of coaching, in the moment, helps the lesson stick.
3. We Review Your Images Together
In our mid-day discussions and evening feedback sessions, we talk backgrounds just as much as sharpness or exposure. We help you see what’s working—and what’s competing for attention in your shots.
You’ll learn by reviewing not just your own images, but others’ too. It’s one of the fastest ways to train your eye.
4. We Revisit Locations with New Eyes
When possible, we’ll return to scenes with better light, cleaner compositions, or improved behavior. On Day 1 you might photograph a giraffe at noon. On Day 3, we return at golden hour, guide you to a better angle, and watch you nail the frame.
5. We Teach You to Think Like an Editor
Eventually, it becomes instinct. You’ll start scanning the edges of your frame before shooting. You’ll wait for the moment when light, subject, and background align. You’ll stop “taking” pictures—and start making them.
Final Thoughts On Improving Your Wildlife Photos with Better Backgrounds
Your subject is the hero—but the background is the stage. Treat it with the same care. With just a few small adjustments, you can take your images from “nice shot” to “wow, that belongs in a gallery.”
The next time you’re in the field, remember: you don’t just photograph animals—you compose stories. Make every part of the frame count.


