How to Photograph Kolmanskop: Light, Lenses and Composition
By Kevin Pepper |
There are few places in Namibia that challenge a photographer quite like Kolmanskop.
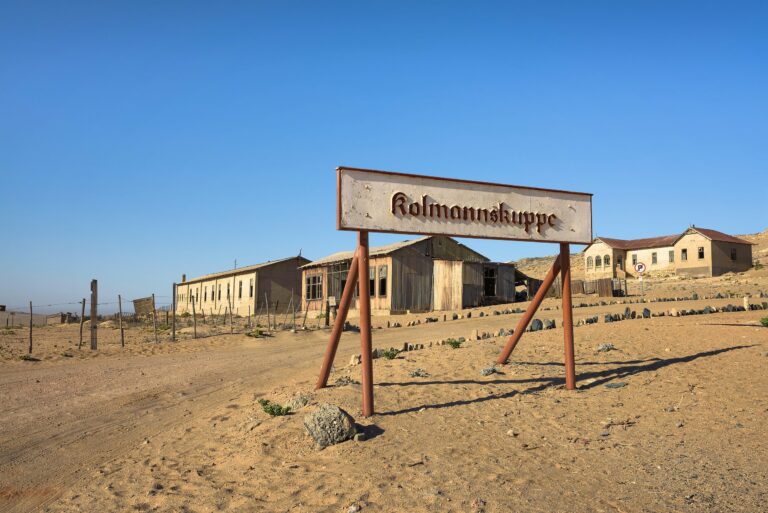
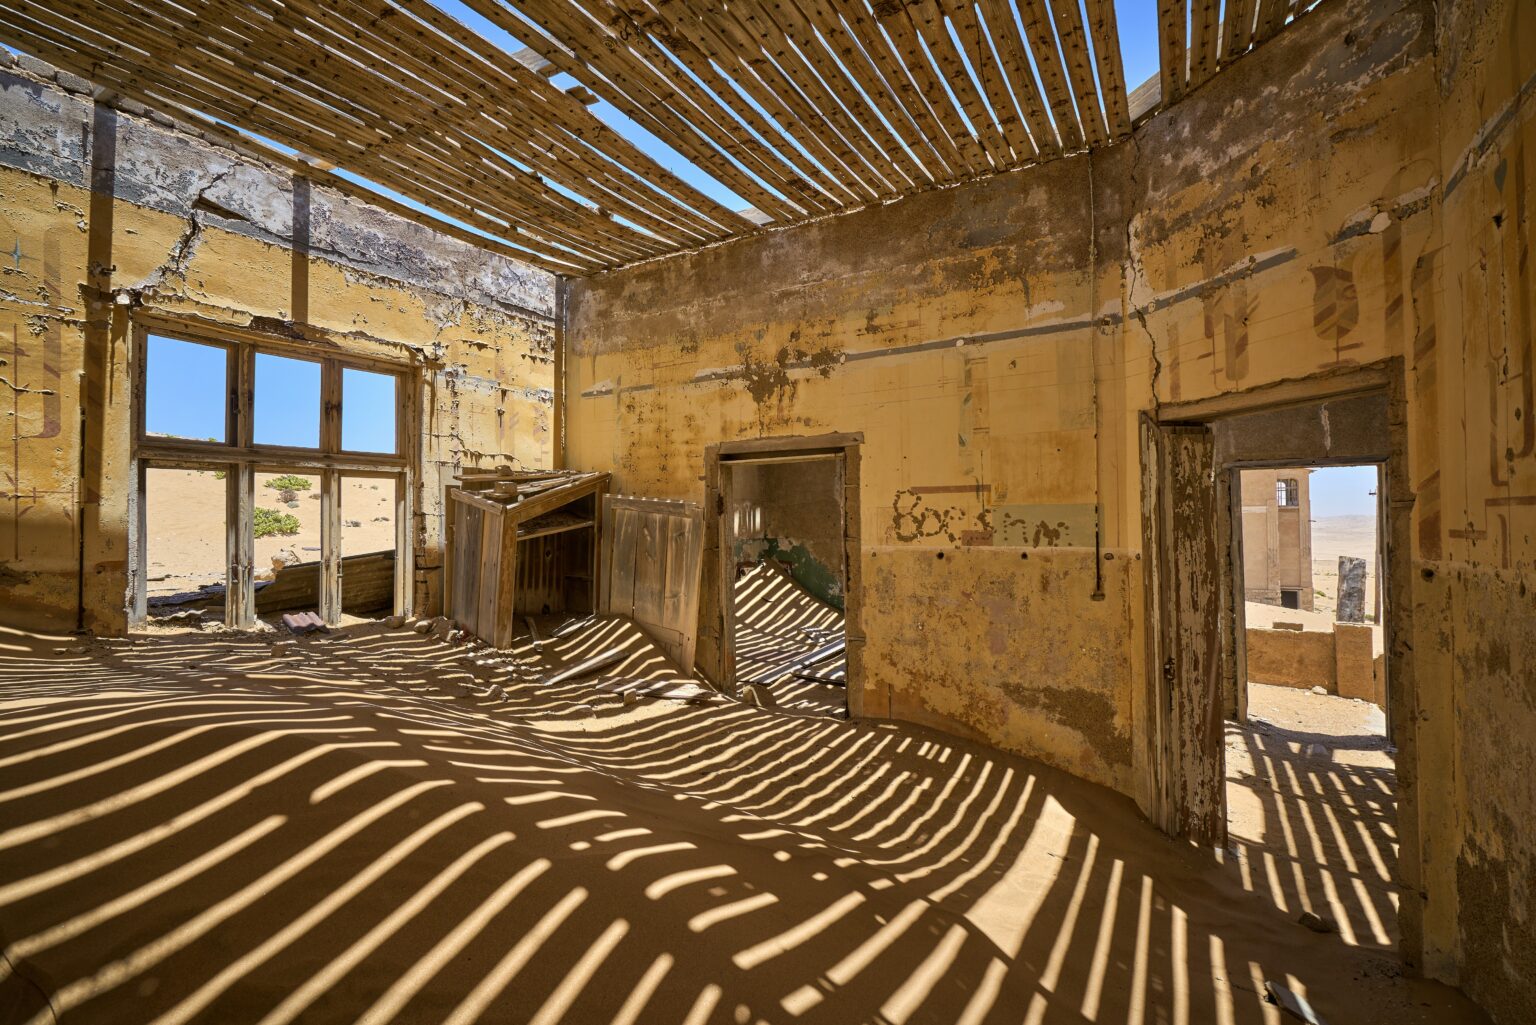
The abandoned diamond-mining town sits in the desert outside Lüderitz, its once-grand buildings slowly surrendering to wind and sand. Dunes pour through doorways. Faded wallpaper clings to cracked walls. Morning light cuts across rooms that have been empty for decades.
It is an extraordinary place to photograph—but it is not as simple as walking inside, setting up a tripod and pointing your camera toward a sand-filled room.
I have returned to Kolmanskop many times while leading photography workshops in Namibia. Each visit reinforces the same lesson: the best photographs come from understanding how the light moves, working patiently and looking beyond the compositions everyone else has already made.
Why Kolmanskop Is So Photogenic
Kolmanskop grew quickly after diamonds were discovered in the area in 1908. The settlement eventually included homes, a hospital, school, theatre, ballroom, casino and other amenities that reflected the wealth created by the diamond rush.
The town was later abandoned, leaving the Namib Desert to reclaim it one room at a time.
That combination of European architecture, peeling paint, empty hallways and windblown sand gives photographers several subjects to work with:
- Architecture
- Abstract details
- Patterns and textures
- Light and shadow
- Desert landscapes
- Visual storytelling
- Minimalist compositions
The obvious photograph is a colourful room filled with sand. The better goal is to show the relationship between the building, the desert and the passage of time.
How Morning Light Moves Through Kolmanskop
Light is everything at Kolmanskop.
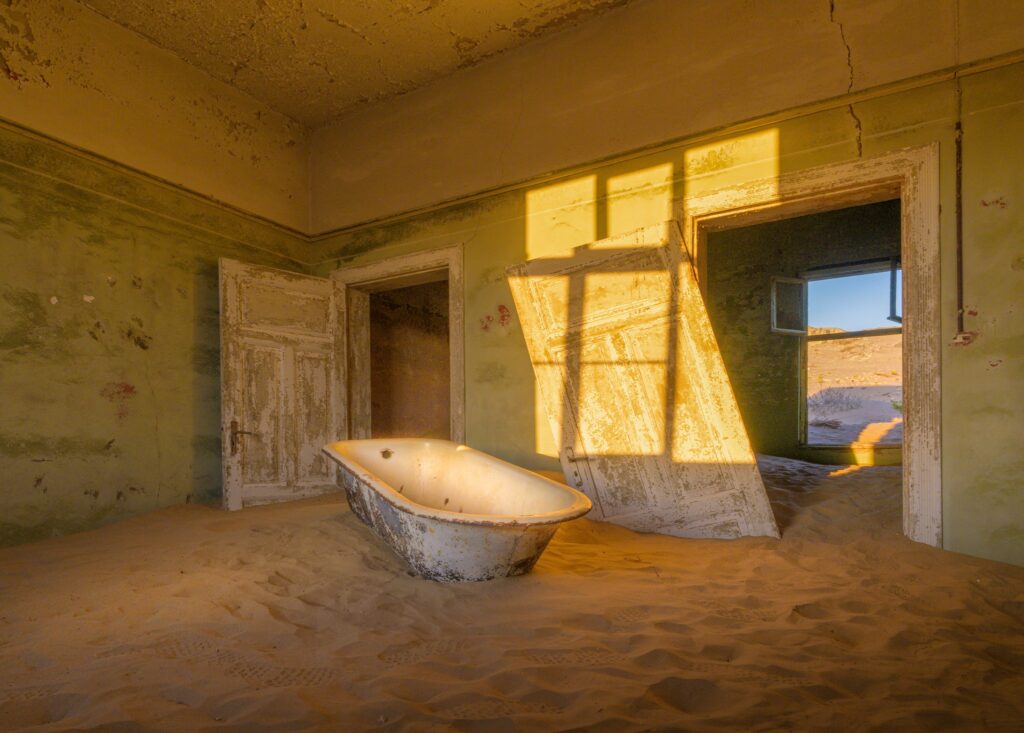
The buildings contain windows and doors facing different directions, which means each room has its own brief period when the light is at its best. One room may glow shortly after sunrise while another does not come alive until later in the morning.
The angle of the sun changes quickly. A narrow beam may begin on one wall, move across the sand and disappear within minutes.
This is why wandering without a plan can cost you the best opportunities.
When we arrive, we already have an idea of which buildings and rooms should receive light first. We can begin in one area, follow the changing light and move through the town with purpose.
The key is not merely finding direct sunlight. Look for the relationship between light and shadow.
A bright doorway surrounded by darkness can become the centre of the composition. Side light can reveal the texture and curves of the sand. Reflected light may create a softer scene with more detail in the walls.
When the light enters a room, ask yourself:
- Where does my eye go first?
- Is the light revealing texture or creating distraction?
- Does the shadow add depth?
- Will the composition improve if I wait five minutes?
- Is there a stronger angle from another doorway?
Sometimes the photograph is ready immediately. More often, it becomes stronger as the light moves.
Why Early Access Matters
Standard entry to Kolmanskop is currently limited to the regular morning opening period. A separate amateur photography day permit allows access from sunrise until sunset, although entry is not permitted between sunset and sunrise. Regulations and permit details can change, so photographers should confirm current information before visiting.
For serious photography, early access makes a noticeable difference.
You can begin working before the regular tour groups arrive. The lower morning light creates stronger shadows and greater depth. You also have a better chance of photographing rooms without people walking through the background.
Access alone, however, does not guarantee good photographs. You still need to know which rooms to visit first.
A photographer can easily spend twenty minutes in a room with ordinary light while a much stronger scene is unfolding in another building.
Timing matters twice at Kolmanskop: you must be there at the right time, and you must be in the right room.
Wide Scenes Versus Intimate Details
Most photographers arrive wanting the classic Kolmanskop photograph: an entire abandoned room with a dune flowing through a doorway or covering the floor.
Those wide scenes are important, but they should not be the only photographs you make.
Photographing the wider room
A wide-angle lens helps show the scale of the sand, architecture and surrounding environment. It allows you to use doorways, walls and windows as natural frames.
The danger is including too much.
A wide lens may bring broken boards, bright windows, damaged ceilings and other distractions into the frame. Before pressing the shutter, inspect every corner.
Move a little closer. Lower the camera. Shift slightly left or right. Small changes can simplify a complicated room.
Use the architecture to guide the viewer:
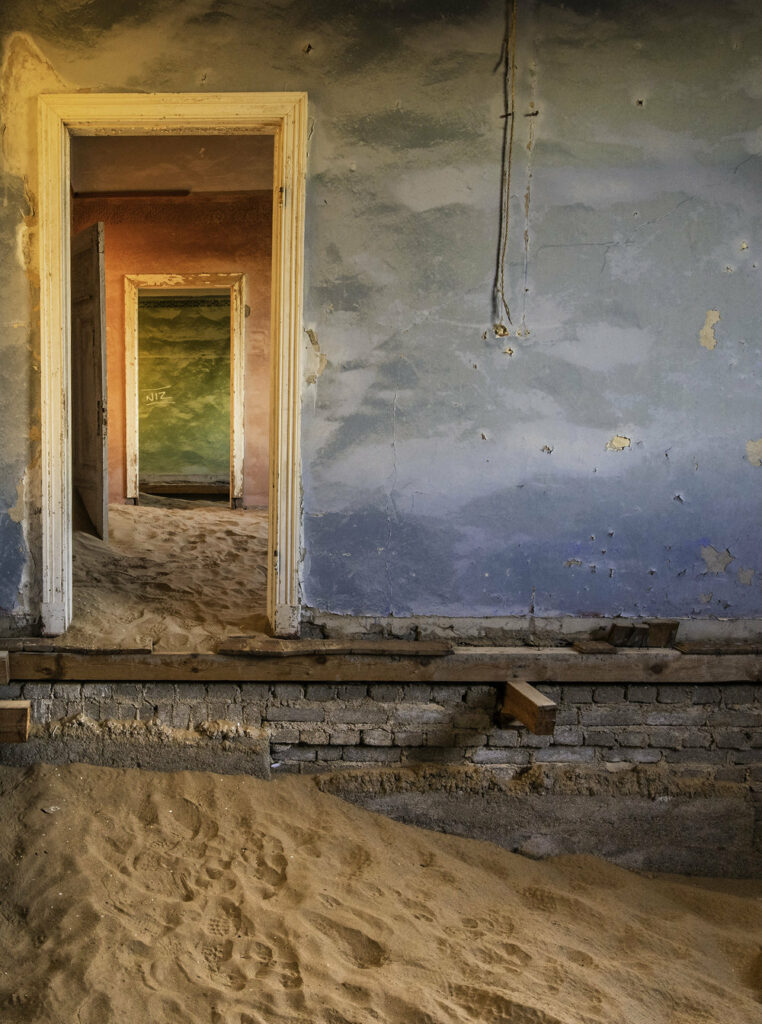
- Door frames can create frames within the frame.
- Hallways can become leading lines.
- Repeating doors create depth.
- The edge of a dune can lead toward a window.
- Dark rooms can frame brighter rooms beyond them.
Do not automatically use the widest focal length you own. A slightly longer focal length often produces a cleaner photograph.
Looking for smaller scenes
Once you have photographed the wider room, slow down and look again.
Some of the strongest photographs at Kolmanskop are quiet details:
- Cracked wallpaper meeting smooth sand
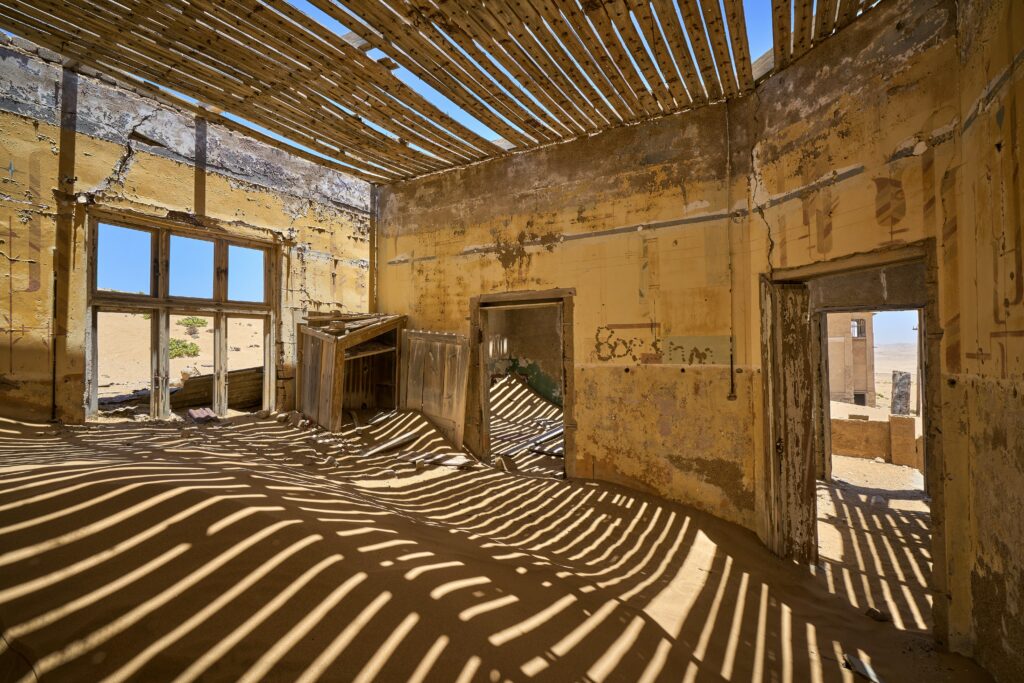
- Repeating shadows across a wall
- A partially buried doorway
- Layers of faded paint
- A single window surrounded by darkness
- Wind patterns on the surface of a dune
- Old fixtures being swallowed by sand
- The contrast between straight architectural lines and flowing desert shapes
These photographs may communicate the feeling of Kolmanskop better than another wide view of an entire room.
A mid-range zoom or short telephoto lens is useful for isolating these details and removing distractions.

The Best Lenses for Kolmanskop
You do not need a bag full of lenses, but having more than one focal-length range gives you more creative options.
Wide-angle lens
A lens in the approximate 14–35mm range is useful for interiors, hallways and rooms where space is limited.
Be careful at the widest settings. Extreme wide angles can stretch the corners, exaggerate nearby objects and make walls appear to lean.
Standard zoom
A lens around 24–70mm may be the most useful option at Kolmanskop.
It is wide enough for many rooms but allows you to tighten compositions without constantly changing lenses. It also produces a more natural perspective than an ultra-wide lens.
Short telephoto
A 70–200mm lens can be surprisingly valuable.
It lets you isolate sections of distant rooms, compress repeating doorways and photograph details without physically entering unstable or restricted areas.
Telephoto compositions can also help you create photographs that look different from the common wide-angle views.
My preference is to arrive with two camera bodies when possible. That allows me to keep a wider lens on one body and a standard or short telephoto lens on the other.
Dust, Sand and Changing Lenses
Kolmanskop is filled with fine desert sand, and the wind can move it through the buildings quickly.
Changing lenses carelessly is an invitation for dust to reach your camera sensor.
A few practical precautions make a difference:
- Begin with the lenses you expect to use already mounted.
- Change lenses inside a sheltered room rather than in an exposed doorway.
- Turn the camera off before changing lenses.
- Point the camera mount downward.
- Keep the rear caps and camera bag clean.
- Make the change quickly.
- Avoid placing equipment directly on the sand.
- Carry a blower, but save serious sensor cleaning until you are in a controlled environment.
Constantly switching between lenses also interrupts your concentration. This is another reason two camera bodies are useful.
The less time you spend managing equipment, the more carefully you can watch the light.
Managing Extreme Contrast
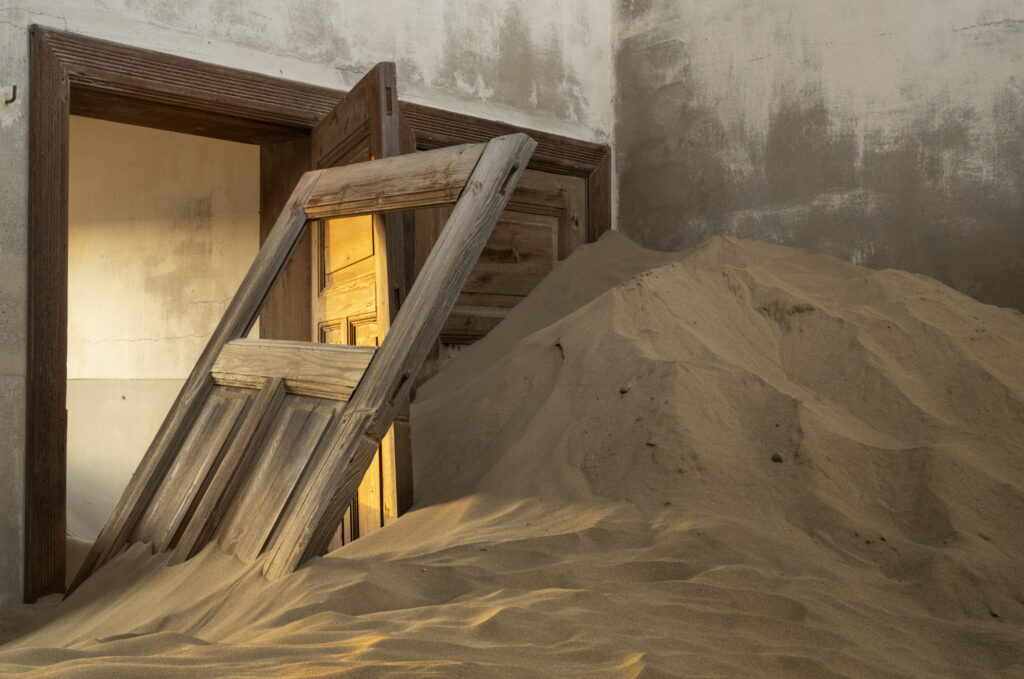
The interiors at Kolmanskop can contain very dark shadows and intensely bright windows in the same frame.
Your camera may not capture that entire range in a single exposure.
Begin by protecting the highlights. Once a window or patch of sun is completely overexposed, recovering its detail may be impossible.
Use your histogram rather than relying entirely on the brightness of the image displayed on the back of the camera.
You have several options for handling the contrast.
Wait for better light
The simplest solution is often patience.
As the sun moves, the contrast may soften. Reflected light may begin filling the room, or the brightest area may shift away from an important part of the composition.
Bracket exposures
Exposure bracketing allows you to capture one frame for the highlights, one for the midtones and another for the shadows.
The exposures can later be blended carefully.
The goal should not be to remove every shadow. Kolmanskop needs darkness. Shadows create atmosphere, depth and mystery.
Blend only enough to retain important detail while preserving the natural feeling of the room.
Recompose
You may not need the bright window in the photograph.
Move closer, use a longer focal length or change your position to eliminate the brightest part of the scene. Better composition is often more effective than complicated processing.

When to Use Focus Stacking
Focus stacking is useful when your composition includes sand or another object very close to the camera while also showing a distant doorway or wall.
At close distances, even a small aperture may not keep the entire scene sharp.
To create a focus stack:
- Mount the camera securely on a tripod.
- Select your composition and exposure.
- Focus on the nearest important part of the scene.
- Make several exposures, gradually moving the focus deeper into the room.
- Include enough overlap between each focus point.
- Blend the sharpest areas during post-processing.
You do not need to focus stack every photograph.
Apertures such as f/8 or f/11 will provide enough depth of field for many scenes, particularly when the nearest object is not extremely close to the lens.
Focus stacking is most useful when it solves a clear technical problem. It should not become a routine that prevents you from responding quickly to changing light.
Keeping Vertical Lines Straight
Kolmanskop’s door frames and walls give your eye a clear reference for what should be vertical.
When the camera is tilted upward or downward, those lines begin to converge. A small amount can be corrected later, but heavy correction may stretch the photograph and force you to crop away important parts of the frame.
Whenever possible:
- Keep the camera level.
- Use the electronic level in your viewfinder.
- Raise or lower the tripod instead of tilting the camera.
- Step farther back and use a longer focal length.
- Leave extra room around the edges for perspective correction.
- Check both sides of the frame before making the exposure.
Perfectly straight lines are not required in every photograph. Sometimes distortion contributes to a more expressive image.
The important thing is that the choice looks deliberate.

Working Without Other Photographers in the Frame
Kolmanskop contains small rooms, narrow doorways and limited shooting positions. This is where group size becomes very real.
An instructor-to-guest ratio may look good on paper, but two instructors do not make a room larger. When eight to ten photographers are standing in one small space, there are still lots of tripods, camera bags and too many people trying to use the same doorway.
This is one reason we keep our Namibia photography workshop groups small.
Fewer photographers means everyone has room to compose, move their tripod and wait for the light without constantly stepping into someone else’s photograph.
When working with others, communication also matters.
Ask before walking through someone’s frame. Once you finish a composition, move aside so another photographer can use the position. Avoid leaving bags and equipment in doorways.
At busy times, you can also use patience creatively. Set the composition, wait for people to move and make the photograph during a brief clear moment.
A longer exposure will not reliably remove people who remain in one place, but it can sometimes soften movement through a hallway.
How to Avoid Making the Same Kolmanskop Photographs as Everyone Else
Kolmanskop has been photographed many thousands of times. Several rooms have become instantly recognizable.
There is nothing wrong with making those classic photographs. They are popular because the scenes are strong.
But do not stop there.
Explore beyond the obvious rooms
The first attractive room you find may also be the first room every other visitor photographs.
Continue exploring. Look into side rooms, smaller buildings and less dramatic spaces. A simple room with exceptional light can produce a stronger photograph than a famous room under ordinary conditions.
Change your focal length
Many familiar Kolmanskop photographs are made with an ultra-wide lens from approximately the same position.
Try a standard or telephoto focal length. Isolate one doorway. Photograph through several rooms. Compress layers of walls, shadows and colour.
Changing lenses changes how you see the location.
Change your camera height
Most photographs are taken from standing eye level.
Lower the tripod to emphasize patterns in the sand. Raise the camera to reveal the shape of a dune or simplify the relationship between rooms.
Even a change of thirty centimetres can alter how lines overlap.
Work with shadows
Do not treat shadows as empty areas that need to be brightened.
Use them to hide distractions, create negative space and direct attention toward the most important part of the image.
Look behind you
This is one of the simplest habits in photography.
After finding an obvious composition, turn around. The same light that illuminates one wall may be creating a stronger reflected glow or shadow pattern behind you.
Build a sequence rather than one photograph
Think like a storyteller.
Create a wide establishing image, a medium view and several details. Photograph the grandeur, but also photograph the decay.
A series gives viewers a stronger sense of what it feels like to walk through Kolmanskop.
Suggested Camera Settings
There is no single correct group of settings, but these provide a useful starting point.
For tripod-based interiors:
- ISO 64 or ISO 100
- Aperture between f/8 and f/11
- Aperture priority or manual exposure
- Two-second timer or remote release
- Exposure bracketing when required
- Image stabilization turned off when appropriate for your lens and tripod setup
For handheld details:
- Aperture between f/5.6 and f/8
- Minimum shutter speed appropriate for the focal length
- Auto ISO with a sensible upper limit
- Continuous stabilization when supported
Always adjust for the scene in front of you. Light levels vary considerably between buildings and rooms. Remember to expose for the highlights.
Equipment I Would Bring to Kolmanskop
A practical kit could include:
- Two camera bodies
- Wide-angle zoom
- 24–70mm lens
- 70–200mm lens
- Stable tripod
- Remote shutter release
- Lens cloth
- Rocket blower
- Spare batteries
- Extra memory cards
- Small camera bag that is easy to carry through narrow spaces
- Closed footwear suitable for sand, debris and uneven floors
A polarizing filter is rarely essential inside the buildings and may cost valuable light. Graduated filters are also difficult to use in scenes filled with irregular walls, doors and windows.
Exposure bracketing usually provides more control.
Safety Inside the Buildings
Kolmanskop is an abandoned settlement, not a controlled studio.
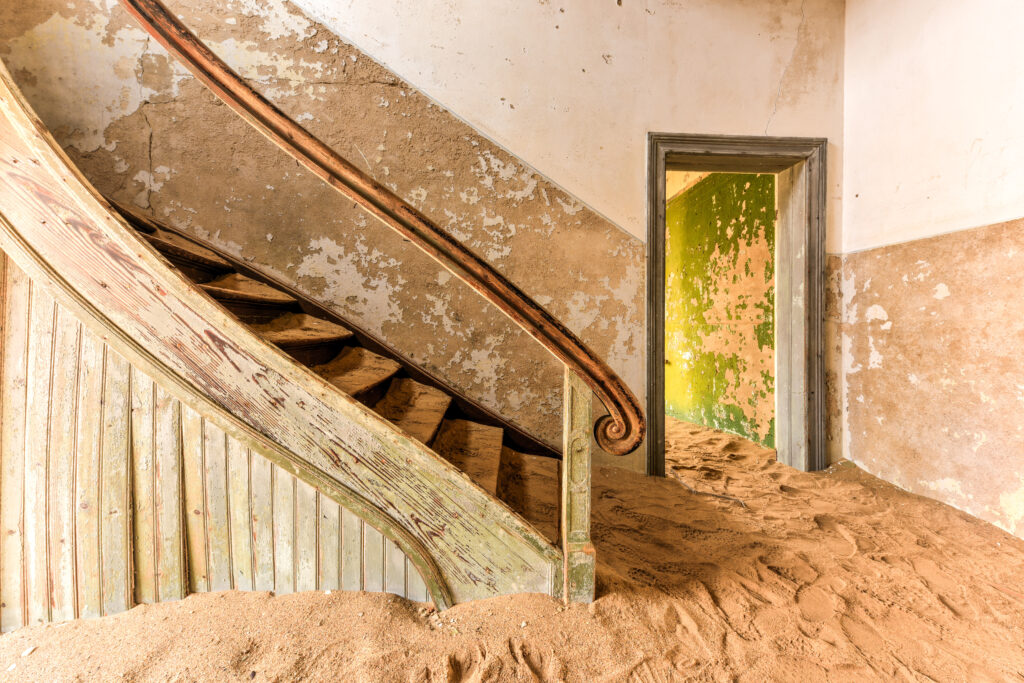
Floors can be uneven. Broken materials and debris may be hidden beneath the sand. Buildings continue to deteriorate, and some areas may be closed or restricted.
Follow posted signs and local instructions. Do not enter closed rooms or climb unstable structures for a photograph.
No composition is worth damaging the location—or yourself.
The Real Secret to Photographing Kolmanskop
The best piece of advice I can give is simple: slow down.
Kolmanskop can overwhelm photographers because there are potential images everywhere. That often leads to rushing from room to room and making many photographs without fully developing any of them.
Choose a composition. Refine the edges. Watch the light. Wait to see what changes.
Then make the photograph.
The sand will keep moving through these buildings. The wallpaper will continue to fade. Rooms that look one way today may look different when we return.
That is part of what makes Kolmanskop special.
It is not simply an abandoned town. It is a place where the desert is still writing the final chapter—and where thoughtful photographers can do far more than repeat the photographs they have already seen.
Join Us in Namibia
Kolmanskop is one of several locations we photograph during our small-group Namibia photography workshops.
Our itinerary is built around the best photographic opportunities rather than simply visiting a list of attractions. We plan our time around the light, arrange the access we need and keep our groups small enough for every photographer to work comfortably.
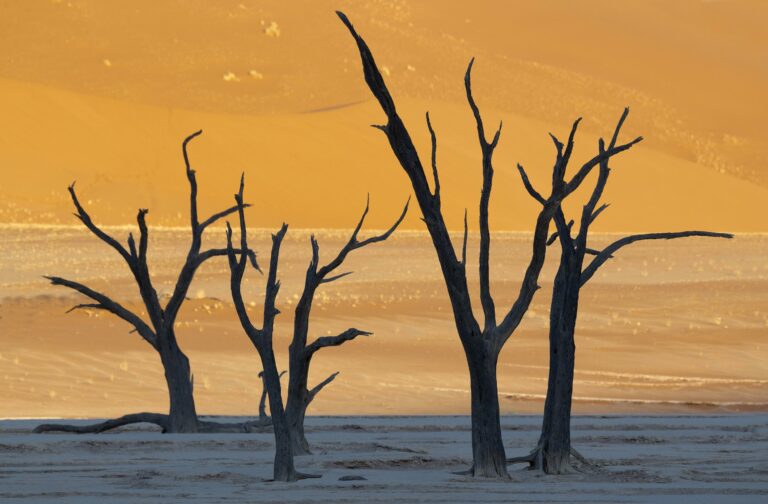
Along the way, we also photograph the towering dunes and ancient trees of Deadvlei, the Milky Way over Spitzkoppe, the landscapes of the Namib Desert and the wildlife of Etosha and Ongava.
You bring your camera. We will help put you in the right place when the light begins to move through the room.