The One Thing All Great Wildlife Images Have in Common: A Clean, Powerful Background
By Kevin Pepper |
Why simplicity isn’t boring—it’s the secret to images that feel intentional, emotional, and unmistakably professional.
Most people think wildlife photography is all about the animal.
And yes, we love the animals (some of them even seem to tolerate us).
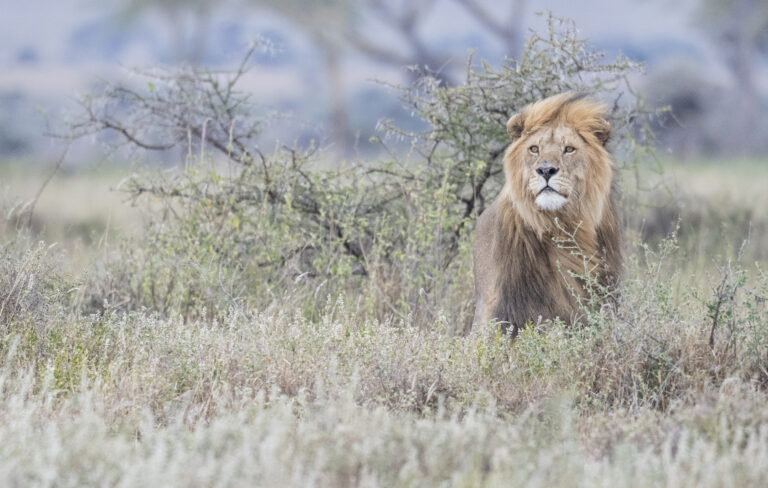
But the truth—the quiet truth that separates a “nice sighting” photo from something print-worthy—is the background. A clean, powerful background is the backbone of a great wildlife image. It’s the thing you feel before you even notice the subject. It’s what gives your photo depth, mood, and story.
On our wildlife workshops, this is one of the very first lessons we teach—long before shutter speed, autofocus modes, or that eternal debate about whether ISO 6400 is “fine” or “a war crime.”
A good background makes the whole image sing. A bad background makes even the rarest sighting look like an afterthought.
Let’s break it down, step by step, just as we do in the field.
1. First Rule: The Background Is Part of the Subject
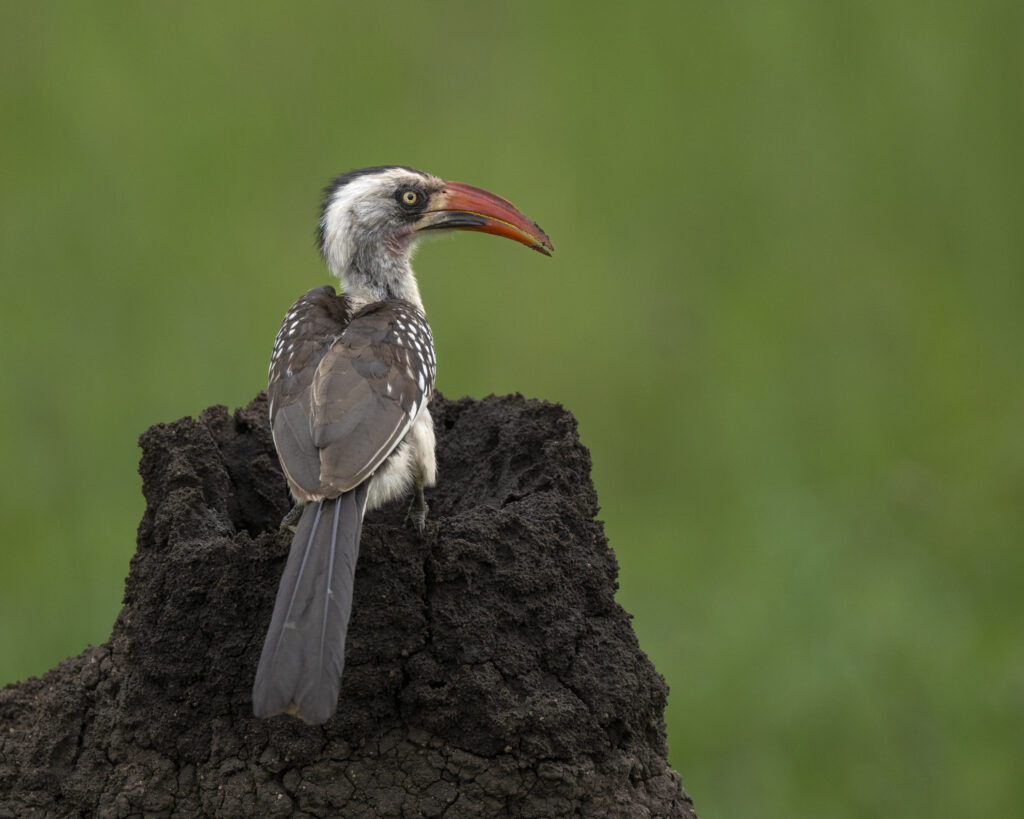
When your viewer looks at your photo, their brain doesn’t separate the animal from its surroundings—they see the entire frame at once. That means the background has just as much influence on the mood and clarity of the shot as the subject itself.
On workshops, we often say:
“If the background is messy, the photo is messy.”
Doesn’t matter how lovely the leopard is.
A few examples of what kills a shot:
- Sticks poking out of ears
- Bright patches of light behind dark animals
- Cluttered bushes that look like a tangle of wire
- Sharp distractions fighting for attention
And sometimes the worst offender of all:
a horizon cutting directly through the animal’s head like a budget magic trick.
A powerful background lets the animal breathe. It creates space. It guides the viewer to exactly where you want their eye to go.
2. Move Your Feet: The Cheapest and Most Effective Lens in the Field
Here’s the part everyone forgets:
Most background problems can be solved by moving two steps to the left or right.
We demonstrate this constantly on workshops. Someone takes a photo, shows us the back of their camera, and we gently say:
“Okay, now take three steps to your right… no, one more… yes, there… now shoot.”
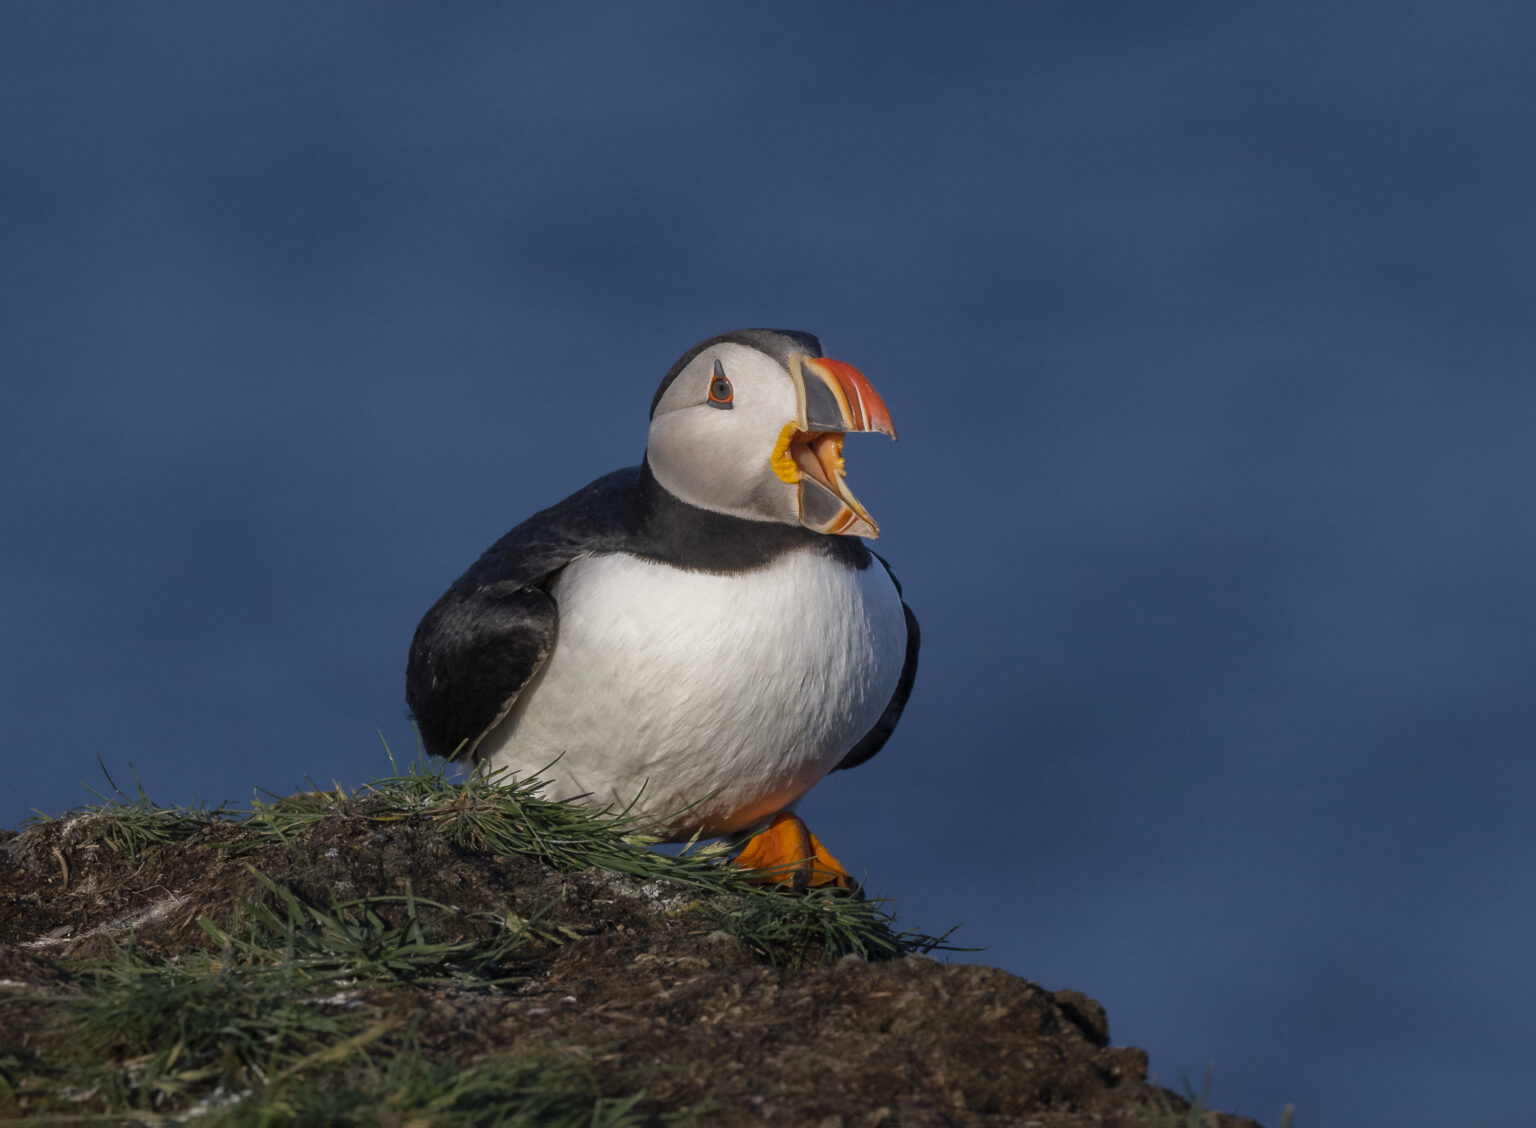
Suddenly, the messy clump of branches disappears, and the background turns into a soft wash of color.
Magic? No. Just walking.
What moving your feet accomplishes:
- Removes distractions
- Shifts bright spots out of the frame
- Aligns the subject with better negative space
- Allows you to control the horizon better
- Changes the visual weight of the image
It’s the simplest fix in wildlife photography, and yet it’s the one most often forgotten.
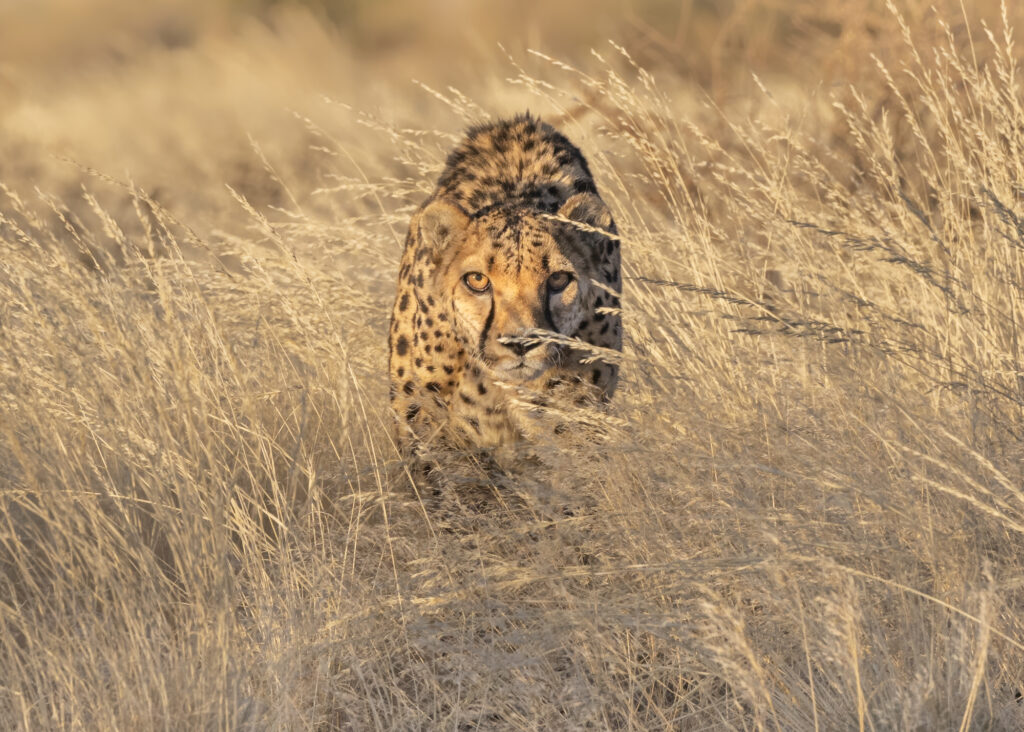
3. Change Your Height: Your Knees Are a Compositional Tool
Getting low changes everything.
The lower you go, the more the animal pops against a clean, distant background.
On workshops, we often drop to the ground (gracefully or otherwise) to demonstrate how lowering your perspective:
- Isolates the subject
- Increases blur in the background
- Creates a more intimate, eye-level connection
- Removes the clutter that comes from shooting downward
Yes, you might get dusty. Yes, your knees might protest.
But the photo will thank you. And your future self looking at the image will quietly whisper, “Good call.”
Sometimes the animals even walk closer because you look less threatening—another bonus.
4. Use Negative Space Like a Storytelling Tool
Negative space isn’t empty. It’s expressive.
It gives the viewer room to breathe and the subject room to “exist” in the frame.
On workshops, we encourage photographers to go beyond the tight portrait. Sure, everyone loves a full-frame lion head—but sometimes the better story is the lion dwarfed by the savannah, walking through warm light under a vast African sky.
Negative space works when:
- It adds mood or scale
- It emphasizes the environment
- It highlights behavior
- It contributes to storytelling
You can’t tell the story of a place if you crop too tightly on the animal.

5. Control the Light Behind Your Subject
The subject is important, yes.
But the light behind the subject is what creates the magic.
A few principles we teach in the field:
- Soft, even backgrounds flatter almost every species.
- Backlight creates rim glows—but only if the background is clean.
- Side-lighting enhances texture but can reveal clutter fast.
- High-contrast backgrounds usually compete with your subject.
When we work with clients, we often point out the difference between light on the subject and light behind the subject—and once that clicks, their photography instantly jumps a level.
6. Simplifying in Real Time: “Tourist Shot vs. Thoughtful Shot” Moments
Here’s a typical workshop moment:
A tourist vehicle pulls up next to us.
Everyone fires away: quick shots, awkward angles, no attention to background.
It’s the classic “I saw it, I photographed it, and I hope it worked” approach.
Meanwhile, we’re saying:
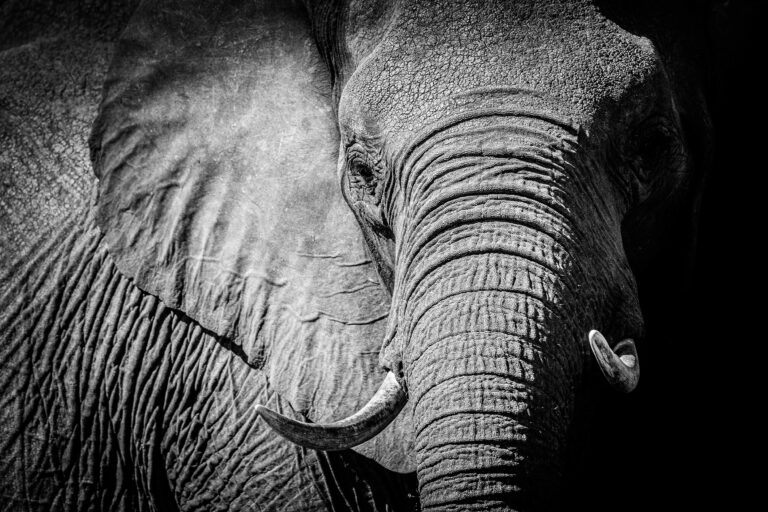
“Okay, the elephant has nice separation from that acacia. Hold… and there. Move one meter left. Perfect—now you’ve got him against that soft golden ridge.”
The difference is subtle in the moment…
…and enormous on your memory card.
Great images aren’t an accident. They come from awareness.
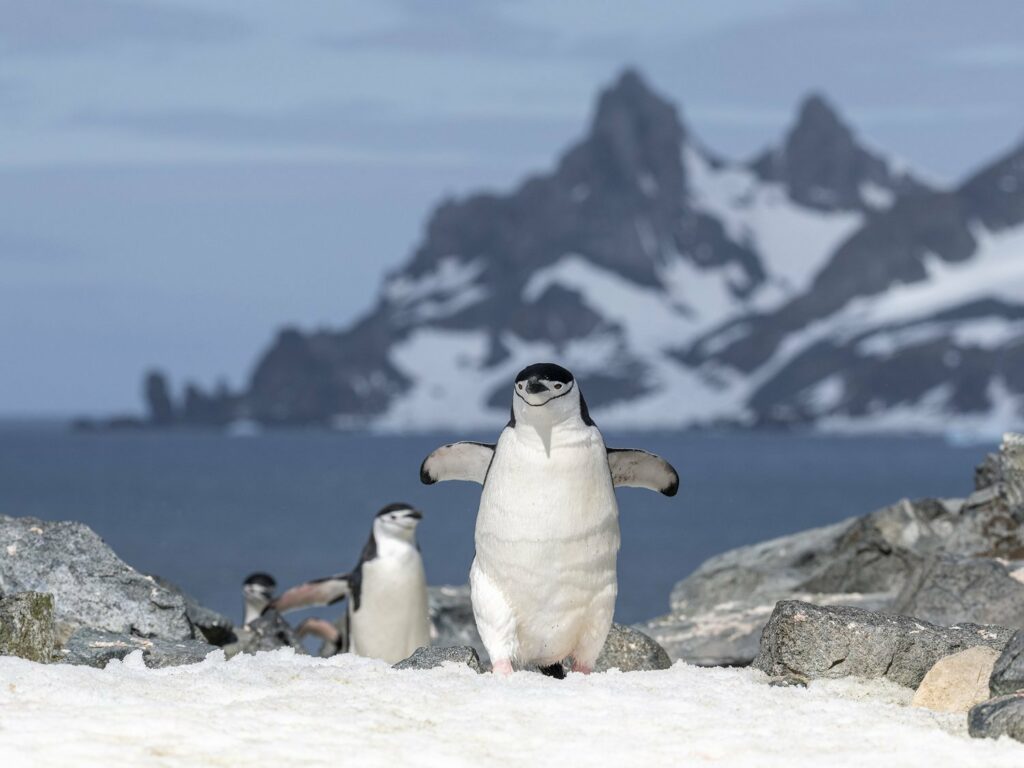
7. When the Background Is Terrible (Because Sometimes It Just Is)
Even the cleanest habitats get messy—forests, tall grass, thickets, riverbanks, and busy waterholes.
Here’s what we teach when the background looks like a tangle of spaghetti:
- Look for gaps in the clutter
- Wait for the animal to take one extra step
- Stop focusing on the head—start watching the background for the moment you want
- Use wider apertures
- Reframe vertically or diagonally
- Switch to silhouettes if the light allows
Sometimes the best shot isn’t the obvious one.
Often, the best image is the one where you adapt and let the background guide the composition.
8. A Few Workshop Anecdotes (Because They’re Always True)
- In Namibia, we once had a lion lying in perfect light… framed by the single worst bush on the continent. Moving two steps left turned the shot from “lion lost in shrubbery” into “clean, powerful portrait.”
- In Mongolia, we shifted three meters to avoid a bright boulder behind an eagle—and suddenly the bird popped against the mountains.
- In Costa Rica, getting low gave us a clean backdrop of blurred leaves instead of a mess of overlapping branches.
None of these adjustments involved new gear.
Just awareness.
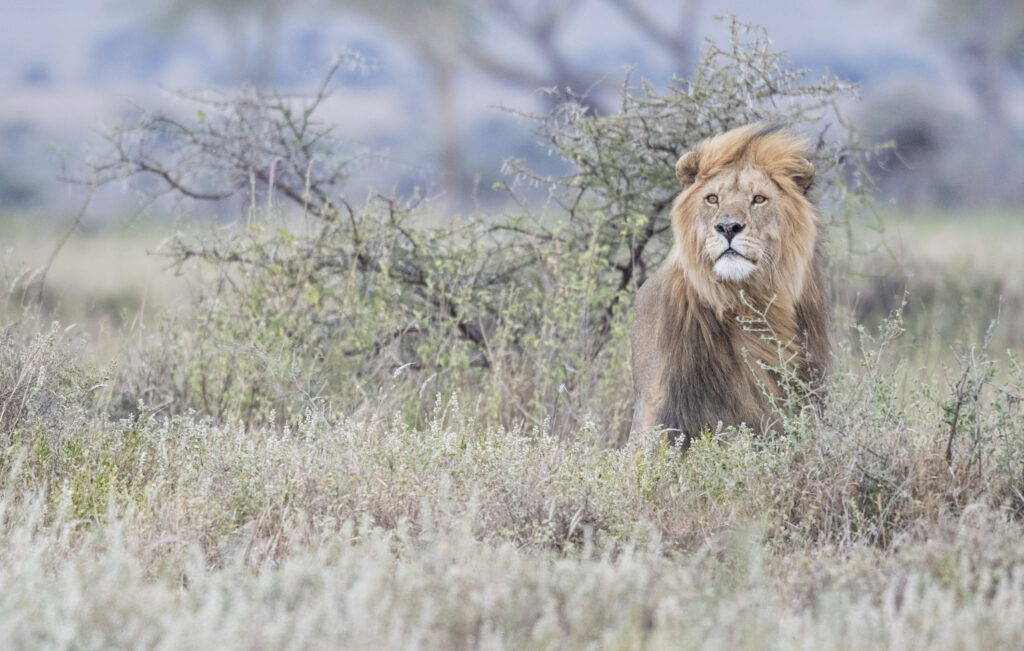
9. The Core Teaching: Your Background Dictates Your Story
A powerful background:
- elevates your subject
- simplifies your composition
- gives clarity to your vision
- makes your viewer feel what you felt
Your subject is the hero.
But your background is the stage—and no hero shines without a good stage.
And when you learn to master backgrounds, your photography immediately starts looking less “tourist snapshot” and more “portfolio image.”
That’s the shift we love watching happen in our workshops.
Ready to Learn These Background Techniques in the Field?
If you want to train your eye to see backgrounds the way professionals do—and create cleaner, stronger, more intentional wildlife images—we’d love to teach you in person.
On our bird and wildlife workshops, we spend time:
- helping you position yourself for clean, powerful compositions
- showing you how to move your feet, shift height, and chase light
- teaching you how to simplify chaotic scenes
- guiding you through real-time decision-making
- making sure you leave with images you’re proud of
And we do it all in small groups, with hands-on instruction, in some of the world’s most remarkable wildlife locations.
Explore our upcoming wildlife and bird photography workshops at Akari Photo Tours.
Let’s build your next great background together.