Better wildlife photos without new gear
By Kevin Pepper |
In wildlife photography, an image can be tack-sharp, perfectly exposed, and still feel like… a field guide.
Nothing wrong with a clean ID shot. But the images people remember—the ones that make them stop scrolling—usually do something more.
They say something.
Here’s the shift that changes everything:
“Think about taking a photo about the subject, not a photo of the subject.”
For wildlife photographers, that means you’re not just photographing an animal. You’re photographing behavior, intention, environment, and mood—the little pieces that turn a frame into a story.
The problem with “a photo of an animal.”
A photo of an animal answers the basics:
- What species is it?
- What does it look like?
- Where was it?
A photo about the animal asks better questions:
- What is it doing?
- What is it aware of?
- Is it hunting, guarding, resting, searching, playing, or surviving?
- What role does the habitat play in the story?
- What does this moment feel like?
That’s where your work starts looking less like “I saw this” and more like “I witnessed this.”
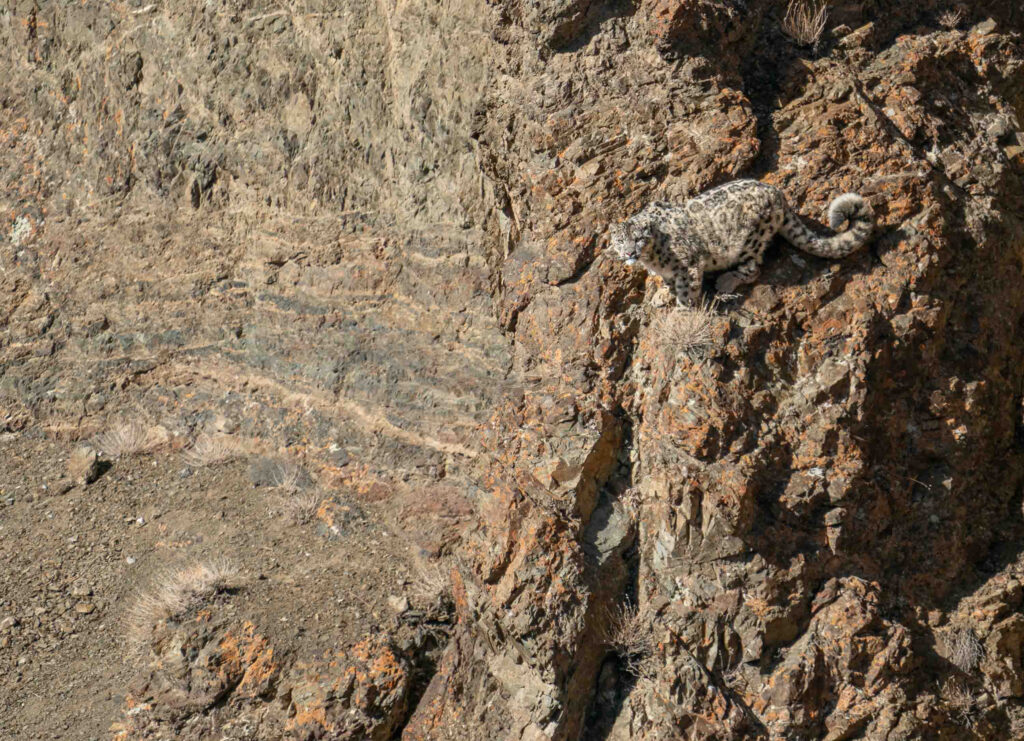
Composition: build a frame that reads like a story
Composition in wildlife photography isn’t just “rule of thirds and sharp eyes.” It’s how you control attention—and meaning—when the subject won’t take direction.
1) Decide what the story is before you press the shutter
Pick one:
- Portrait (character and detail)
- Behavior (action or interaction)
- Environment (place and scale)
- Tension (predator/prey, dominance, alertness)
- Tenderness (care, grooming, bonding)
If you don’t choose the story, your background will.
2) Leave space where the animal is going
The simplest storytelling move in wildlife:
- If the animal is looking right, give it space on the right.
- If it’s moving, give it space to move into.
That empty space becomes anticipation. It tells the viewer that something is about to happen.
3) Build clean layers: foreground, subject, background
Layers add depth and realism. They also add context:
- grasses, branches, dust, snow, spray, haze
- a hint of habitat without turning the frame into chaos
The trick: use foreground as atmosphere, not clutter.
4) Use angles that match the animal’s world
- Eye level is almost always the most powerful. It feels honest and intimate.
- Low angle can make subjects feel imposing and iconic.
- High angle often feels observational—and can work beautifully for patterns, nesting behavior, or a sense of vulnerability.
If you want the viewer to feel connected, get down in the dirt. The dirt is where the truth lives.
5) Background discipline is storytelling discipline
Your subject can be incredible and still get ruined by one bright stick.
Watch for:
- bright patches behind the head
- high-contrast lines cutting through the body
- “merging” distractions (branches growing out of ears, etc.)
Clean backgrounds don’t just look better. They tell the viewer where to feel.
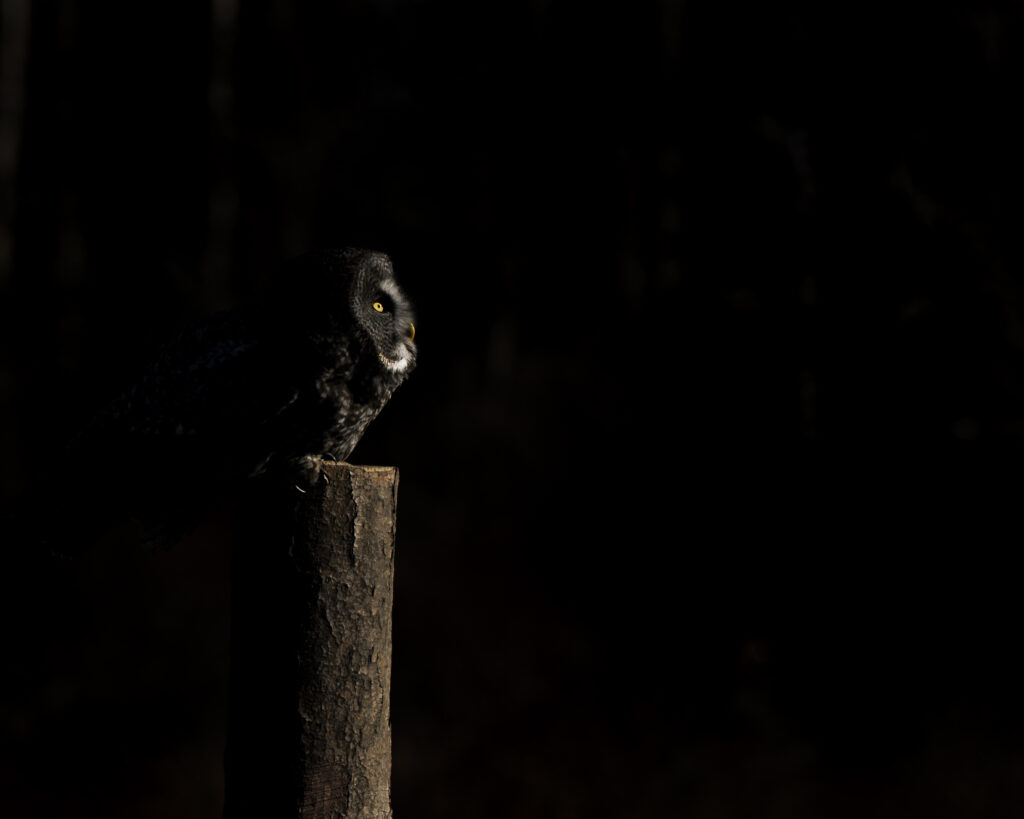
Light: mood, dimension, and drama
In wildlife work, light isn’t just a technical consideration—it’s the emotional language of the image.
1) Direction is everything
- Side light reveals texture: fur, feathers, wrinkles, scars. It’s your “character lighting.”
- Backlight adds atmosphere: rim light, breath in cold air, dust, rain, spray. It feels cinematic.
- Front light is clean and informative—great for color accuracy and detail, less effective for drama.
Want a portrait that feels alive? Find light that shapes the animal, not just illuminates it.
2) Contrast sets intensity
- High contrast: tension, grit, power.
- Low contrast: calm, softness, stillness.
A relaxed animal in gentle light can evoke a sense of peace. A vigilant animal in hard light can feel like a warning.
3) Use shadow on purpose
Not every part of the animal needs to be bright.
Let some areas fall off. Let the viewer complete the story.
Wildlife photos get interesting when you stop trying to explain everything.

Subject interaction: behavior is the plot
Wildlife photographers don’t “pose” animals. But you can anticipate them—and that’s even better.
1) Behavior beats rarity
A common animal doing something interesting will beat a rare animal doing nothing, almost every time.
Look for:
- feeding, hunting, scanning
- grooming, stretching, yawning
- chasing, sparring, play
- parenting, bonding, warning
Behavior is the difference between a photo people admire, and a photo people feel.
2) Build a relationship, not a trophy shot
The strongest images usually show the animal in relation to something:
- another animal (hierarchy, care, conflict)
- the environment (wind, snow, dust, surf, heat shimmer)
- a moment (first light, storms, migration movement)
That relationship is the narrative thread.
3) Watch the “transition moments”
The money frames often happen between the obvious moments:
- the half-second before the pounce
- the glance back over a shoulder
- the ears pinning, the tail flicking
- the pause after a charge
- the instant the wings load up before lift-off
You’re not waiting for the action. You’re waiting for the change.
4) Eyes, head angle, and gesture are your emotional cues
In wildlife portraits, micro-gestures are everything:
- head tilt
- ear position
- tension in the shoulders
- wing position
- paw lift/foot placement
These details indicate whether the animal is calm, curious, aggressive, uneasy, focused, or exhausted.

The field checklist: five questions that fix your hit rate
When things are happening fast, run this simple mental loop:
- What is this moment about? (rest, hunt, conflict, connection, survival)
- Where should the animal have space? (look room/lead room)
- Is the background helping or hurting? (clean it up)
- Where is the best light shaping the subject? (move your feet if you can)
- What is the next behavior likely to be? (anticipate, don’t chase)
That last one is the difference between “nice sighting” and “great frame.”
Three repeatable setups that create storytelling wildlife images
1) Backlight + atmosphere
Early/late light behind the subject with dust, mist, spray, breath, snow.
Expose carefully for highlights and let the rim light do the separating.
Result: mood, depth, and a sense of place.
2) Eye-level portrait + clean background
Get low. Find a background with distance. Place the animal against it.
Wait for a head turn, a blink, a gesture.
Result: intimacy and character.
3) Wide environmental frame + behavior
Pull back when the habitat matters—migration lines, storm skies, dunes, ice, reeds.
Let the animal be small on purpose.
Result: scale, solitude, and narrative context.

How I help you make these images on our workshops
Most photographers don’t need more gear. They need better decisions in the moment—where to stand, what to exclude, when to wait, and when to shoot. That’s what I coach, in real time, in the field.
On our wildlife workshops, we don’t just drive until we “find animals.” We set you up for clean backgrounds, strong light, and behavior—because the story happens when the conditions support it. That means planning around sunrise and sunset, working angles, and putting you in positions where the animal can do its thing without us forcing the scene.
I’m also constantly calling out the small stuff that creates big results: “Watch the ear position,” “He’s about to stand,” “Give her space in the frame,” “Wait for the head turn,” “Let that foreground blur in.” Those tiny adjustments—made at the right moment—are what turn a sighting into a frame you’re proud to print.
And when we’re done shooting, we make it stick. We review images together, break down what worked (and why), and build a simple approach you can repeat anywhere—whether you’re photographing lions in Africa, bears in the forest, or birds in your own backyard.
Because the goal isn’t to come home and say, “I photographed a leopard.”
It’s to come home with an image that says, “I witnessed a leopard being a leopard.”