What Camera Gear Should You Bring to Zimanga? Wildlife Photography Packing Guide
By Kevin Pepper |
Packing for a Zimanga photo safari is different from packing for a traditional African safari.
At Zimanga, you are not only photographing from safari vehicles. You are also working from purpose-built hides, low-level shooting positions, night hides, and water-level setups where reflections, close subjects, and controlled lighting can all become part of the experience.
That means your gear choices matter.
This is not a theoretical packing list. This is what I brought to Zimanga for my photography from the hides and vehicles myself.
The good news is this: you do not need to bring everything you own.
You just need the right tools for the way Zimanga works.
My Zimanga Camera Gear List
Here is the camera gear I brought to Zimanga:
- 20mm f/1.8
- 24–70mm f/2.8
- 70–200mm f/2.8
- 100-400mm f4.5-6.3
- 180–600mm f/5.6–6.3
- Two camera bodies
- Bean bag
- Laptop
- Two external drives
- Three batteries per camera body
- Cleaning cloths and blower
- No tripod — I use the supports provided at Zimanga
For many guests, I would also strongly recommend considering a 100–400mm lens. While the 70–200mm f/2.8 is close to perfect for many of the hides, the 100–400mm may be the lens you use most from the safari vehicles.
This kit gives strong coverage for wide-angle night hide photography, environmental wildlife images, portraits, birds, mammals, game drives, and low-level hide work.
Let’s walk through why each piece matters.
Why I Bring a 20mm f/1.8 to Zimanga
The 20mm f/1.8 is one of my favourite lenses for Zimanga because it opens up creative possibilities that many photographers do not immediately think about on safari.
Most people hear “African safari” and think long lenses.
And yes, long lenses matter.
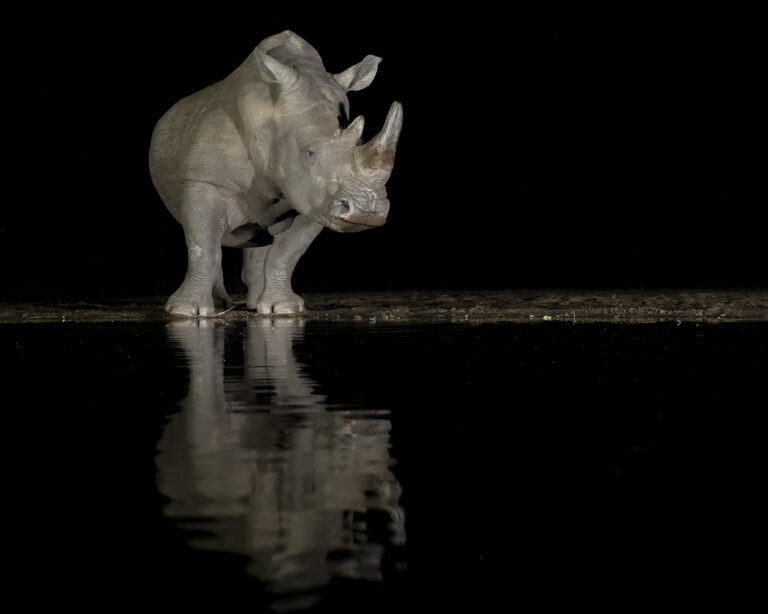
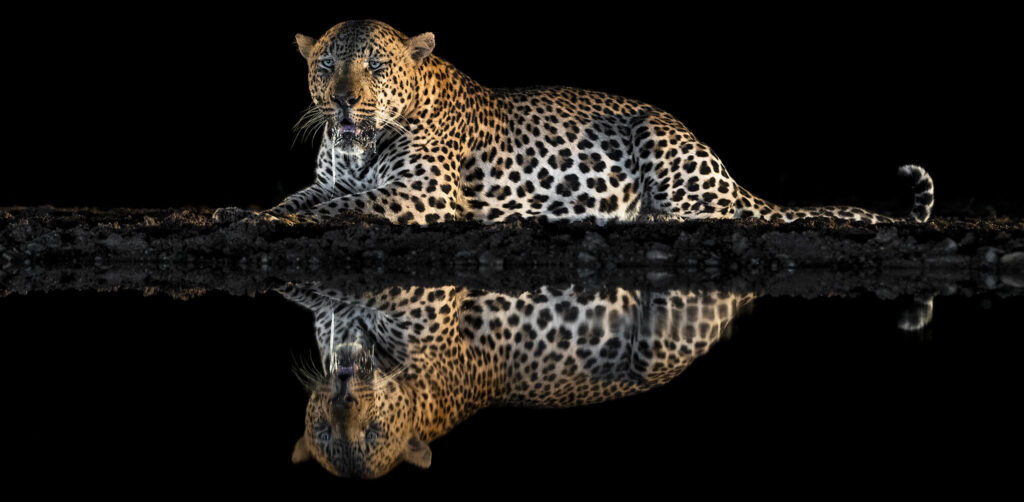
But at Zimanga, especially in the night hides, wide-angle photography can be incredibly powerful.
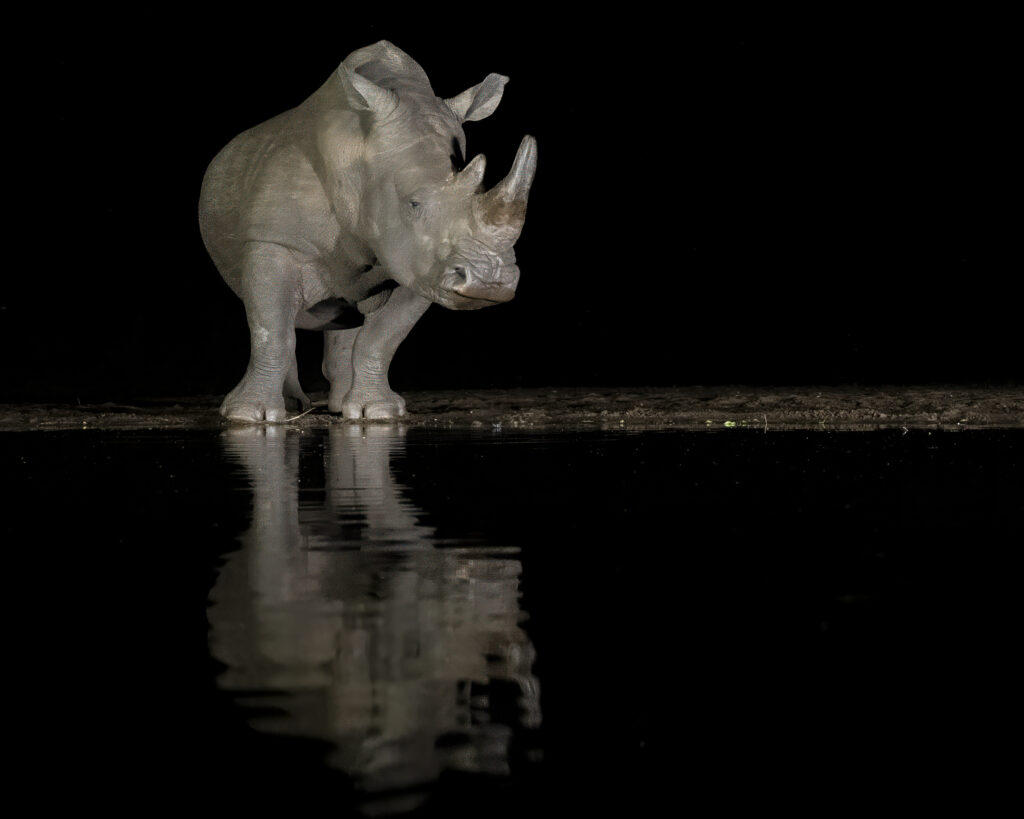
The 20mm is useful when larger wildlife comes close to the hide and you want to include more of the scene. It allows you to show the water, the reflection, the darkness, and the environment around the animal.
Instead of making a tight portrait, you can create a photograph that feels immersive.
This is especially important at night, where the mood of the scene is a major part of the image. The darkness, reflection, and controlled lighting can all work together to create a photograph that feels very different from a standard wildlife close-up.
The wide aperture also helps in low-light situations.
This is not a lens I would use all day long, but when the right opportunity appears, it can create some of the most distinctive images of the trip.
Why I Bring a 24–70mm f/2.8
The 24–70mm is my flexible short lens option for Zimanga.
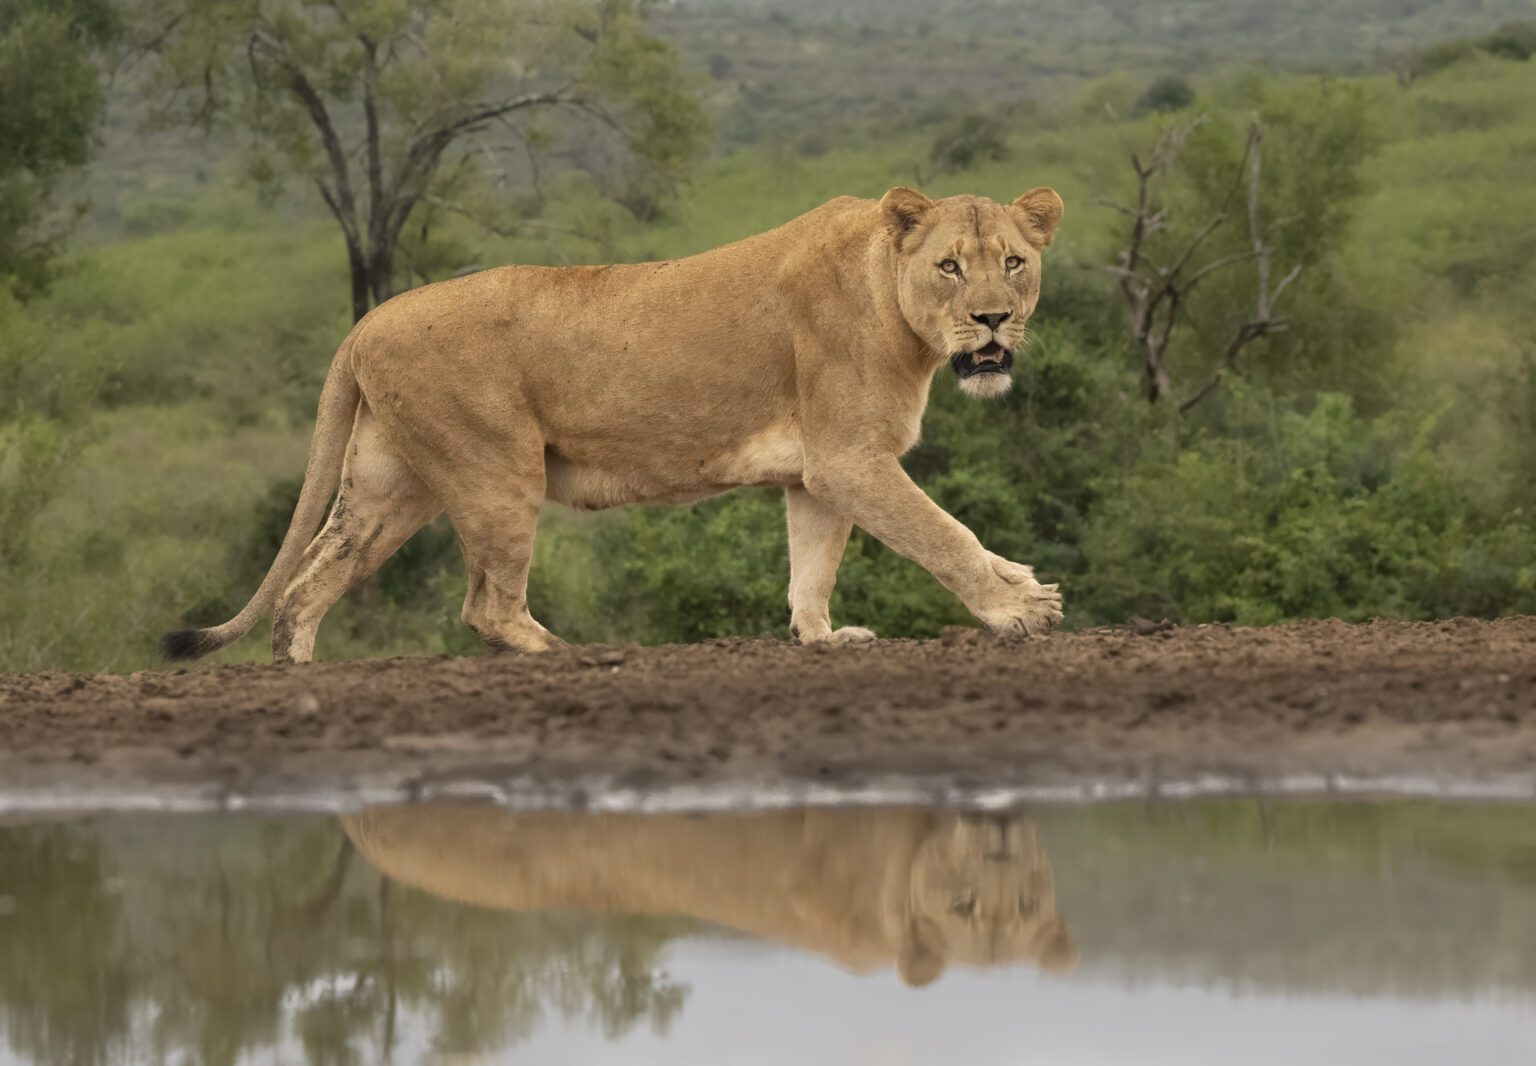
It gives you a very useful range when subjects are close, when you want to include habitat, or when you are working in a hide where a long lens may be too tight.
At Zimanga, animals can come close. Very close.
That is a good problem, but it is still a problem if your only lens is too long.
The 24–70mm lets you react quickly when a subject moves into a closer position or when the reflection and surrounding environment become important parts of the composition.
It is also a strong option in the night hides when you want more flexibility than a fixed wide-angle lens. You can work wider when the scene calls for it, then zoom in slightly when the subject is positioned farther from the hide.
This lens is not the glamour piece of the kit.
It is the dependable tool that quietly saves you when the animal is too close for your big lens.
Every camera bag needs one of those.
Why the 70–200mm f/2.8 is Perfect for the Hides
The 70–200mm f/2.8 is one of the most useful lenses you can bring to Zimanga, especially for the hides.
In many hide situations, wildlife can come close enough that a super-telephoto becomes too tight. The 70–200mm gives you room to compose while still allowing you to isolate your subject, control the background, and capture portraits, behaviour, and details.
The f/2.8 aperture is also valuable in lower light. It gives you more flexibility with shutter speed and ISO, and it can create beautiful separation between the subject and background.
For the hides, this lens sits in a very useful sweet spot.
It is excellent for:
- Wildlife approaching the water
- Reflections
- Mammal portraits
- Behaviour close to the hide
- Low-light situations
- Clean compositions with strong subject separation
On game drives, it is also useful for larger animals, environmental portraits, and moments when you want to include more of the scene.
One of the mistakes photographers sometimes make on safari is reaching automatically for the longest lens. The longest lens is not always the best storytelling lens.
Sometimes the 70–200mm gives you the better image because it lets the subject breathe inside the frame.
At Zimanga, that matters.
Why a 100–400mm is an Excellent Option for Zimanga
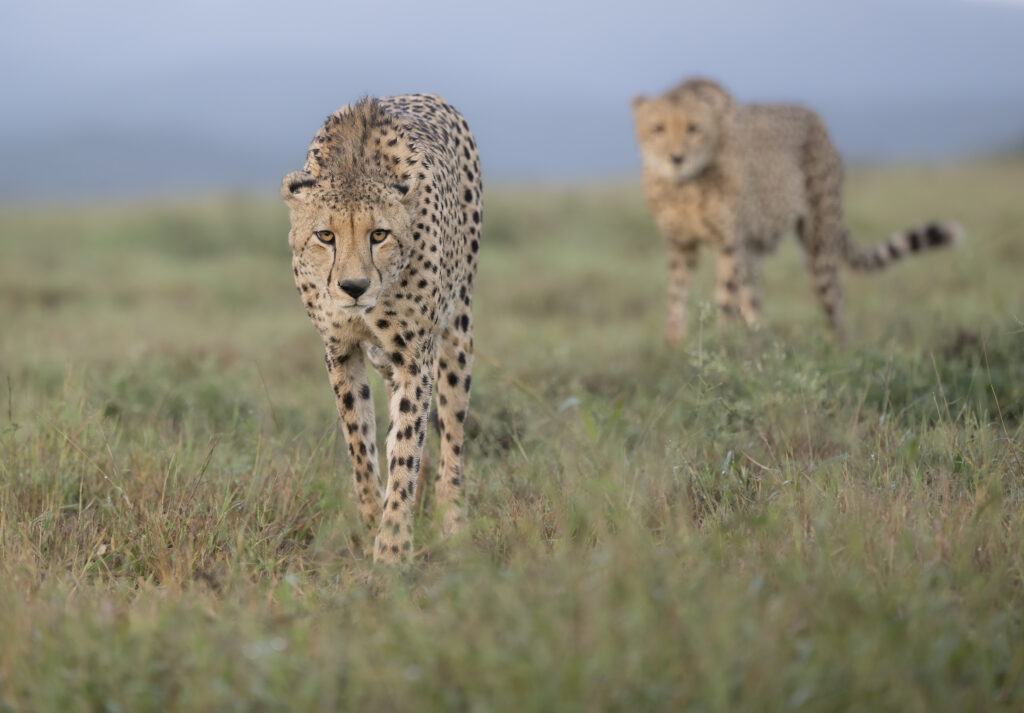
If there is one lens range that deserves serious consideration for Zimanga, it is the 100–400mm.
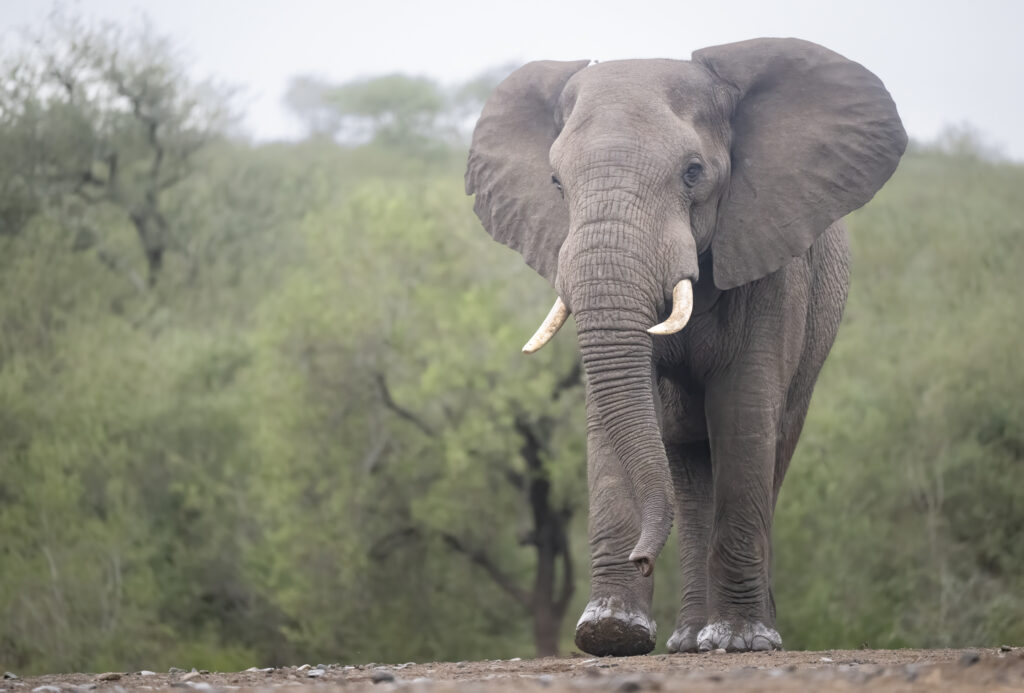
While the 70–200mm f/2.8 is close to perfect for many of the hides, especially when wildlife is nearby and you want beautiful separation, the 100–400mm may be the lens you use most often when photographing from the safari vehicles.
That range gives you a very practical balance of reach and flexibility.
On game drives, wildlife does not always stay at the perfect distance. One minute you may be photographing an animal close to the vehicle, and a few seconds later you may need more reach as it moves away. The 100–400mm handles those changes beautifully without forcing constant lens swaps.
It is especially useful for:
- Wildlife portraits from the vehicle
- Behavioural moments
- Birds and smaller subjects
- Animals moving through the landscape
- Quick changes in distance
- Cleaner compositions when you need to tighten the frame
For many photographers, a 100–400mm is one of the most useful safari lenses you can bring. It gives you enough reach for many game drive situations while still being manageable, fast to handle, and easy to use from a vehicle.
If you already own a 100–400mm, bring it.
If you are choosing between lenses, think of the 70–200mm as your excellent hide lens and the 100–400mm as your likely workhorse for vehicle-based safari photography.
A 180–600mm or similar longer zoom is still very useful, especially for birds and more distant wildlife, but the 100–400mm sits in that sweet spot where a lot of real safari photography happens.
Why I Bring a 180–600mm
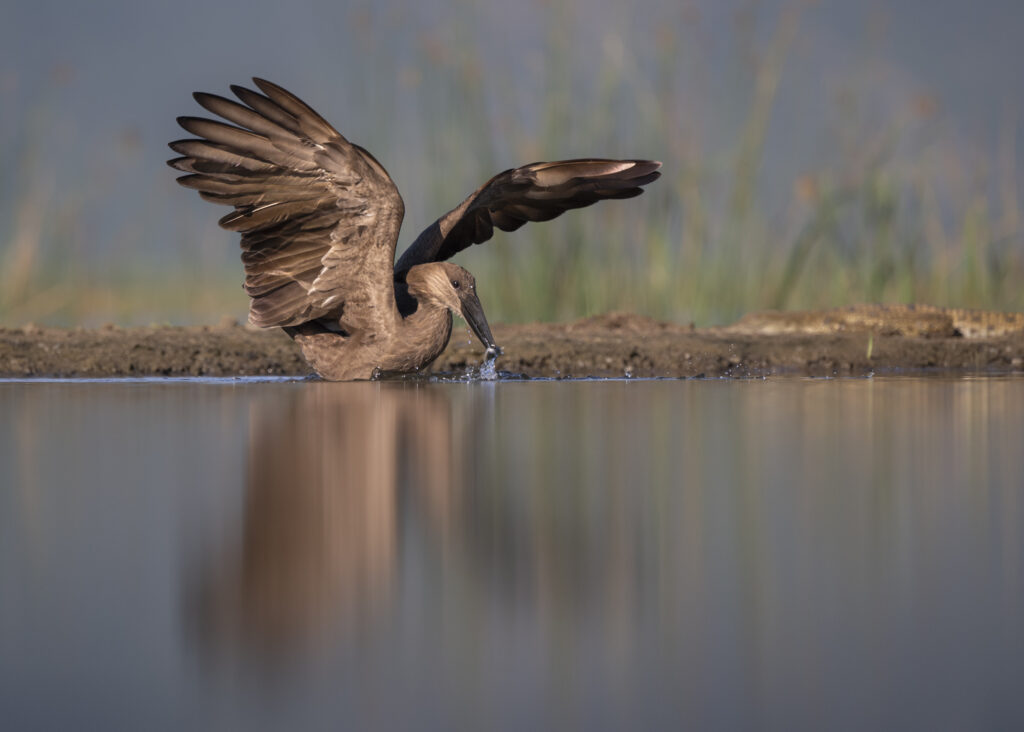
The 180–600mm is the workhorse for wildlife and bird photography at Zimanga.
This is the lens you will likely use often for birds, mammals at a distance, tighter portraits, and situations where you need extra reach.
Zimanga has excellent opportunities for both wildlife and bird photography, and a long zoom gives you flexibility as animals move closer or farther away.
The zoom range is especially helpful because safari photography changes quickly. One moment you may want a tight portrait. A few seconds later, the subject moves, another animal enters the frame, or the behaviour changes and you need to recompose.
A fixed long prime can be beautiful, but a zoom like the 180–600mm gives you options.
For many photographers, this range is ideal for Zimanga because it covers so many situations without needing constant lens changes.
And in a hide environment, fewer lens changes can be a very good thing.
Dust and camera sensors have a long and annoying relationship. Best not to encourage it.
Why Two Camera Bodies Matter
I strongly recommend bringing two camera bodies to Zimanga.
There are two reasons.
First, it gives you a backup. You are travelling a long way for an important photography experience. If one camera body has an issue, your trip should not be over.
Second, two bodies let you work faster.
You can keep a long lens on one body and a wider lens on the other. That is very useful in the hides, where an animal may come in closer than expected. It is also helpful on game drives, where switching from a tight wildlife portrait to a wider environmental image can happen quickly.
At Zimanga, I like having one body ready with the longer lens and another body ready with a shorter option, such as the 24–70mm, 70–200mm, or 100–400mm depending on the situation.
This saves time.
And in wildlife photography, saved time often means saved photographs.
Why I Bring a Bean Bag
A bean bag is very useful at Zimanga.
In many safari situations, bean bags are more practical than tripods. They allow you to stabilize your camera on vehicle rails, hide supports, or other shooting platforms.
For Zimanga, I bring the bean bag itself, but not the filling. Rice can be supplied locally, which saves weight and space while travelling.
That is a small detail, but it matters.
Camera bags get heavy quickly. If you can avoid flying halfway around the world with a bag full of rice, that is generally a life choice worth making.
A good bean bag gives you stability, flexibility, and a lower shooting position when needed.
Why I Do Not Bring a Tripod
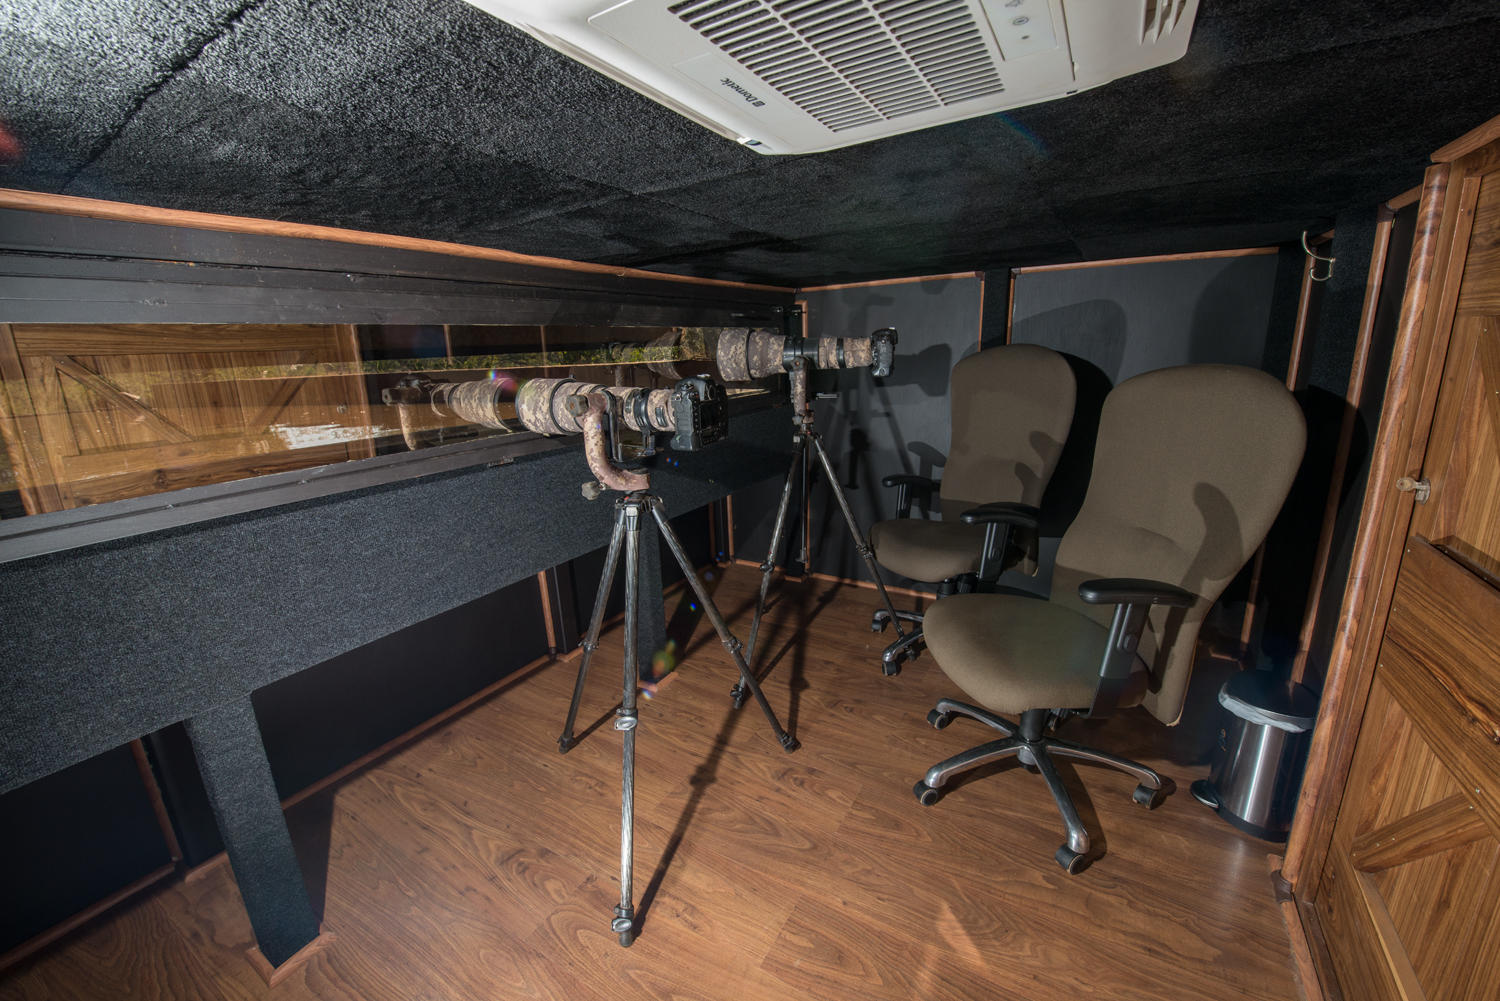
I do not bring a tripod to Zimanga.
The hides have their own support systems, and I use what is provided there.
That saves weight and makes packing easier. It also means I am not trying to manage a tripod in spaces where other support systems are already designed for the job.
This is one of the reasons scouting matters. When you understand how the hides and vehicles work, you can pack more intelligently.
There may be trips where a tripod is essential.
For Zimanga, I prefer to leave mine at home.
Laptop and Backup Drives
I bring a laptop and two external drives.
This is not optional for me.
Zimanga can produce a lot of images, especially if you are photographing birds, mammals, reflections, and night hide sessions. You will want a reliable system for downloading, reviewing, and backing up your files.
My recommendation is simple:
Back up every day.
Use two external drives if possible. Keep one as your main backup and the second as a duplicate. If you are travelling with someone you trust, consider keeping one drive in a separate bag.
Memory cards are not a backup strategy.
They are where your images live temporarily before you become a responsible adult and back them up properly.
Batteries and Charging
I bring three batteries per camera body.
Long days, cool mornings, night hide sessions, and heavy shooting can all drain batteries faster than expected. Having three batteries per body gives you breathing room.
You do not want to be sitting in a night hide with something interesting approaching the water and suddenly realize your battery is at 4%.
That is not drama.
That is poor planning wearing a little hat.
Bring enough batteries. Charge them every day. Rotate them properly.
Simple, but important.

Cleaning Cloths and Blower
Bring cleaning cloths and a blower.
Dust is part of safari life. Even in well-managed conditions, cameras and lenses will pick up dust. You want to be able to clean your gear safely and regularly.
A blower is useful for removing dust before wiping anything. Cleaning cloths help with lenses, screens, and viewfinders.
I recommend checking your gear at the end of each day so you are ready for the next session.
There is nothing worse than finding a giant dust spot across a beautiful reflection after the fact.
Well, there are worse things.
But photographically, it is annoying.
Do You Need a Big Prime Lens for Zimanga?
You can certainly bring a large prime lens if you own one and are comfortable travelling with it.
But you do not need one to have a very successful Zimanga safari.
A flexible long zoom in the 500mm to 600mm range is extremely useful. Pair that with a 70–200mm, a 100–400mm, and a wider lens, and you are well covered for most situations.
Zimanga is not only about reach. It is also about angle, reflection, light, mood, and behaviour.
That is why a balanced kit is better than simply packing the biggest lens you own.
The goal is not to win a weightlifting contest at the airport.
The goal is to make stronger photographs.
Suggested Zimanga Camera Gear Setup
For most photographers, I would suggest something close to this:
Camera Bodies
- Two camera bodies if possible
- One body can work, but two is better for speed and backup
Wide Lens
- 20mm, 24mm, or similar wide-angle lens
- Useful for night hides and environmental images
Mid-Range Zoom
- 24–70mm f2.8
- Useful for close wildlife, lodge scenes, environmental images, and night hide flexibility
Hide Lens
- 70–200mm f/2.8
- One of the best lens choices for the hides, especially when subjects are close and you want strong separation
Vehicle Safari Lens
- 100–400mm
- Likely one of your most-used lenses from the safari vehicles because of its reach, flexibility, and ease of handling
Long Lens
- 180–600mm, 200–600mm, 150–600mm, 100–500mm, or similar
- Ideal for birds, distant mammals, tighter portraits, and situations where extra reach matters
Accessories
- Bean bag
- Extra batteries
- Plenty of memory cards
- Laptop
- Two backup drives
- Cleaning cloths
- Blower
- Battery chargers
- Power adapters
- Rain cover or protective camera cover if desired
What Guests Will Learn About Gear at Zimanga
One of the things we help guests with during our Zimanga safari is choosing the right gear for each situation.
The best lens in one hide may not be the best lens for the next. The best setup for a night hide may be very different from the best setup for a game drive.
We will help guests think through:
- Which lens to bring into each hide
- When to shoot wide
- When to use the 70–200mm
- When the 100–400mm is the better vehicle lens
- When extra reach matters
- How to prepare camera settings before wildlife arrives
- How to work with low-level perspectives
- How to use reflections effectively
- How to avoid overpacking for each session
- How to back up images properly
- How to stay ready when the action happens quickly
This is where experience helps.
Because we have been to Zimanga and photographed from the hides and vehicles ourselves, we can give practical advice based on real use, not guesswork.
Final Thoughts on Packing for Zimanga
Zimanga is one of those places where the right gear choices can make a big difference.
Not because it is complicated, but because it offers such a wide range of photographic opportunities.
You may photograph birds from low-level hides. You may photograph mammals at water level. You may work with reflections. You may shoot wide-angle images at night. You may photograph from vehicles on a private reserve with excellent guiding and close encounters.
That variety is what makes Zimanga exciting.
It is also why preparation matters.
Bring a balanced kit. Bring backup gear. Bring enough batteries. Bring a solid storage plan. Bring a bean bag. Leave the tripod at home if you are comfortable using the hide supports provided.
And most importantly, arrive ready to think creatively.
Zimanga is not just about getting closer.
It is about seeing differently.
Join Akari Photo Tours at Zimanga
We have been to Zimanga, so our guests now arrive better prepared.
We have photographed from the hides, worked from the vehicles, tested gear choices, and studied how the experience flows for photographers.
If you are looking for a South African safari that offers low-level wildlife photography, night hides, reflections, strong guiding, and a photography-first experience, Zimanga is one to take seriously.
See our upcoming Zimanga safaris and join Akari Photo Tours in South Africa.