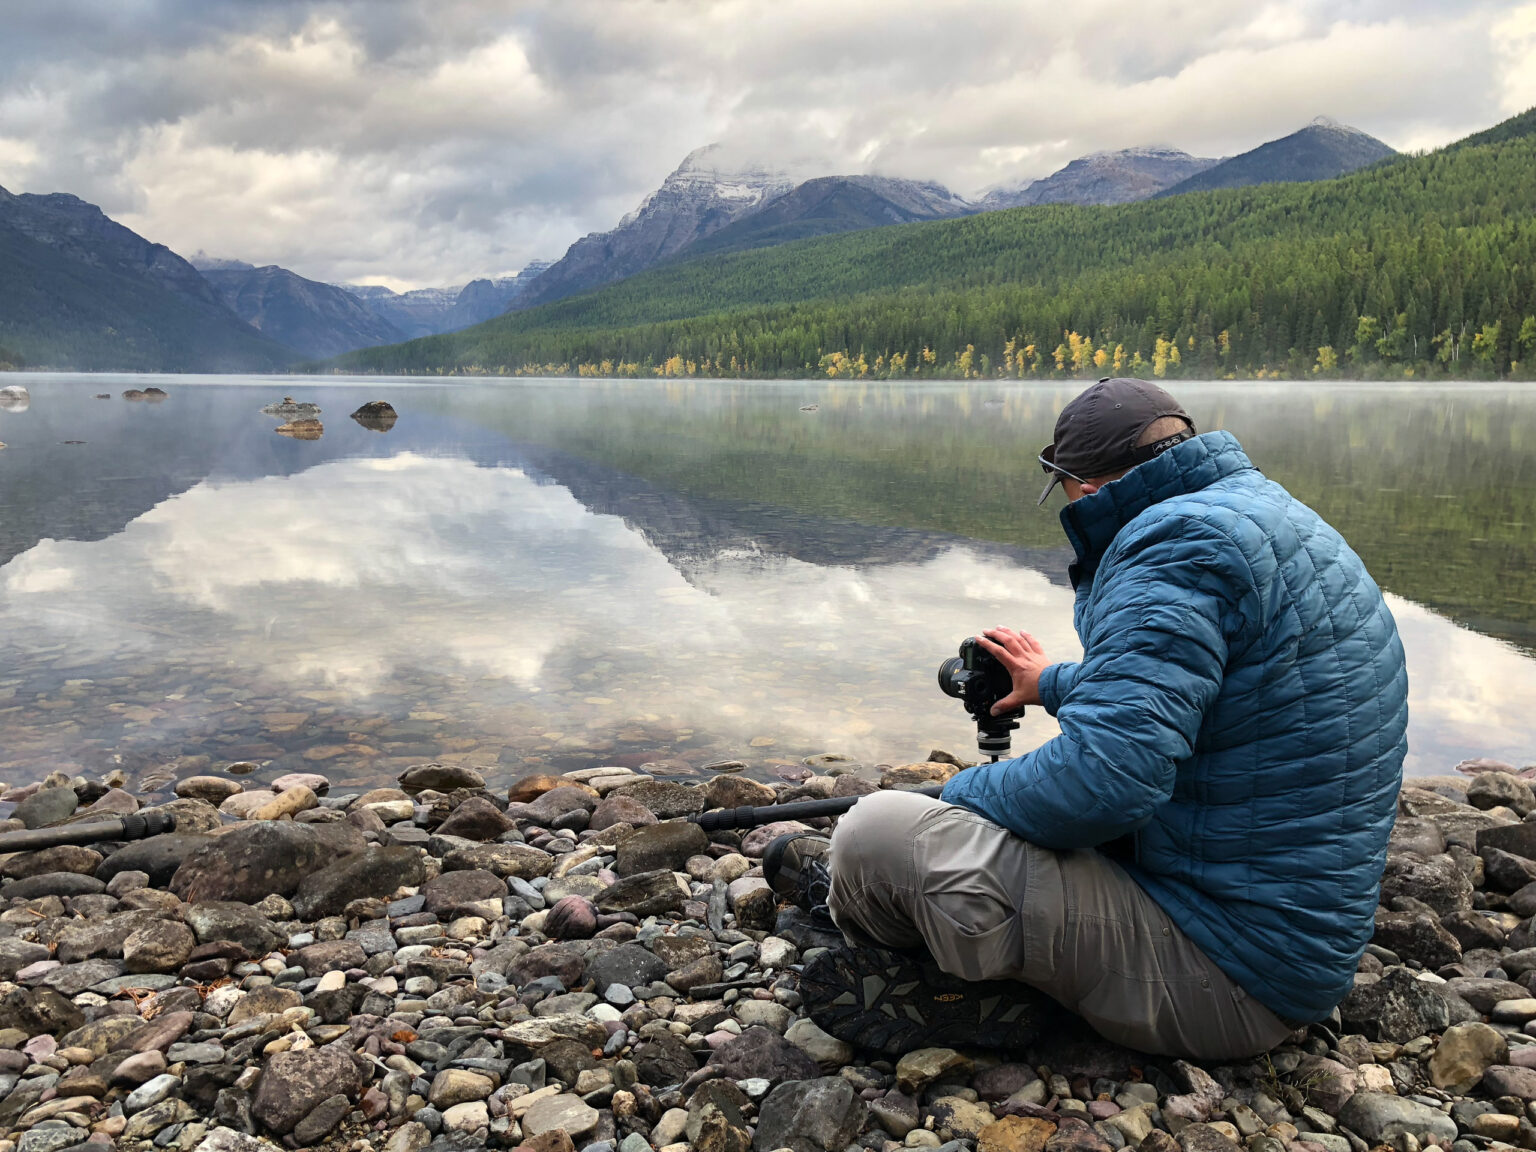
Work quickly! Be ready with your photo gear
By Kevin Lisota |
Based on my experience at the locations we visit, I know how light behaves in different conditions, and I’ll guide you through capturing it at its best. When you’re on a photo workshop with me, you might hear me say, “Work quickly; this light won’t last long,” or “Get ready. This animal interaction will be brief.” When I say this, I’m not just urging you to hurry—I’m drawing on my knowledge and mistakes to help you seize the moment before it disappears.
Being quick with your camera gear is essential for better photos; sometimes, the best photo may pass you by quickly while you fumble with your gear. Other times, you might arrive just as the light is at its best. Being efficient with your photo gear starts with knowing and practicing how to set it up. You should also recognize when you have to act fast and when you have a bit of time based on the scene before you. Here are some strategies we’ve learned to ensure you are ready for those photographic moments.
Arrive early
Arriving early is critical, especially for landscape photography. It allows you to set up your gear, evaluate the scene, and choose your composition before the best light arrives. However, despite your best intentions, this doesn’t always happen. You may be delayed by traffic, have a meal that lasts longer than anticipated, the weather presents an unanticipated opportunity, or perhaps you just misjudged when the magical light will hit your scene. We’ve all had this happen to us.

Wildlife photography is even less predictable. While you may plan to arrive based on optimal animal activity, special moments with animals happen unpredictably, and you must be prepared.
Know your gear
Avid photographers often carry lots of gear but sometimes need to photograph more often to be quick with gear setup. Know how you’ve packed your bag and which lens you will likely use. Practice installing your lens and setting up your tripod. Can you photograph within a minute if you need to? Repetition and practice help build these skills, and these practice sessions can be in your backyard or a local park.

Plan your camera settings
Be thinking about your camera settings before your arrival and know how to get to them quickly. Is the shutter speed set fast enough to photograph wildlife? What focus mode will you use, and do you need continuous release mode to take a series of photos?
If you photograph landscapes, will you use a tripod? Are your aperture, shutter speed, and ISO set correctly? Have you correctly set the focus and release modes for single-point focus and single shots?
With practice, changing these settings becomes quicker. Many photographers find that saving specific preset modes in their cameras for each scenario helps make this more efficient.
Practice with your tripod
Setting up your tripod can take time if you use it sparingly. Practice setting it up at home or in the backyard to improve this skill. Find the quickest way to deploy the legs, and practice attaching and detaching your camera to the tripod, ensuring it is secure each time you attach it.
Practice the controls for your ball head to make composition changes swiftly. Based on how you operate the tripod head, find the optimal placement of those controls for you.
Handhold when necessary
Certain types of photography, like long exposures and night sky photography, require a tripod. However, other scenes may allow you to handhold your camera when you’re in a hurry.
Don’t be afraid to photograph a landscape handheld when the light is right, and you’re in a hurry. Yes, you may have to use a faster shutter speed and higher ISO to photograph the scene, but it can make the difference between capturing the magical moment and missing it while you fumble with your tripod.
Have your wildlife camera ready to shoot
When on a wildlife drive, have your zoom lens installed on your camera with the appropriate wildlife camera settings already set. This way, you can hop out of the vehicle and immediately begin photographing when you have an unexpected or fleeting animal encounter.
If you are a passenger, keep the camera on your lap or the seat next to you, ready to photograph. If you are the driver, be cautious of where you set your camera in the vehicle. I’ve had my camera on the passenger seat, only to have it fly off the seat when I took a tight turn or braked quickly. Place it in a footwell, perhaps wedged between a bag or on a towel, so it can’t fly around the car.
Night sky photography
Night sky photography introduces more challenges. Setting up your camera, attaching it to a tripod, and operating the camera controls are challenging in the dark.

You’ll need a headlamp to accomplish these tasks when photographing the night sky infrequently. However, as you practice and gain confidence, you should be able to achieve most of these tasks in the dark.
At home, practice attaching and detaching your camera to the tripod in the dark, ensuring it is securely fastened each time. As you become more familiar with your tripod, you can attach your camera by feeling without your headlamp.
As you use your camera more in the dark, you’ll eventually learn the location of camera controls by touch, but this requires familiarity with your camera and repetition.
Once you are comfortable with operating your camera and tripod in the dark, you can turn your attention to focusing at night, which is always the biggest issue for night sky photography.
Be quick!
For the occasional photographer, being quick with your gear takes practice. As you practice and gain more experience, you’ll know how to set up your gear quickly and become adept at changing your camera settings. With these skills, you’ll be better prepared to photograph those magic moments we all hope for.


